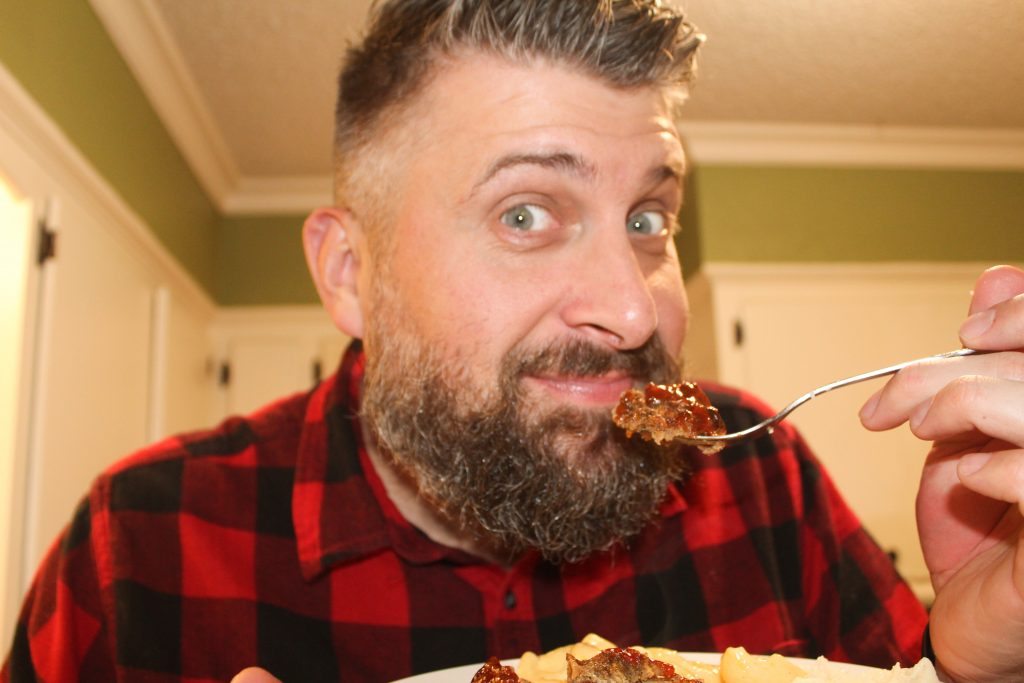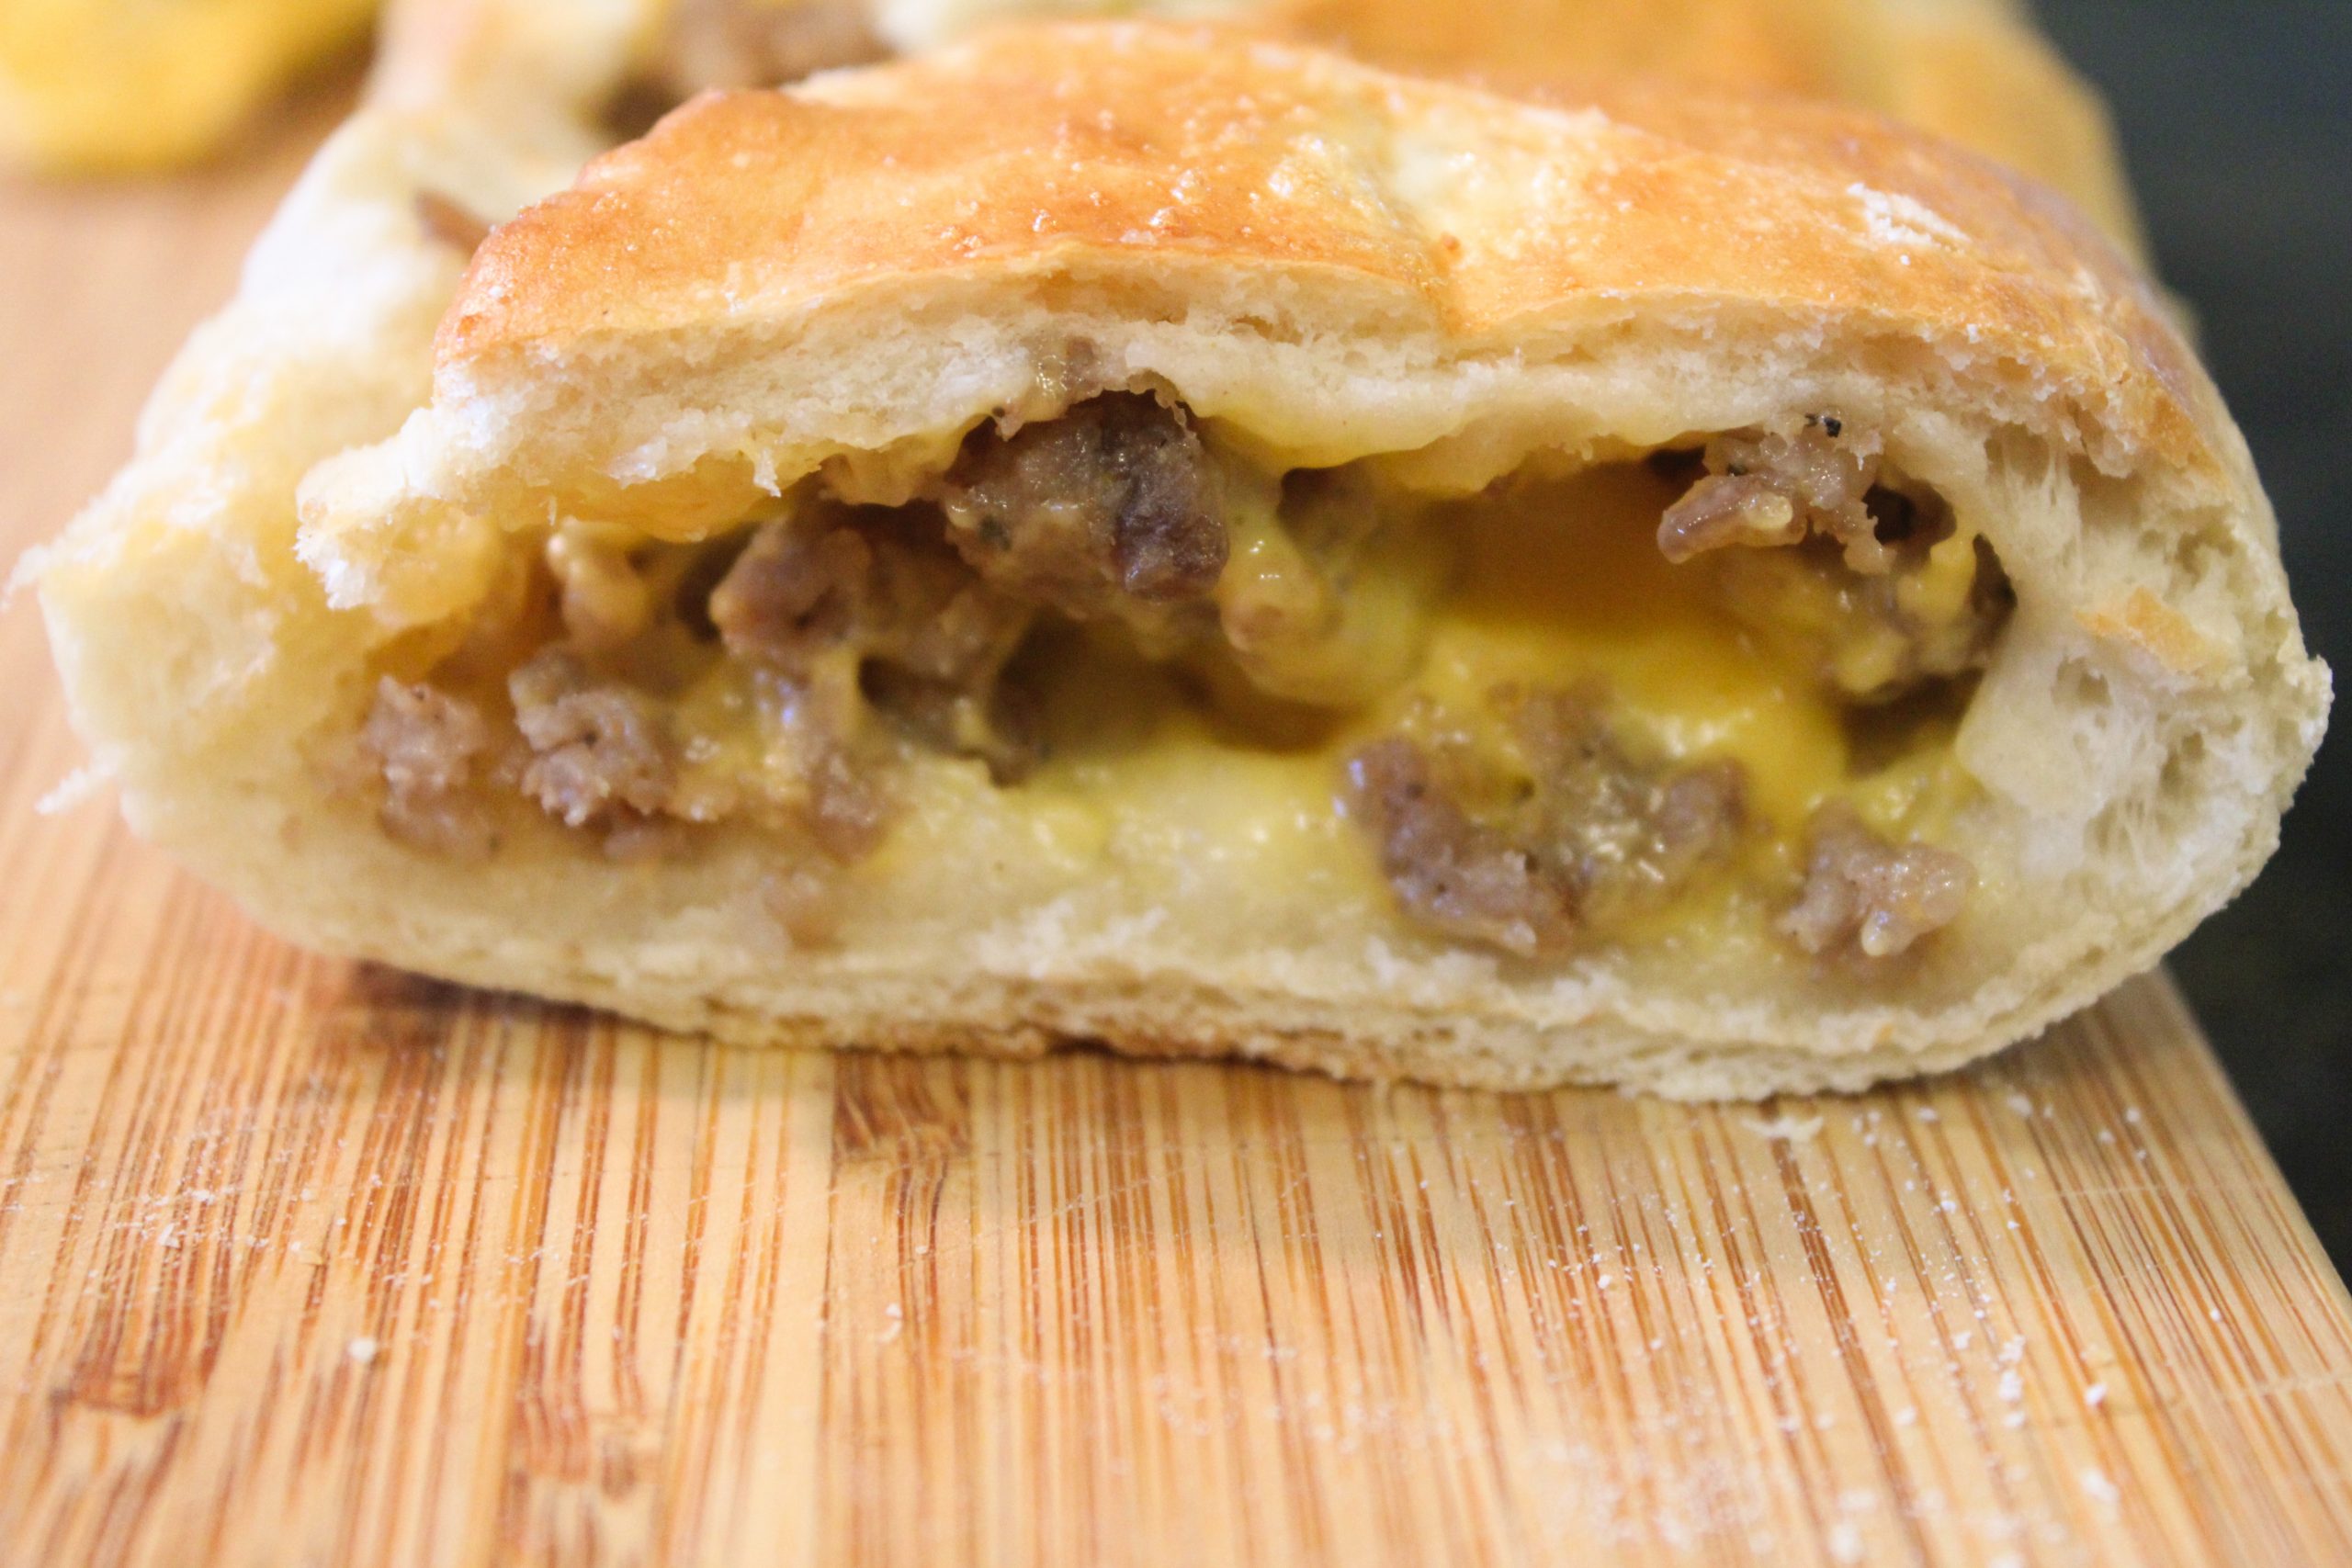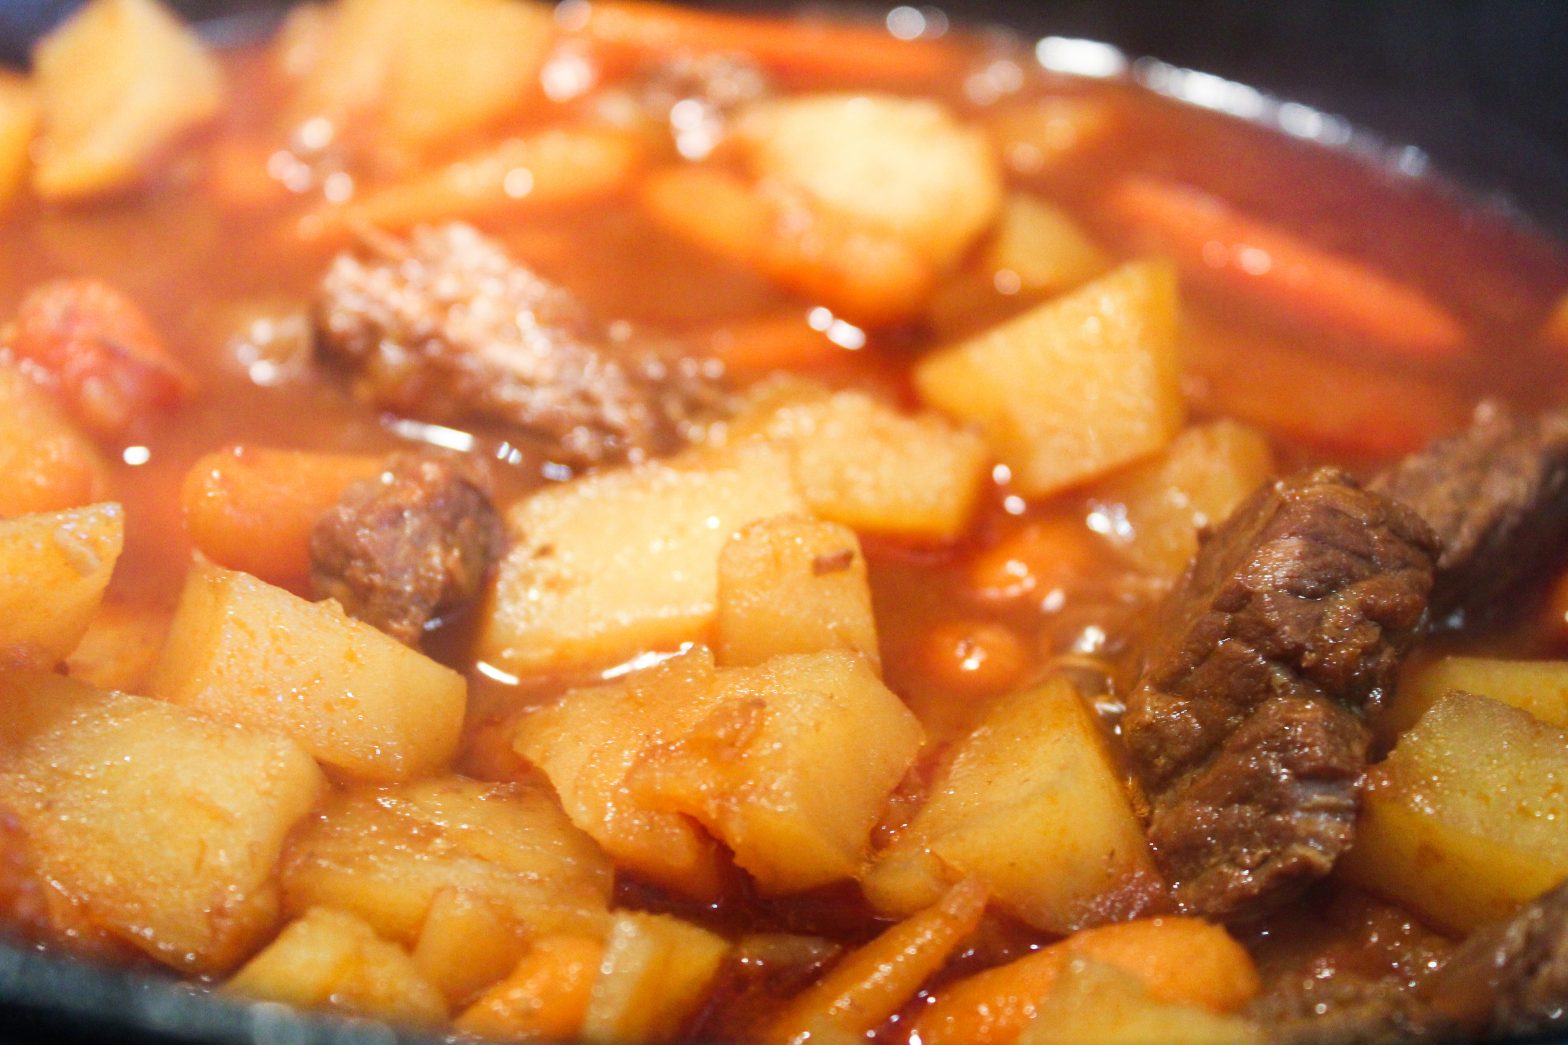
Happy St. Paddy’s Day

and we are celebrating with Irish Stew

Top o’ the mornin’ to ya!

Or whenever you are reading this post!

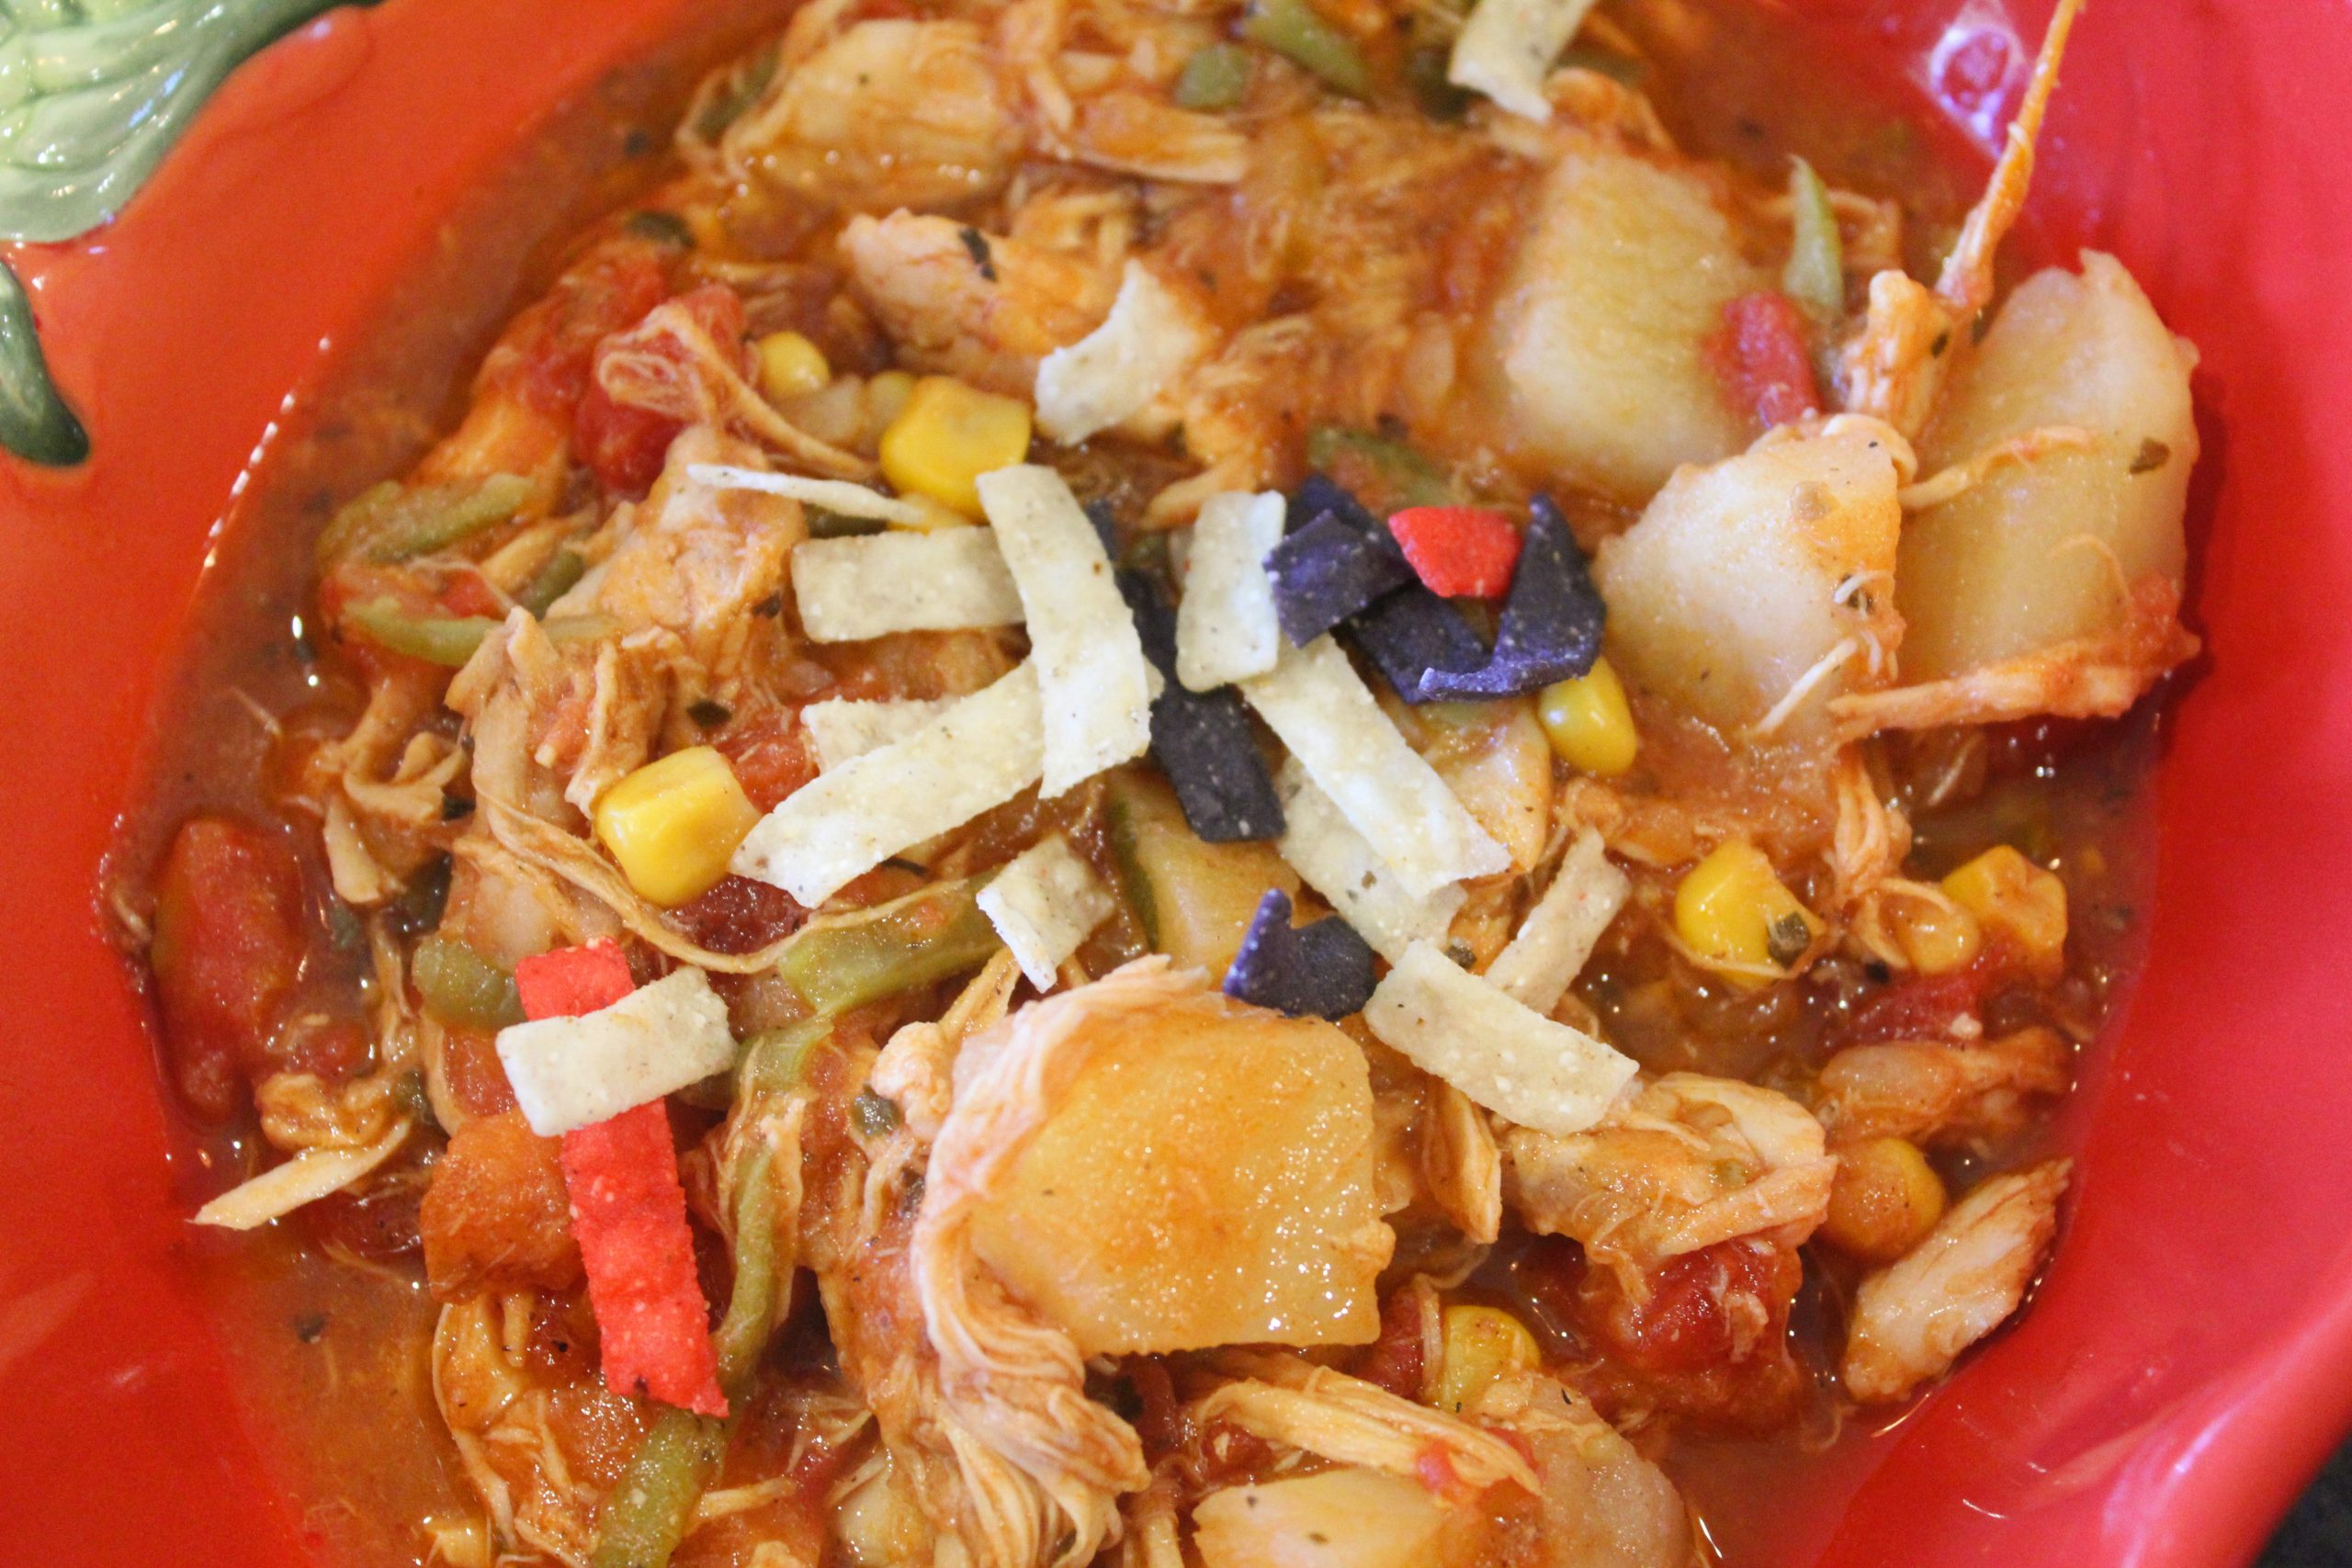
It’s St. Patrick’s Day and we are celebrating with this Irish Stew…and pretending we are in Ireland.

Or wherever it is that clovers grow and leprechaun’s run wild.

I have to be completely transparent here…Scott is the one who makes the beef stew in our family.

But he was out of town and I have always wanted to make it because it’s one of my favorite meals, especially that he makes.

And I have to say…I didn’t do too bad.

Scott actually says he likes mine better, but he’s just being nice.

His is thicker, but he says he likes it that mine isn’t so thick.

Doesn’t matter because folks, we have a winner here.

Let’s dive in…there are several steps…but we don’t want to cook everything at one time.

This keeps the potatoes and carrots from getting all mushy.

We are going to start with some nice lean stew meat…about 2 pounds.

I laid mine out on a cookie sheet and seasoned them 1/2 tsp salt and 1/2 tsp of pepper. Just sprinkle over the the top.
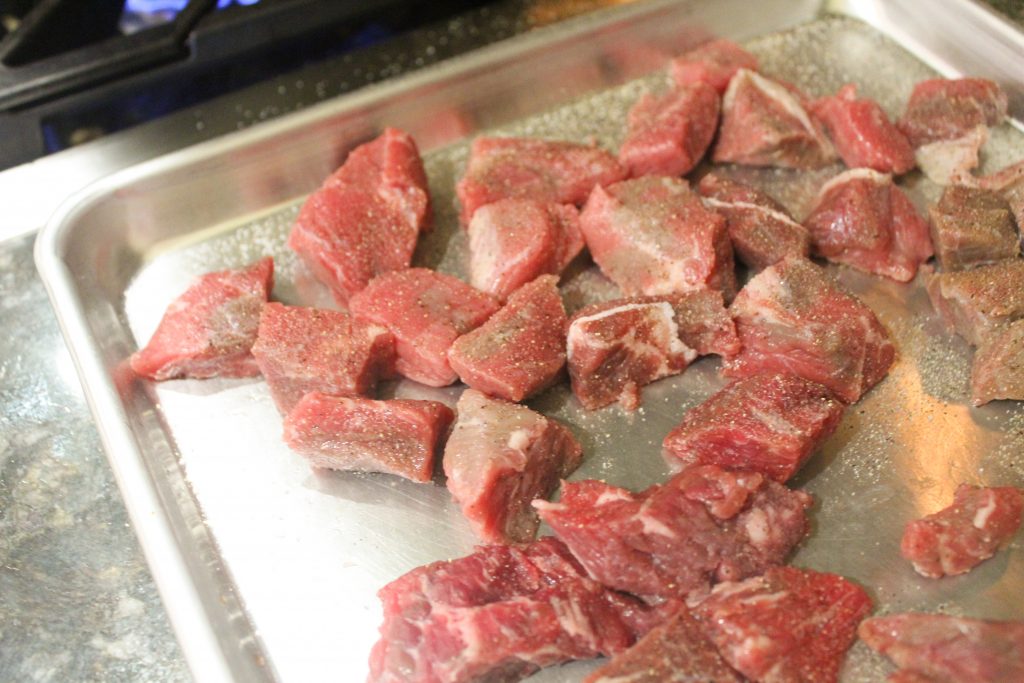
Seasoned Stew Meat

Now, we are going to sear the stew meat…which is a process that really enhances the flavor of the meat.

And don’t wig out on me if you are a beginner cook…all we are really doing is browning the meat on both sides just to lock those flavors in.

And then removing it from the pan, which also leaves a nice caramel sediment in the bottom of your pan that will also enhance the flavor of our stew.

Y’all still with me?

Now, we are going to sear in two batches, dividing our meat in half, and being careful not to overcrowd in the pan.

On medium to high heat, add 1 tsp of the olive oil to the pan.

Let the oil get hot and add first batch of meat and sear about 2 minutes on each side.
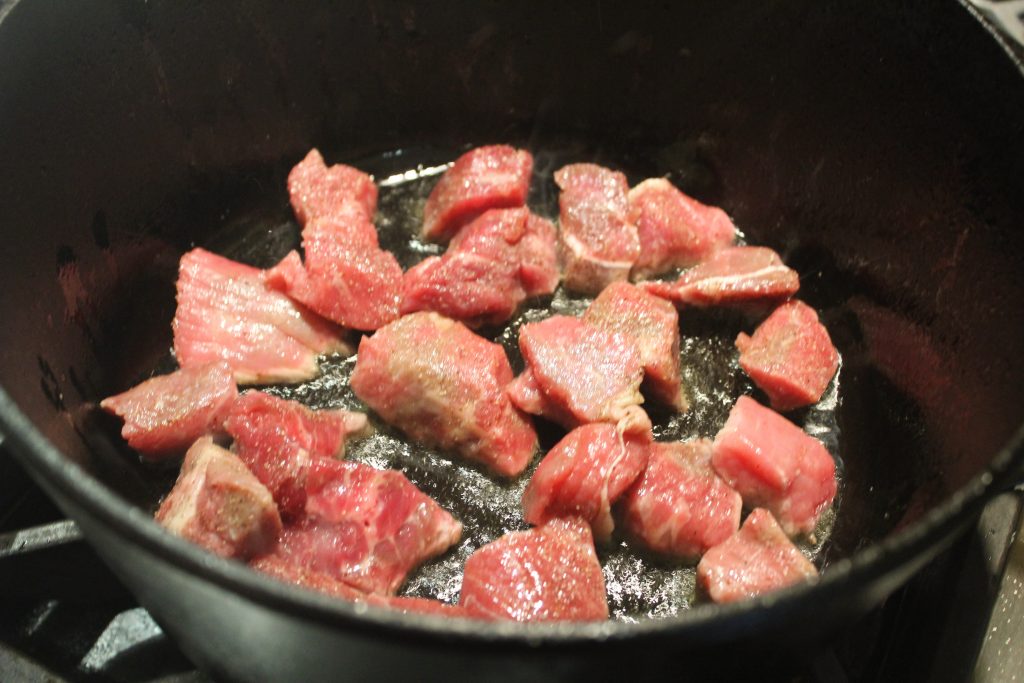
Searing Our Stew Meat

I removed the first batch and let the meat drain (if you use lean meat like I did, there won’t be much grease) on another cookie sheet lined with paper towels.
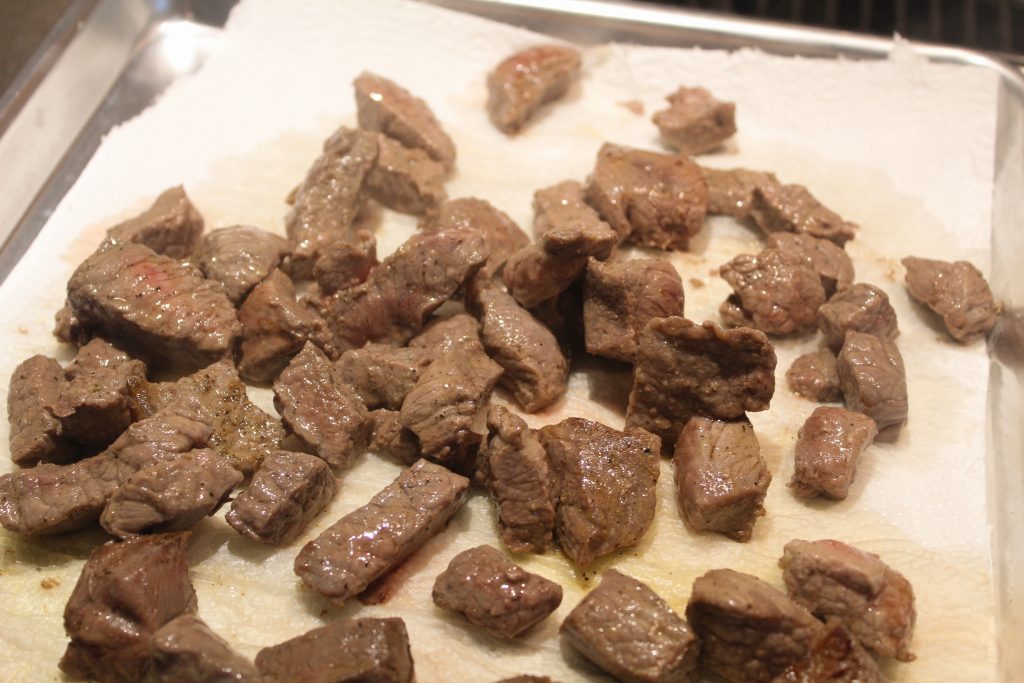
Finished Searing!

Repeat with other half of stew meat and remove to drain.

Next, add another teaspoon of olive oil to the pan and notice all those wonderful drippings in the bottom.

After the olive oil gets hot, add your chopped small onion and let it cook about 5-6 minutes until it’s soft.
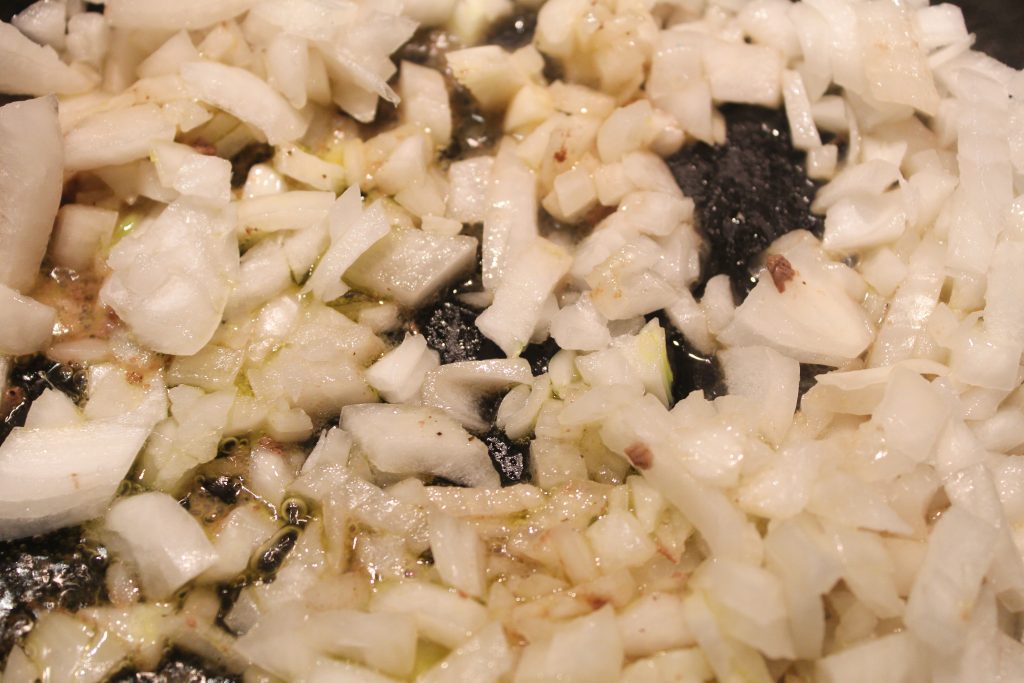
I Wish You Could Smell My Kitchen!

Add 2 tsp of minced garlic and cook another minute.
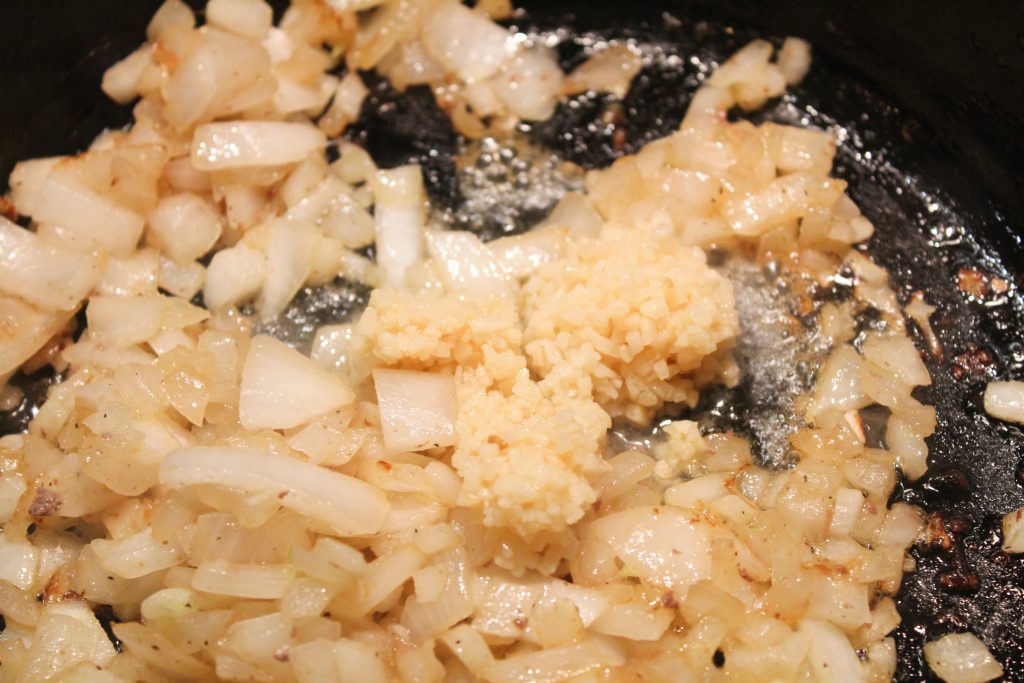
Adding the Garlic!

Next, add one 6 ounce can of tomato paste and whisk it to get the onions and garlic incorporated.
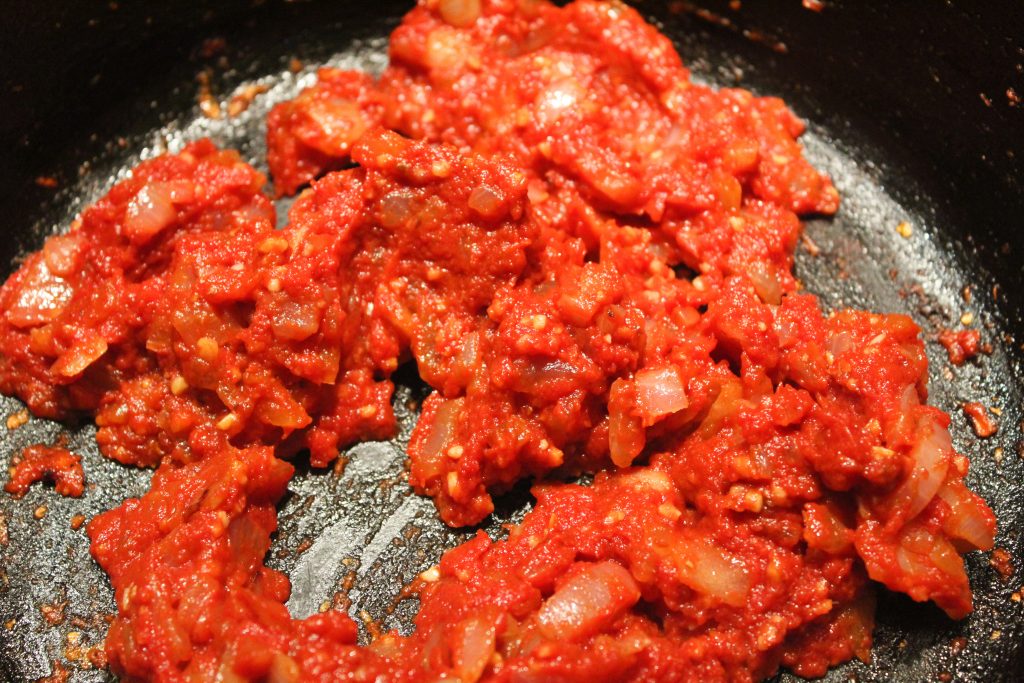
Adding in the Tomato Paste

Add your beef broth, Worcestershire Sauce and stew meat and bring to a boil.
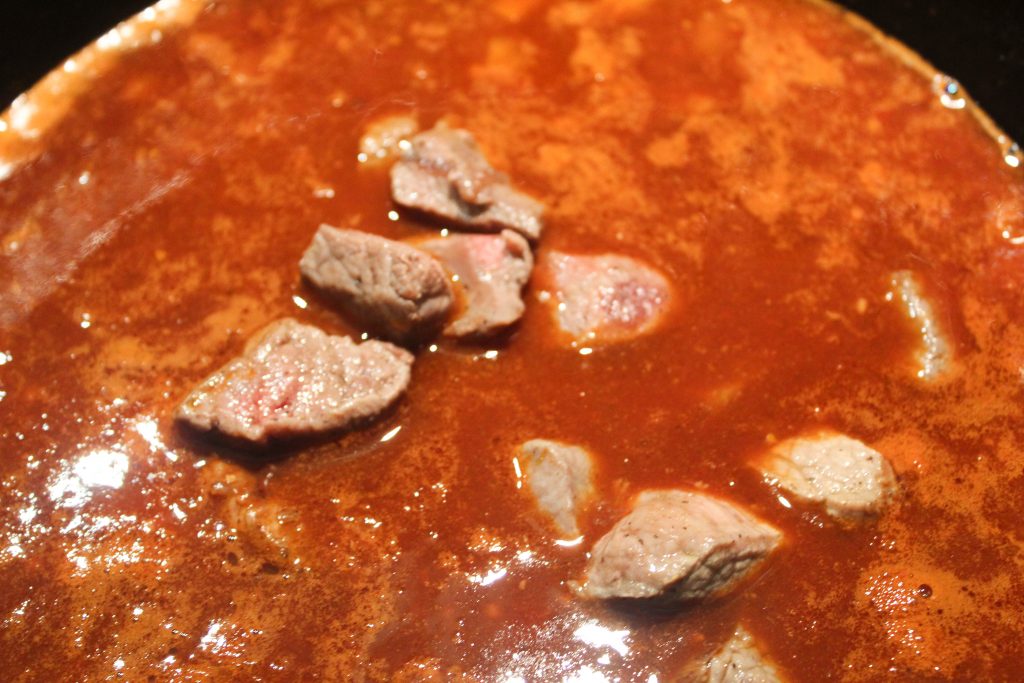
On Its Way!

Reduce heat to low.

Cook covered for 1 hour at this low heat. Stir occasionally just to make sure it’s not sticking to the bottom.

While the meat is cooking, peel and cube 5 baking potatoes.

We like our carrots whole, so I didn’t chop them up, and I used a one pound bag of baby carrots.
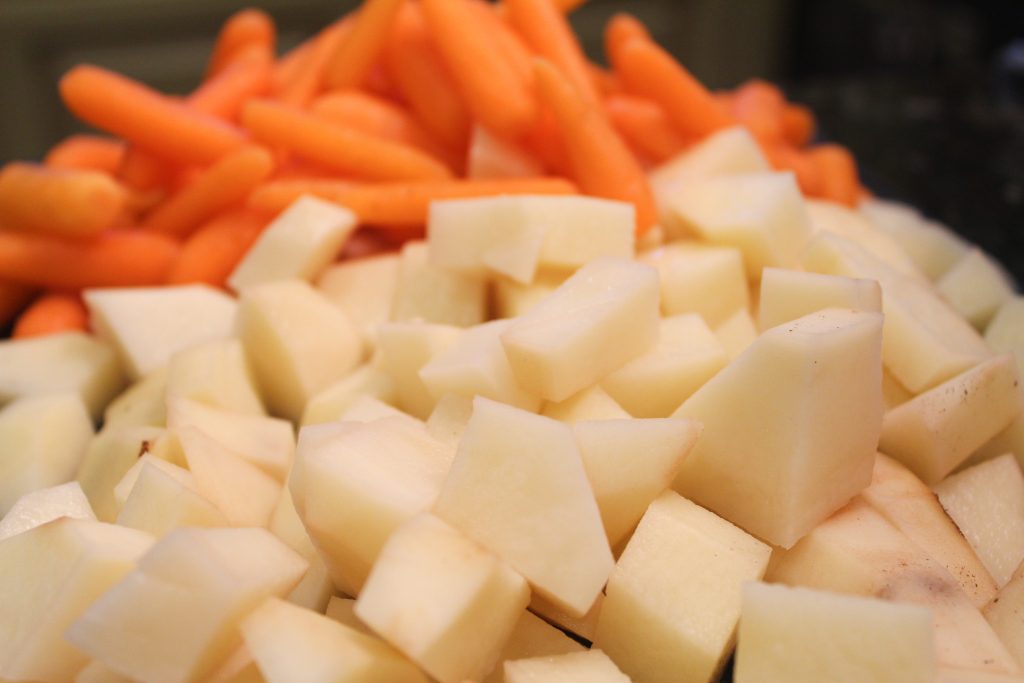
Potatoes and Carrots Coming Right Up!

After the meat has cooked an hour, add the potatoes and carrots and cook another 30-45 minutes until they are both tender.

This is also where I added the other one half can of beef broth.
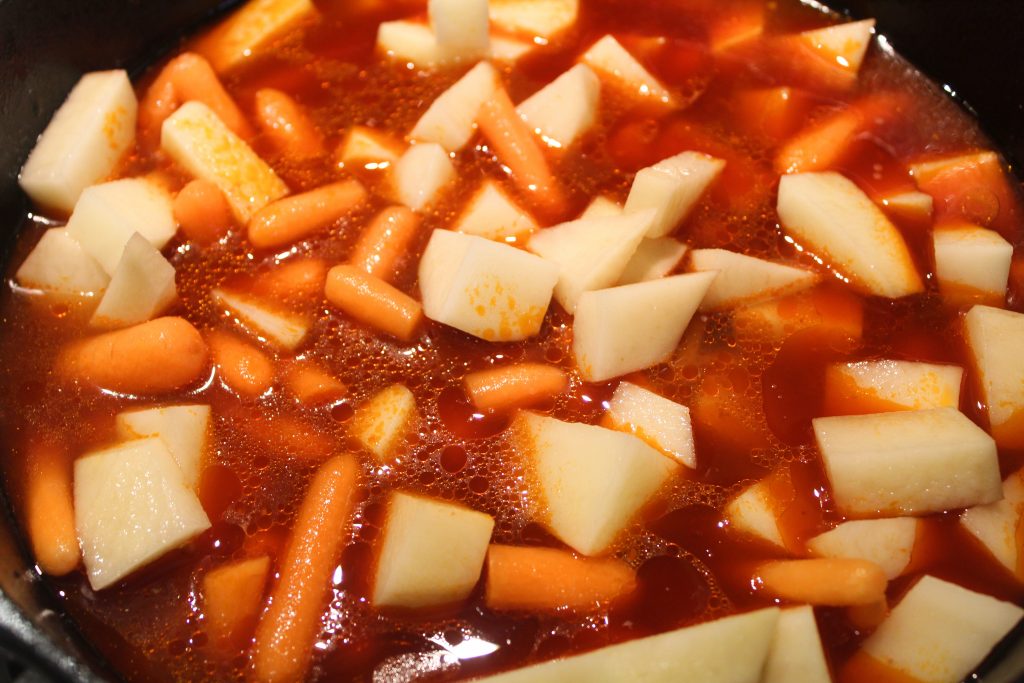
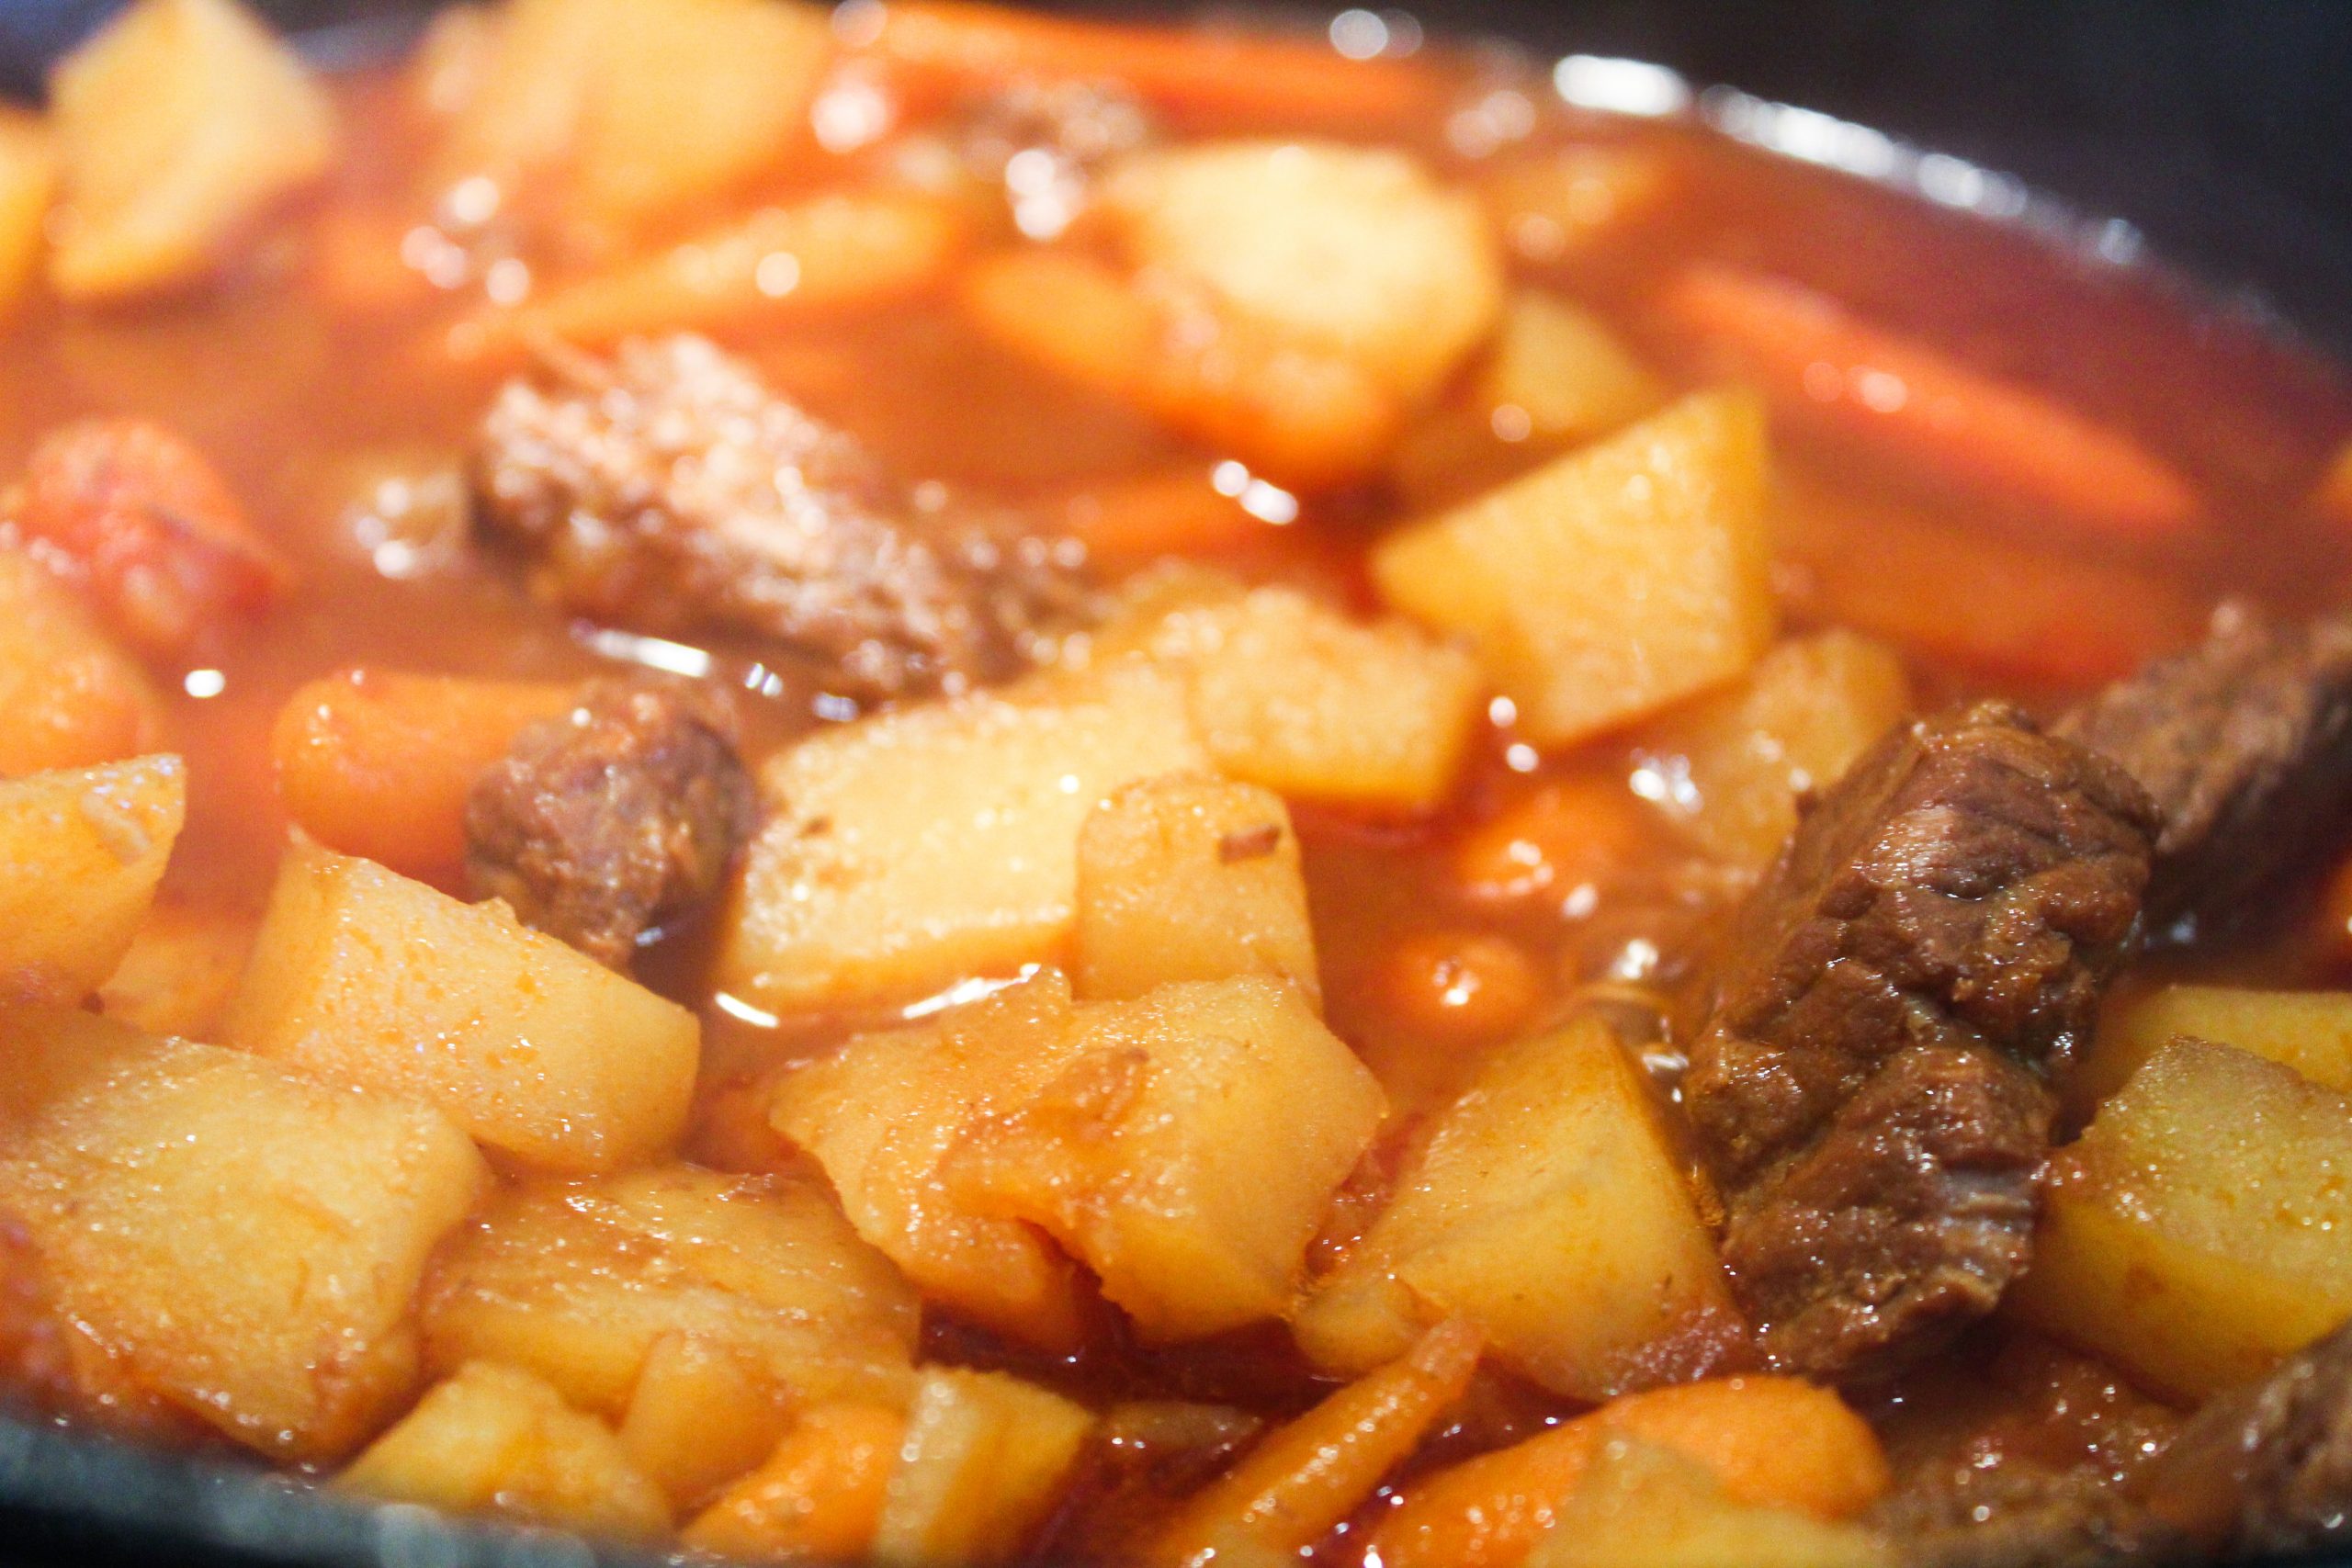
Everything Is Now In the Pot!

And this my friends is how they do it in Ireland.
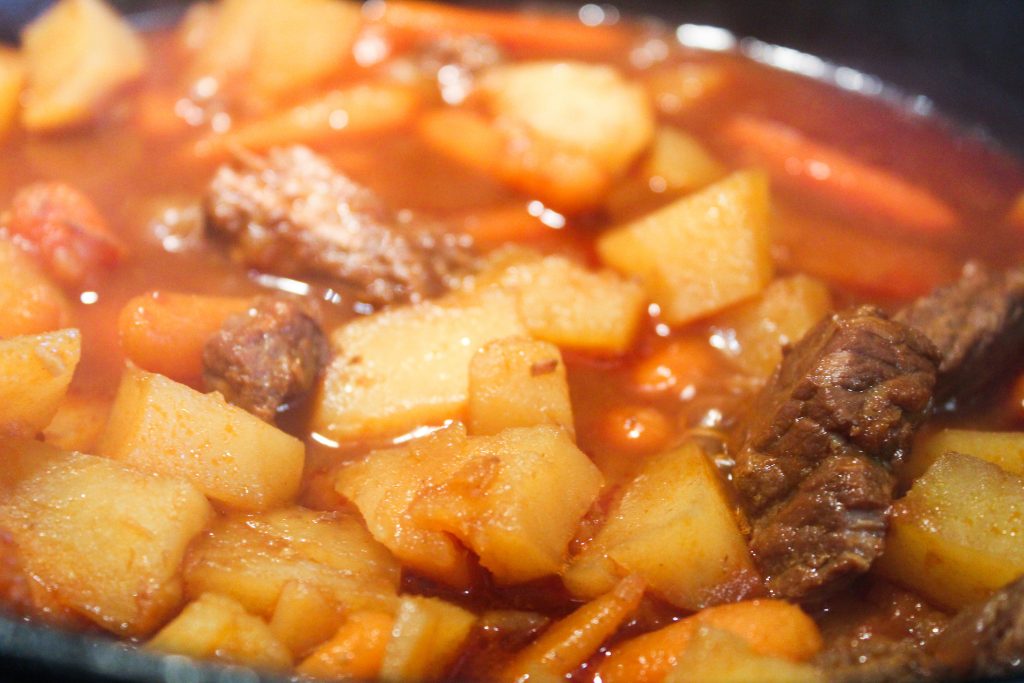
Yum!

And how we are doing it in the good old United States of America.
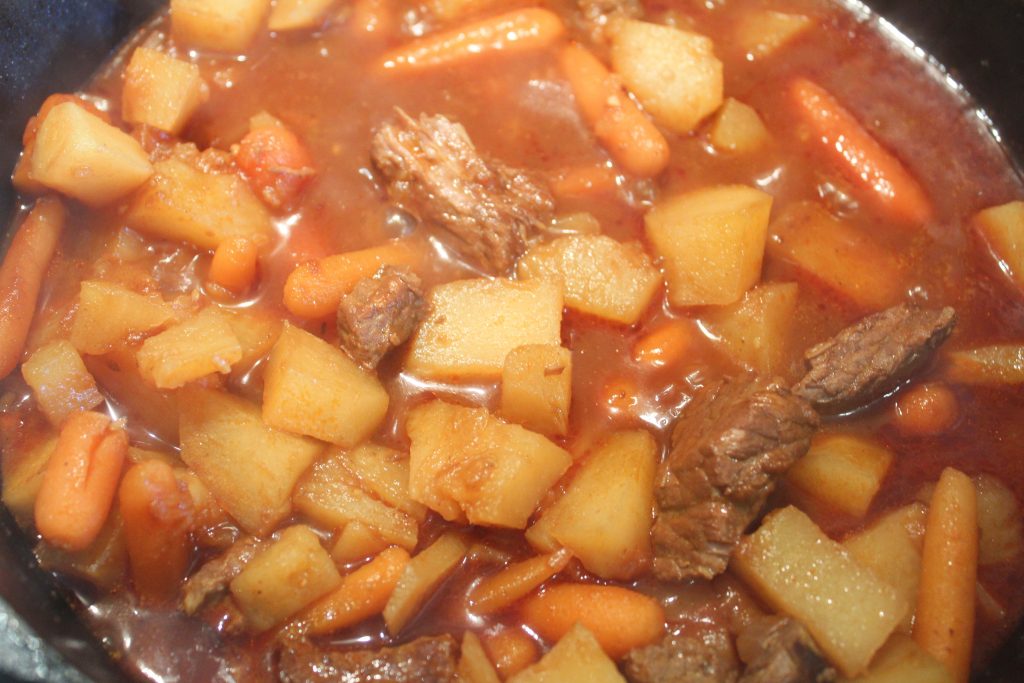
Irish or American…You Are Going to Love!

Irish Beef Stew

Full of rich flavor, this stew gives you all the warm feels on a cold, or hot day. Made with cubed stew meat, and potatoes, it's warm and delicious and you will think you've died and gone to Ireland!
Course: Main Course
Cuisine: American
Keyword: beef stew, carrots, dinner, irish beef stew, main course, mashed potatoes, st. patricks day dinner
Author: The Alphabet Mom

Ingredients

  • 2 lb lean, cubed stew meat
  • 1/2 tsp salt
  • 1/2 tsp pepper
  • 2 tbsp olive oil divided into 1 tbsp each
  • 1 small onion diced
  • 2 tsp minced garlic
  • 1 6 oz can tomato paste
  • 4 cups beef broth about 2 1/2 cans, saving the other half
  • 2 tbsp Worcestershire Sauce
  • 5 baking potatoes, peeled and cubed
  • 1 lb bag baby carrots

Instructions

  • Season meat with salt and pepper.
  • In a cast iron or stock pot, over medium-high heat, add 1 tbsp of olive oil. Once heated, add one-half of the stew meat, careful not to overcrowd the pan.
  • Sear first batch about 2 minutes on each side. Remove from pan and set aside and sear second batch.
  • Reduce heat to medium heat. Add the second tablespoon of olive oil to pot and after it has heated, add chopped onions and cook 5-6 minutes until soft. Add minced garlic and cook another minute.
  • Add tomato paste and whisk together with onions and garlic.
  • Then, add beef broth and Worcestershire Sauce, using the whisk to scrape the bottom of the pan to deglaze the pan and get the sediment off the bottom into your broth.
  • Add meat back to pot and bring to a boil. Cover and reduce heat to low and simmer for an hour (or until your beef is tender).
  • Add cubed potatoes and carrots. Cover and cook another 30-45 minutes until both are tender.
  • Uncover and remove from heat. Serve with cornbread or crackers.
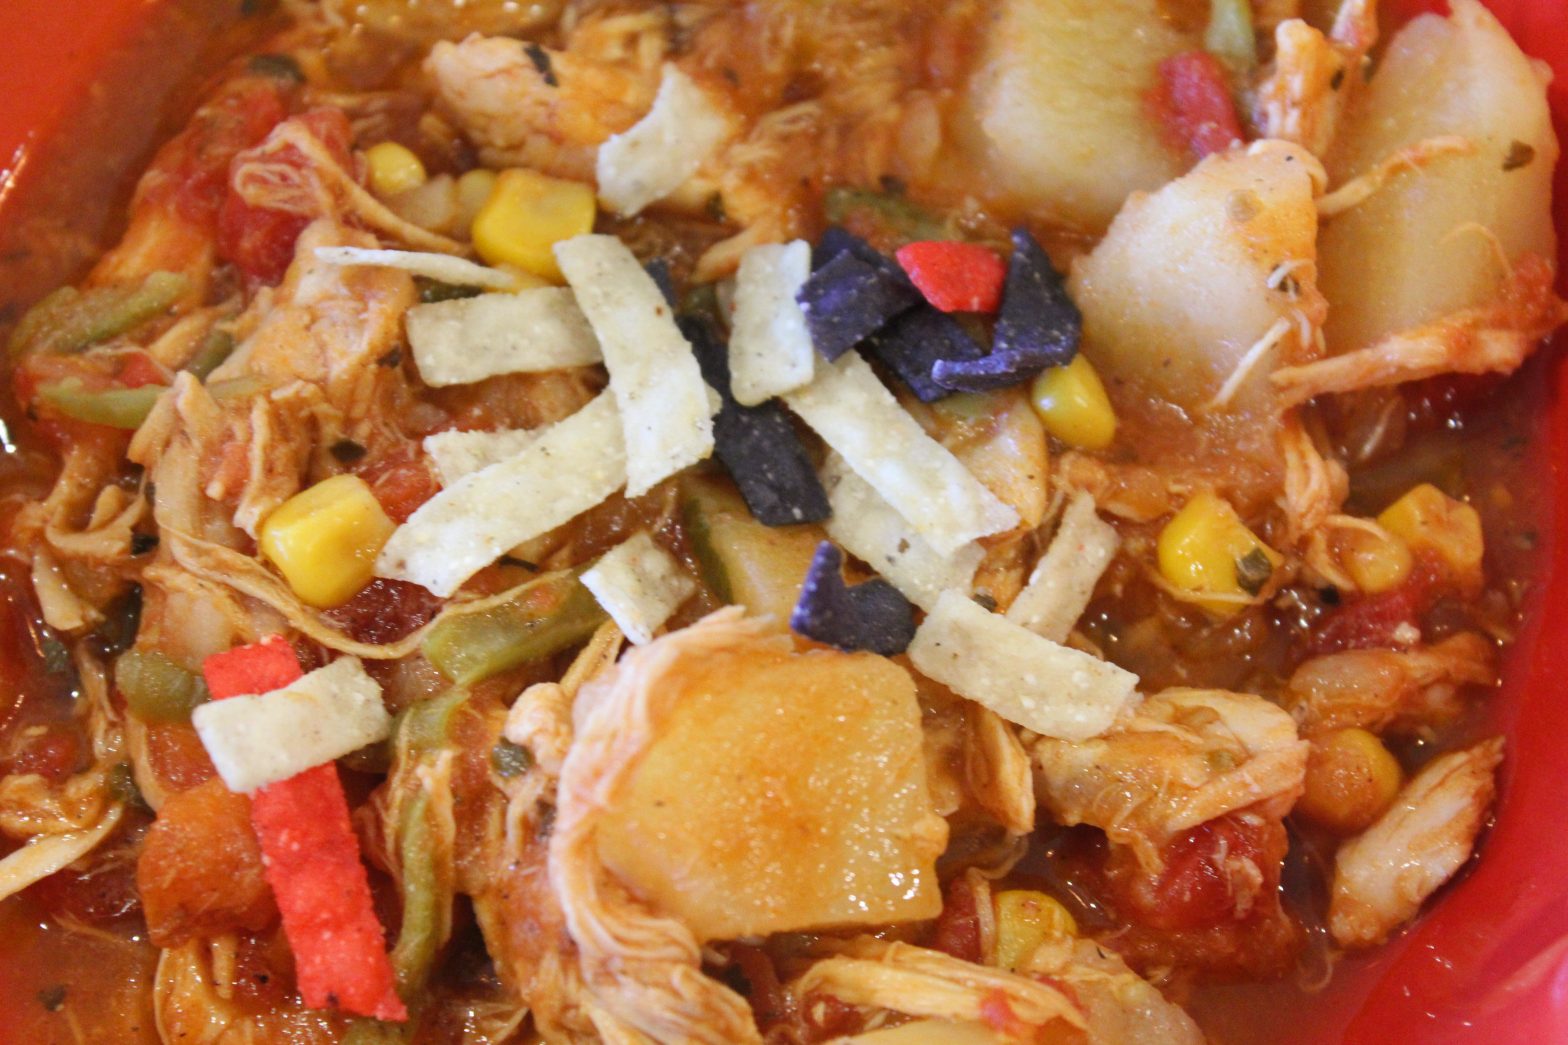
It’s Main Course March!

and we are starting with Mr. Joe’s Chicken Soup

You heard me right readers, I am going to bring it this month with main course ideas.

It is, after all, main course March.

But I made that up, I don’t know if it is or not, but it sounds good, right?

Especially since we are all looking for something new to throw together for dinner…all the time.

Just because I’m the Alphabet Mom, doesn’t mean I don’t get tired of trying to figure out what to cook, either.

So I went on a search and some of the recipes I’m bringing you are “new” and some of them are “old” but any way you look at it, they are good.

I mean really good.

Take Mr. Joe’s Chicken Soup for example…this one is really, really good.

Off We Go!

Mr. Joe is like a gourmet cook but doesn’t have his own cooking show.

But he could.

His daughter, Linda Lou, sent the recipe to me a while ago, and I have only made it one other time.

I’m not entirely sure why because not only is it easy, but it is so tasty and fresh.

Mr. Joe’s Chicken Soup

Honestly, the most complicated part is boiling your chicken and de-boning it.

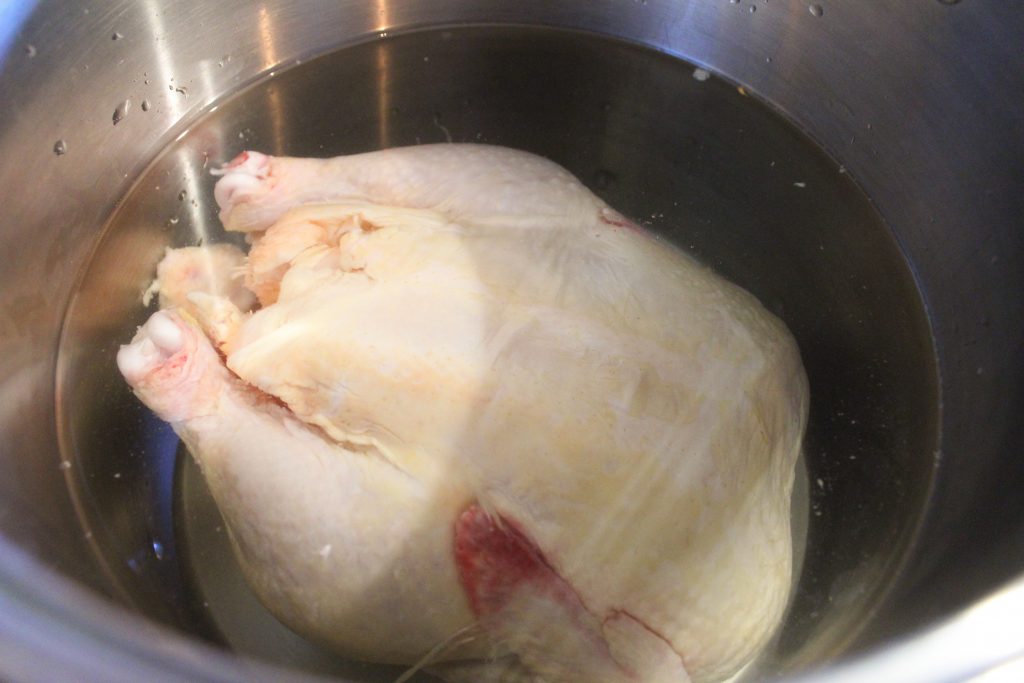
And before you go all eye rolling, deep sighing on me…how hard is it to put a chicken in a pot, cover it with water and cook it for 2 hours?

Cover Your Chicken Before It Gets Cold!

Oh, and cover it with a bag of frozen seasoned blend and a bag of frozen onions?

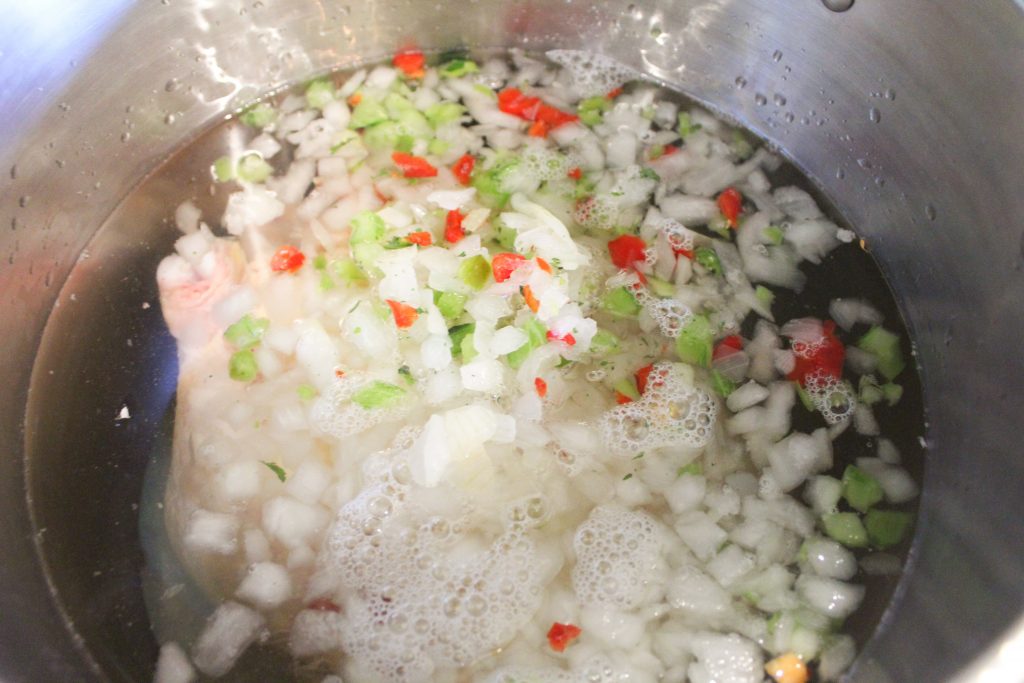
20 Cups of Water…1 Bag of Frozen Seasoned Blend and 1 Bag of Frozen Onions

So hard.

And I guess you could just de-bone a rotisserie chicken, that would work, but you wouldn’t have all these wonderful chicken juices as the base of your soup.

I mean, chicken juices are a thing.

So let’s get going and after I got this chicken in the pot, and as I showed you, I covered with water and poured in a bag of frozen seasoned blend and a bag of frozen onions.

Before you ask, it was 20 cups of water.

Because some of you will.

Now, give it some heat…medium to high until it starts to boil, then turn to medium and let it cook while you clean your house or take a nap or fold some clothes.

And let me tell you, boiling this chicken makes your house smell like you are a gourmet cook yourself.

That’s because I am turning you all into gourmet cooks.

And readers, that’s really it for preparation…other than cubing some potatoes and slicing some carrots, we are going to de-bone this chicken and throw it all in a pot.

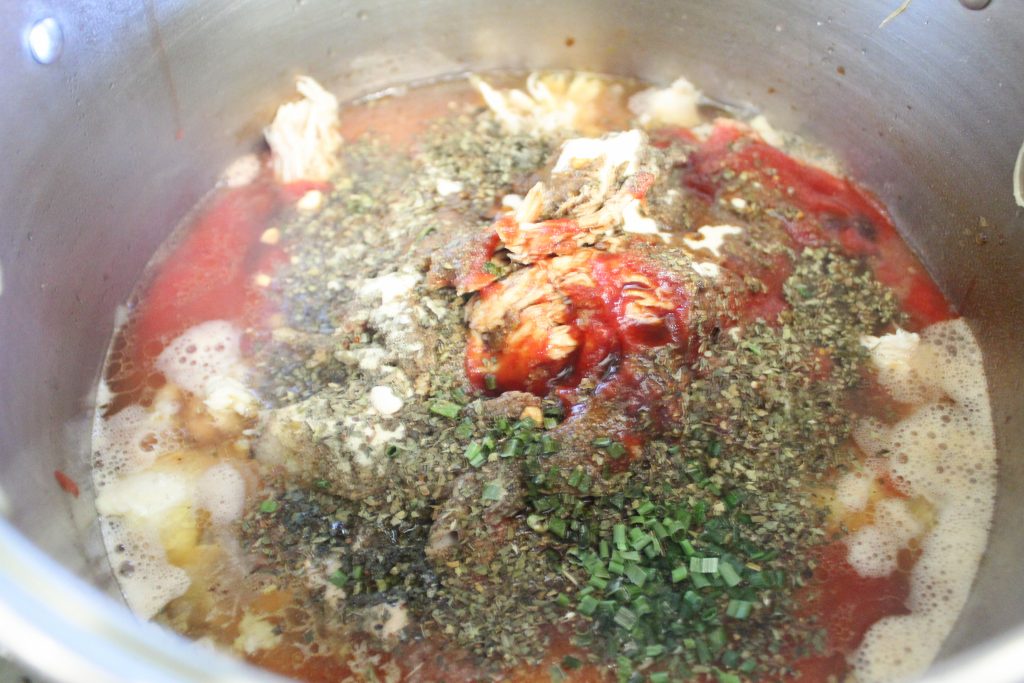
Everything But the Spices!

You heard me…and it is so, so good.

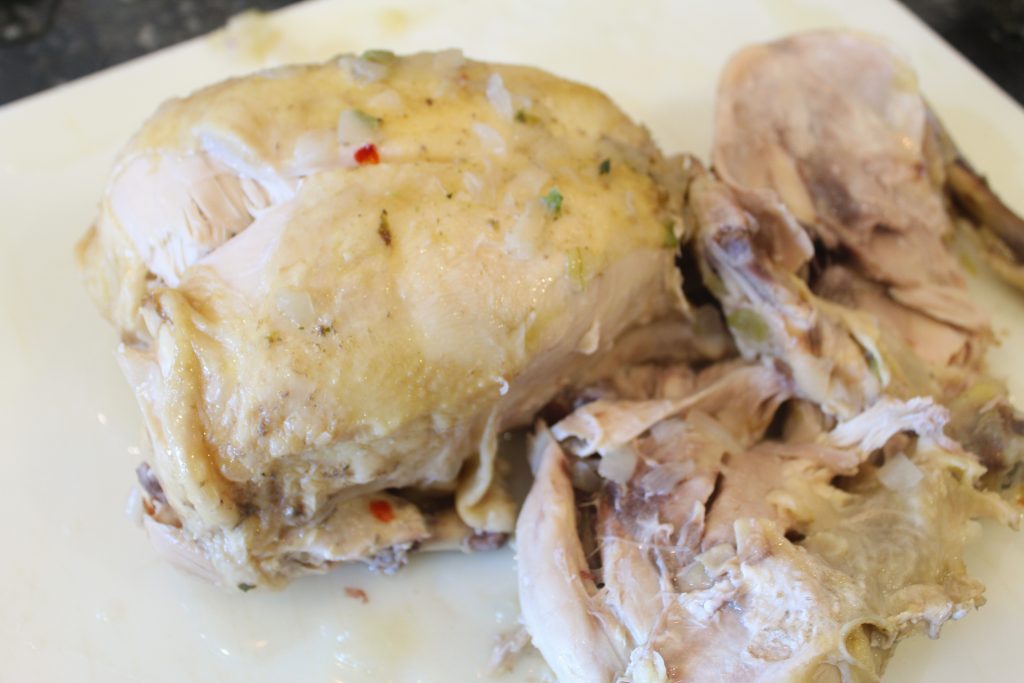
By the way, this boiling process literally makes this chicken fall off the bone, so I scooped mine out and put it on a cutting board to cool.

Boiled Chicken 101

You remember those 20 cups of water you used to cover the bird? Well, that’s our soup base and we are just going to add everything to it.

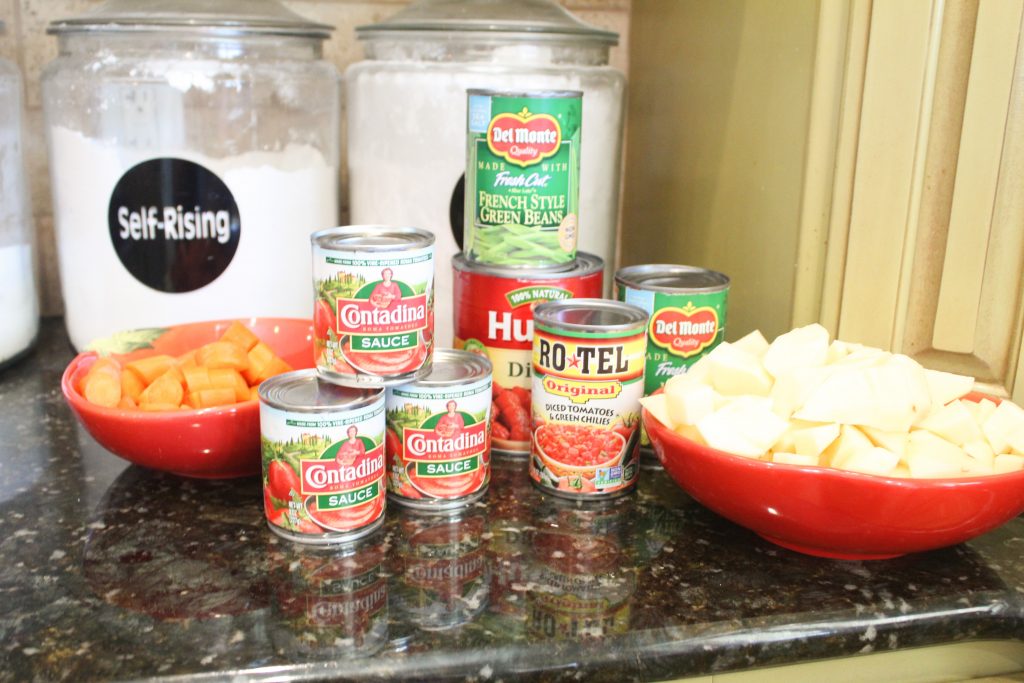
By everything…take a look below…including our de-boned chicken.

Open and dump your can of corn, can of French cut green beans, 3 cans of tomato sauce, 1 can of diced tomatoes, 1 can of Rotel tomatoes, 5-6 potatoes, diced and 5 carrots, sliced.

Here’s a pic with everything, including spices, which includes 2 tablespoons of salt, 1 tablespoon of pepper, 1 teaspoon dried parsley, 1 teaspoon garlic powder, 1 teaspoon chives, 1 tablespoon basil, 4 tablespoons Worcestershire sauce and if you are brave, some hot sauce to taste.

Now, let’s cook it for another hour to hour and a half to get our potatoes and carrots done.

If you are in a hurry, you could always cook those on top of the stove while your chicken is boiling, so when you are ready to combine everything, you would only have to warm the soup and be ready to serve.

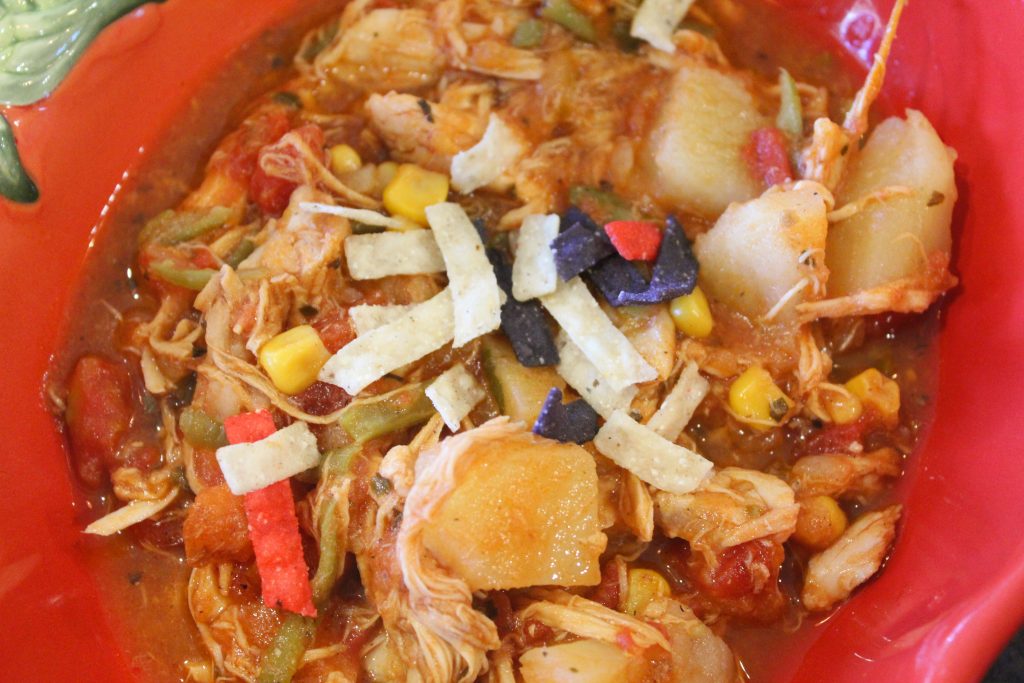
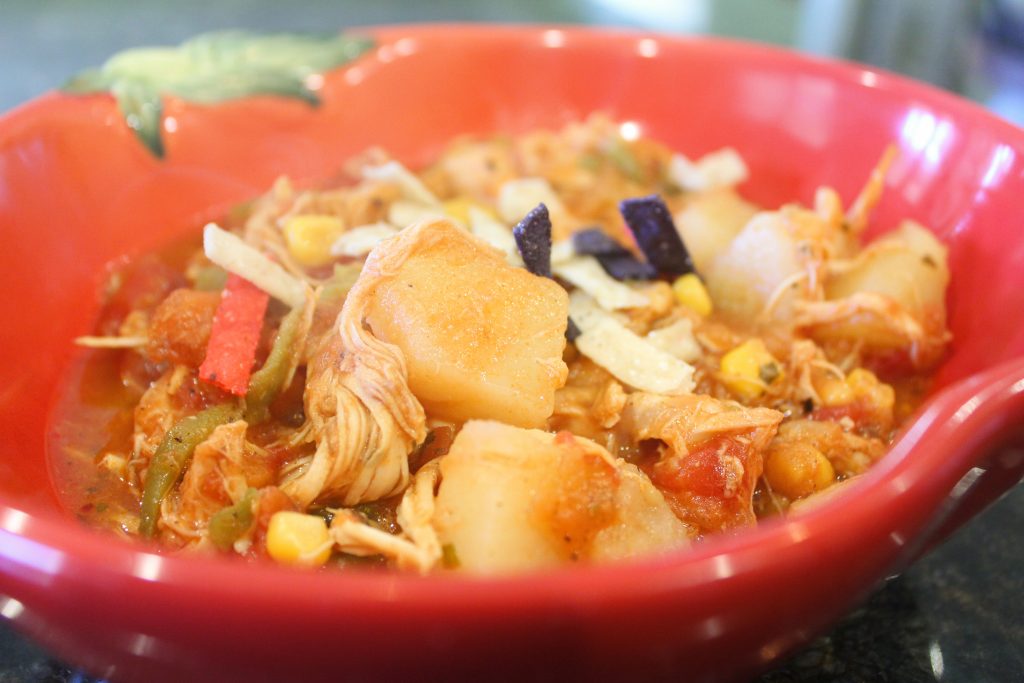
We like ours with some tortilla strips on top. You could put sour cream, avocado, salsa or tortilla chips…or nothing at all!

Mr. Joe’s Chicken Soup

Main Course March is off to a good start and we have Mr. Joe to thank for that!

Mr. Joe’s Chicken Soup

This is the "throw it all in a pot and let it cook" kind of dish. Warm and yummy with a variety of flavors, it's the best chicken soup recipe out there!
Course: Main Course, Soup
Cuisine: American
Keyword: appetizer, brunch, chickenrecipe, chickensoup, main course, soup
Author: The Alphabet Mom

Ingredients

  • 1 whole chicken
  • 1 bag frozen Seasoned Blend
  • 1 bag frozen diced onions
  • 1 can whole kernel corn drained
  • 1 can French cut green beans drained
  • 3 cans tomato sauce
  • 1 can diced tomatoes 15 oz
  • 1 can Rotel tomatoes
  • 5-6 baking potatoes diced
  • 5 carrots sliced
  • 2 tbsp salt
  • 1 tbsp pepper
  • 1 tsp parsley
  • 1 tsp garlic powder
  • 1 tsp chives
  • 1 tbsp basil
  • 4 tbsp Worcestershire sauce
  • hot sauce to taste

Instructions

  • Submerge chicken in 20 ounces of water. Cover with seasoned blend and onions.
  • Cook for 2 hours until tender. After it cools, de-bone using the parts of the chicken you like and shred.
  • Return to pot with remaining water from cooking the chicken.
  • Add rest of ingredients.
  • Cook for an hour to an hour and a half until potatoes and carrots are tender.
  • Top with favorite toppings such as tortilla strips, avocado, sour cream, salsa or tortilla chips.

Mom’s Meatloaf

for another family favorite…especially John’s!

It’s true…my mom is a great cook.

Oh, she says she has “lost her touch” but let me assure you of one thing.

She hasn’t.

My dad likes to talk about the days when she would fry chicken.

And pork chops.

And make meatloaf.

Just because she felt like it.

Now he says he could hide her Christmas present in the oven and she would never find it.

Cause she doesn’t cook.

But that’s not true at all…when my brother comes home to visit…she cooks everything he wants.

And she starts with this meatloaf.

I think for me, and I don’t know if I have ever thanked my mom, for making sure we always had a great meal on the table.

Every.Single.Night.

So, thank you Mom, for the way you loved us and took care of us and still do.

And cooked every meal for your family with love (cause we didn’t really have fast food back in the day).

Even I don’t do that, and I’m the Alphabet Mom.

Cooking…oh, and writing…are my life.

I can’t really remember when my love for cooking all started for me…I remember being in high school and just walking in the kitchen one day thinking I wanted to cook something.

And started with using a pressure cooker to cook some peas.

Yeah…about that.

I took the lid off before the pressure cooker whistle stopped blowing.

Yeah…about that, again.

Let’s just say, it sounded like a 747 jet landed on our roof.

And there were peas in every nook and cranny of our house.

For like 5 years, we were still finding peas.

And we had to repaint the ceiling.

I never used a pressure cooker again, because for one, I didn’t want to lose my eyebrows again…because they were singed off.

And for two, I wasn’t real keen on the clean-up/paint job after pressure cooker-gate.

But I did go on to become a pretty good cook.

Except, I have never made this meatloaf.

Until this blog post.

So, we are technically making this together readers.
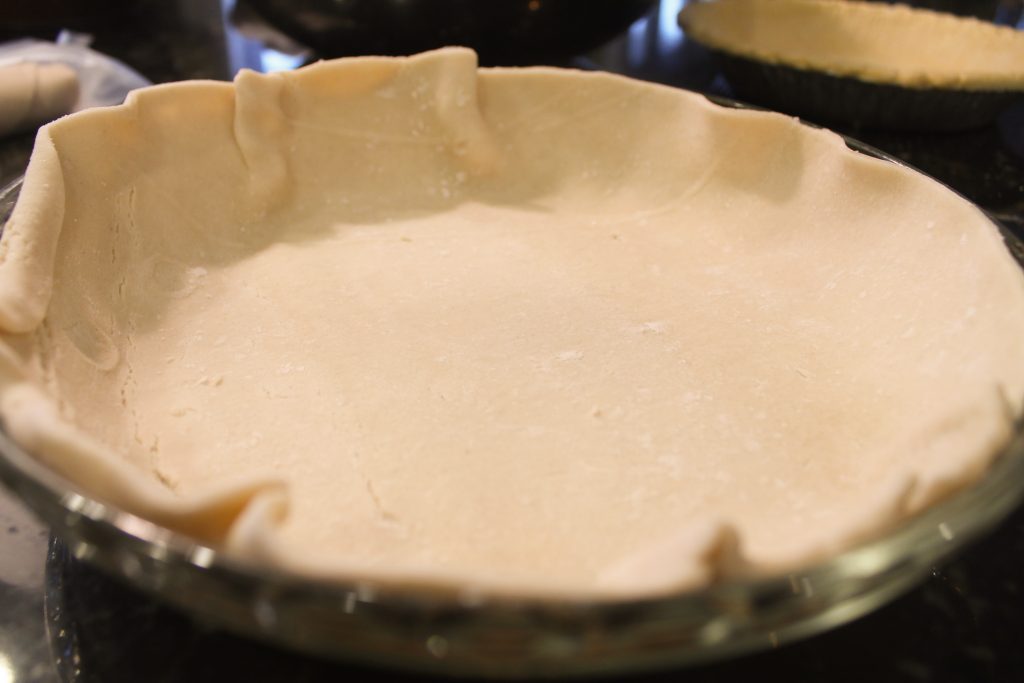
And we will be the “Little Engine that Could” making meatloaf together.

Cause trust me, with mashed potatoes and macaroni and cheese, it’s going to take you back to your grandmother’s house or maybe Cracker Barrel and you will want to go back again and again.

So, get your mixing bowl out, wash your hands and get ready to mix “yo” meatloaf.

I like the way that sounds.

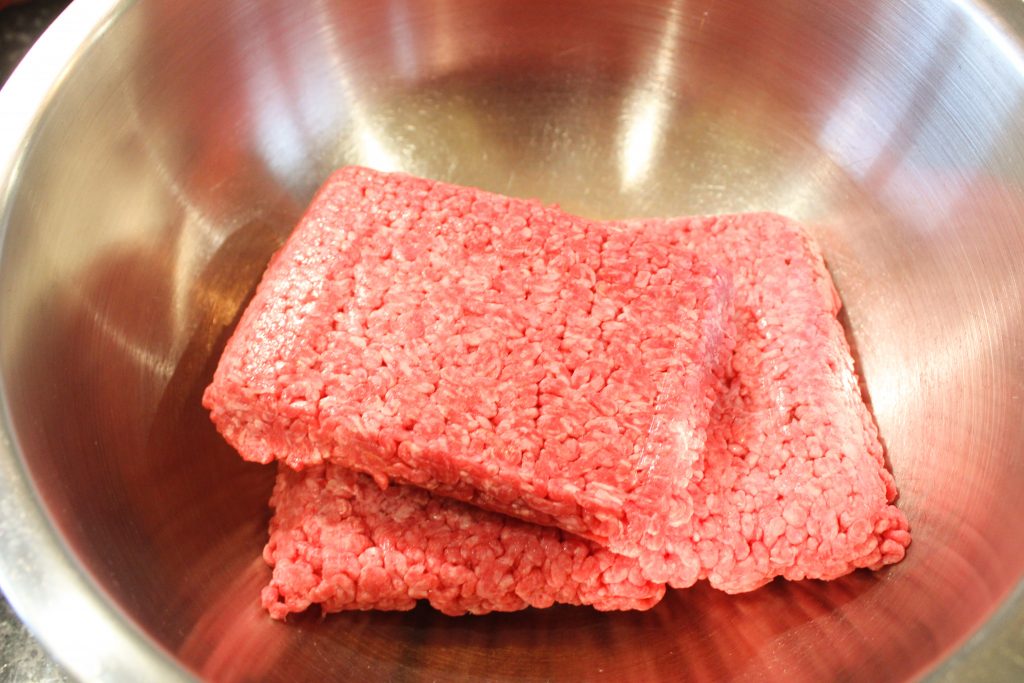
Right, so we are going to start with 3 pounds of ground chuck. Mom says it has less grease when it’s baking, so let’s take her word for it.

3 Pounds of Ground Chuck

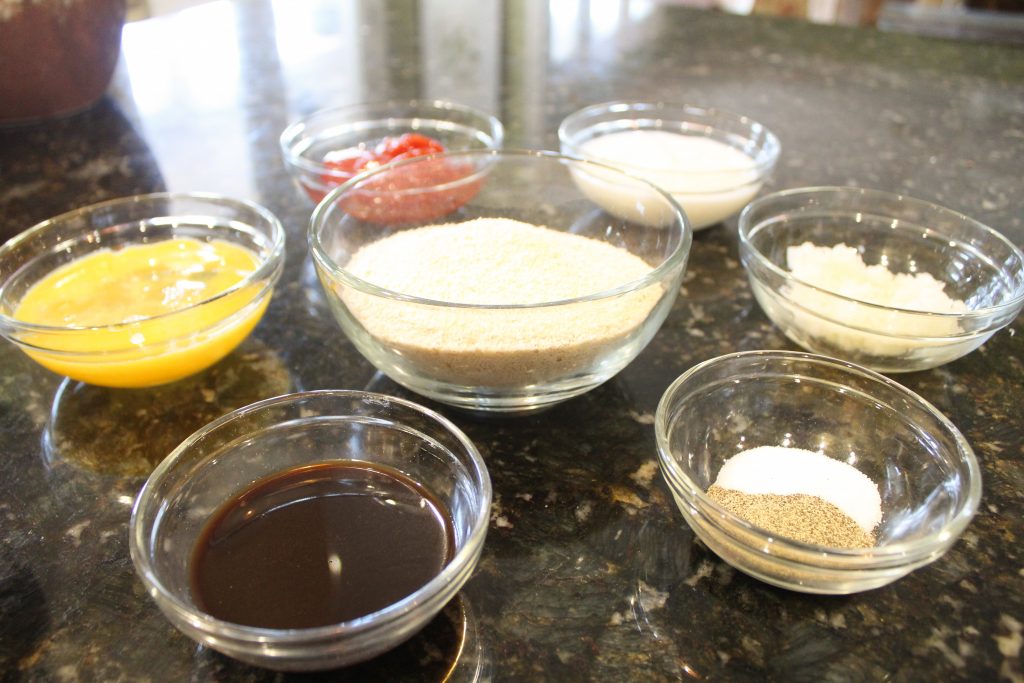
Check out these ingredients…including 2 tablespoons of finely chopped onions.

Ingredients For Meatloaf!

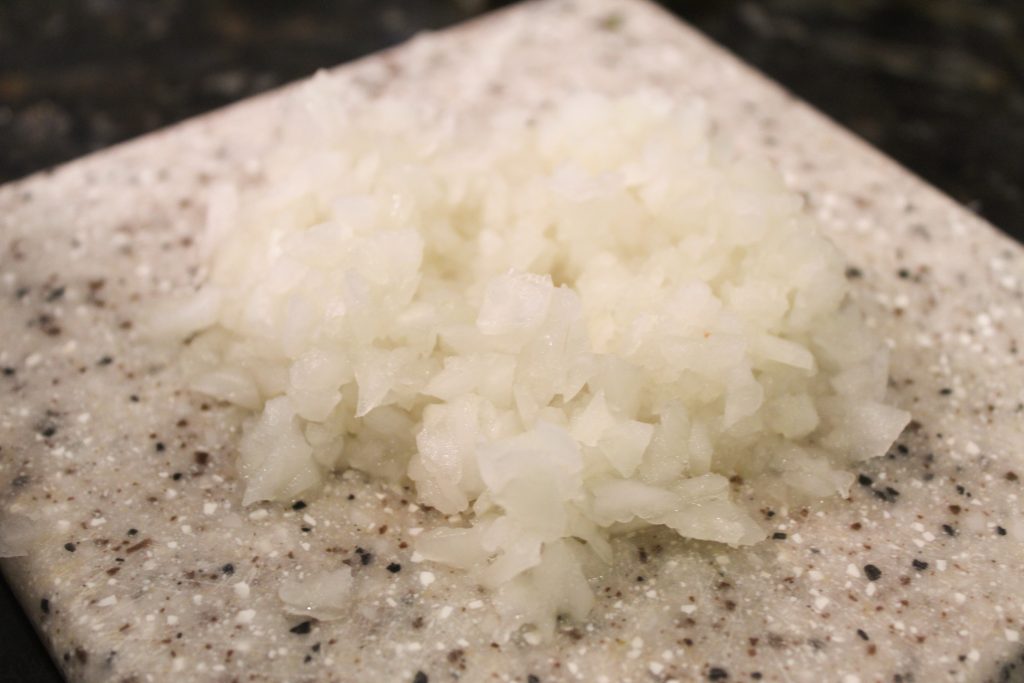
Please don’t put big onion boulders in your meatloaf…I use my hand chopper and get them real finely chopped.

2 Tablespoons Finely Chopped Onions

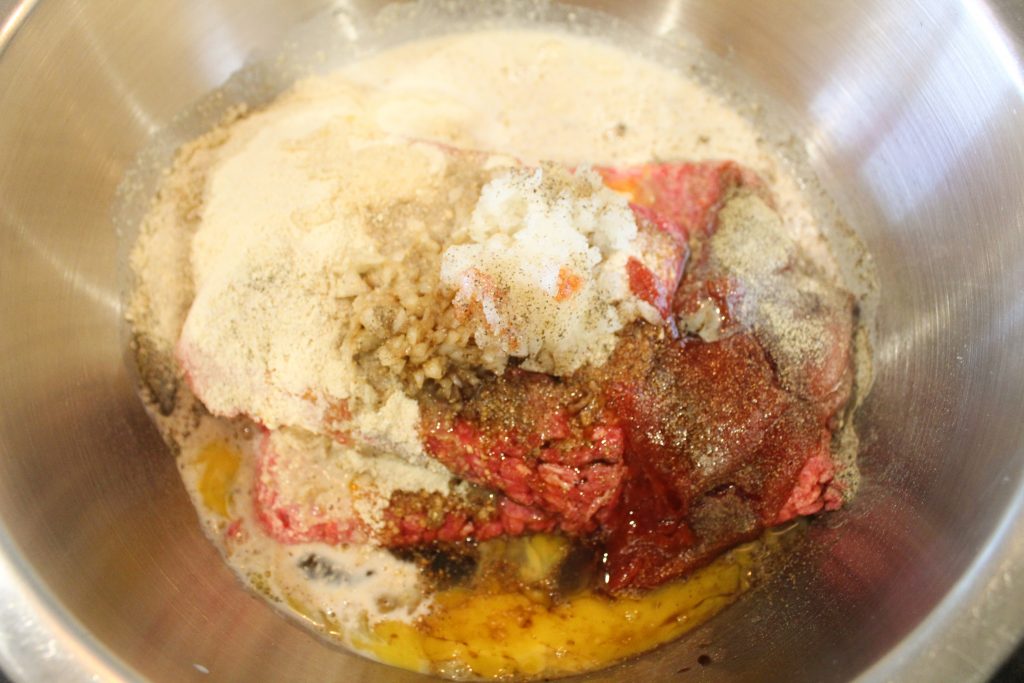
So now we are ready to mix and make…add 3 slightly beaten eggs, 3/4 cup of milk, 1 1/2 cup of bread crumbs, 2 tablespoons finely chopped onions, 1/2 cup ketchup, 3 tablespoons of Worcestershire Sauce, 1 teaspoon salt and 1 teaspoon pepper.

Mix All Ingredients!

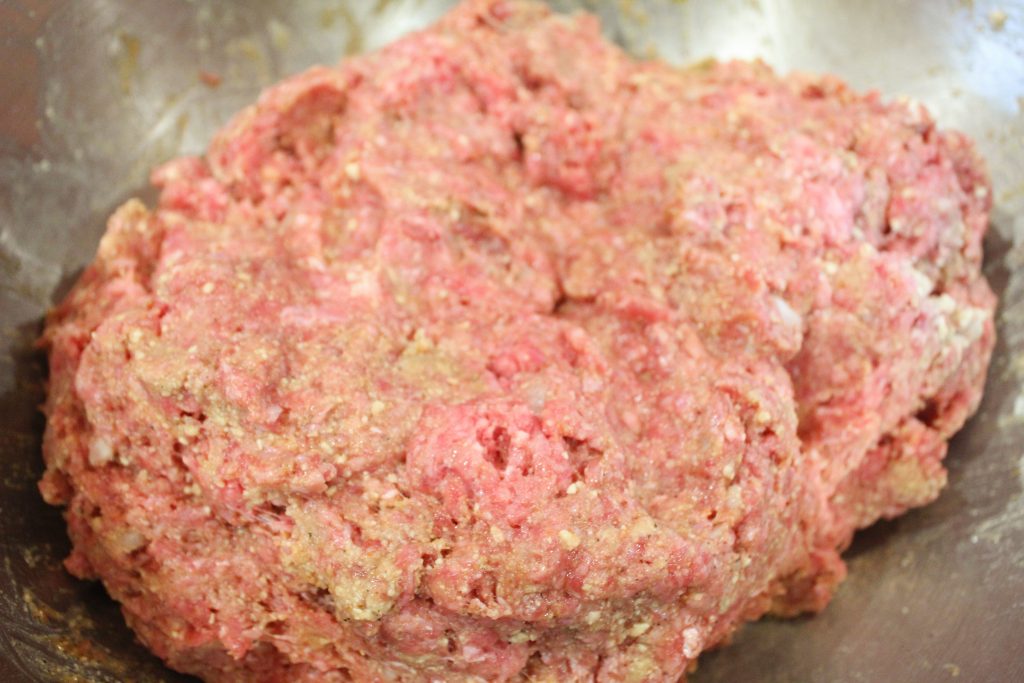
Okay, time to get our hands dirty and there is no easy way to do this, just dive in.

Mixed Meatloaf!

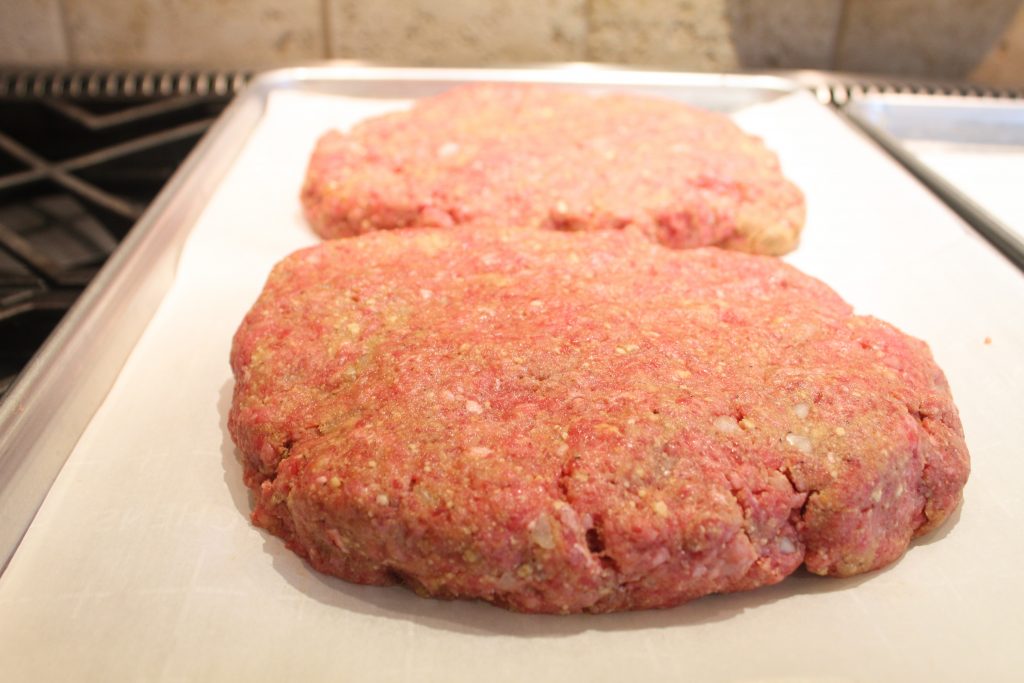
Mix it all together really well and shape into two loaves, about 1 inch thick.

2 Loaves Coming Right Up!

Now, here’s the secret no one tells you unless they’ve made in as much as my mom, but the meatloaves are going to cook off some grease.

They just are. And no one wants greasy meatloaf.

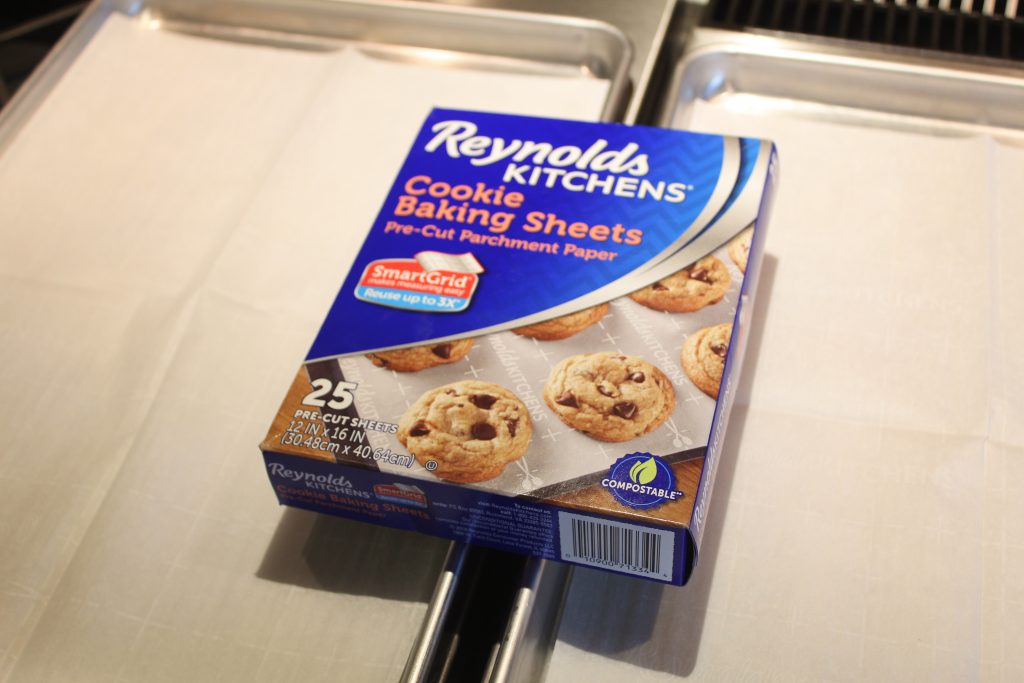
So, to circumvent (big word Wednesday) we are going to line our jelly roll pan with one of these really cool parchment papers that I use for cookies and baking.

Line 2 Jelly Roll Pans With Parchment Sheets

We are going to line another one, which we will use in a few minutes.

Place your loaves on the parchment paper and bake at a 350 degree oven for an hour to an hour and 15 minutes.

Use this time while they are baking to make your mashed potatoes.

And peas.

Or macaroni and cheese.

Or maybe you just want to slice your meatloaf up and have sandwiches.

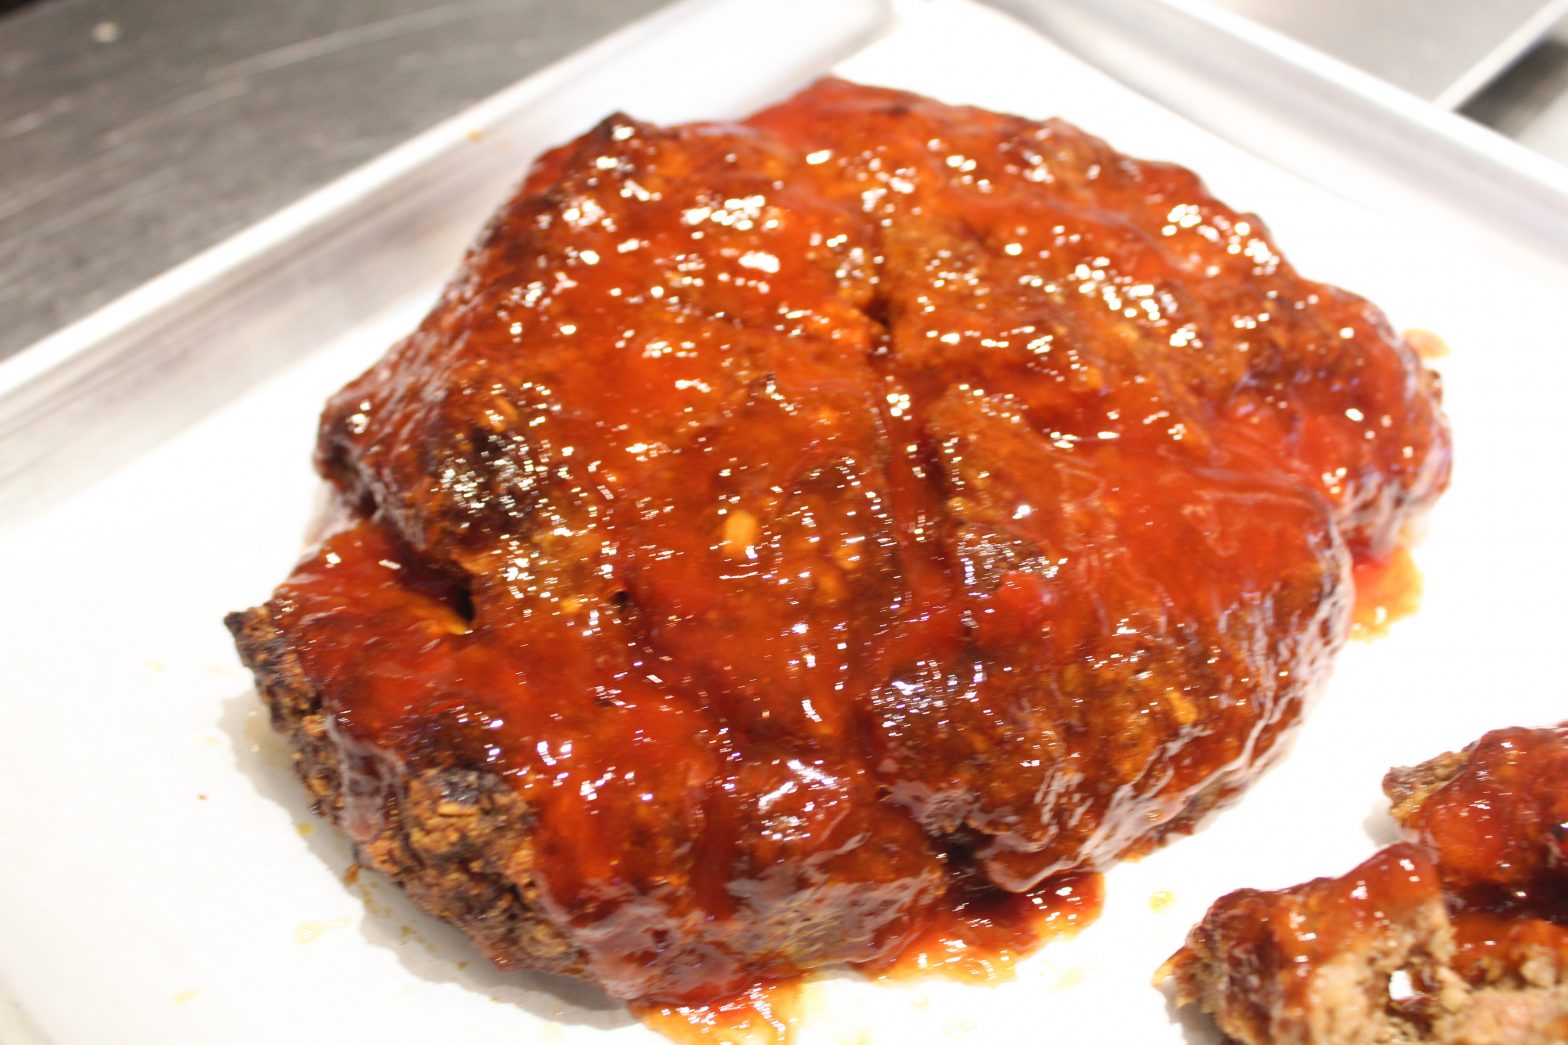
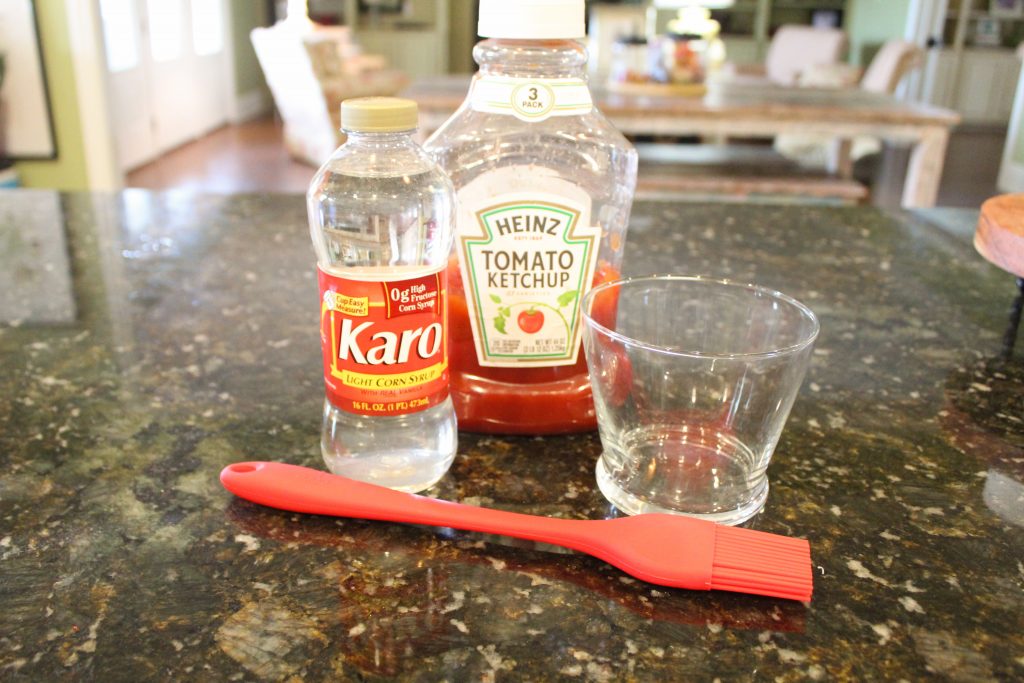
But after they have baked and are cooked through, we are going to mix 1 cup Karo syrup and 1 cup ketchup and whisk together.

Basting Ingredients To Top Off Our Loaves

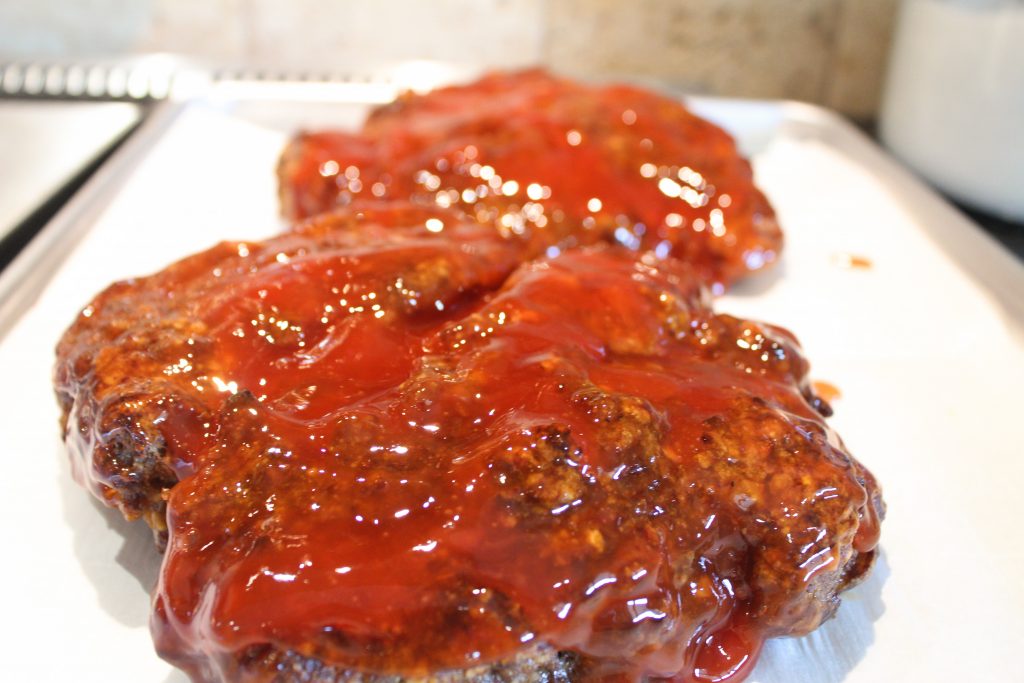
Move your two loaves to the clean jelly roll pan prior to basting them with our ketchup/Karo mixture and then baste away!

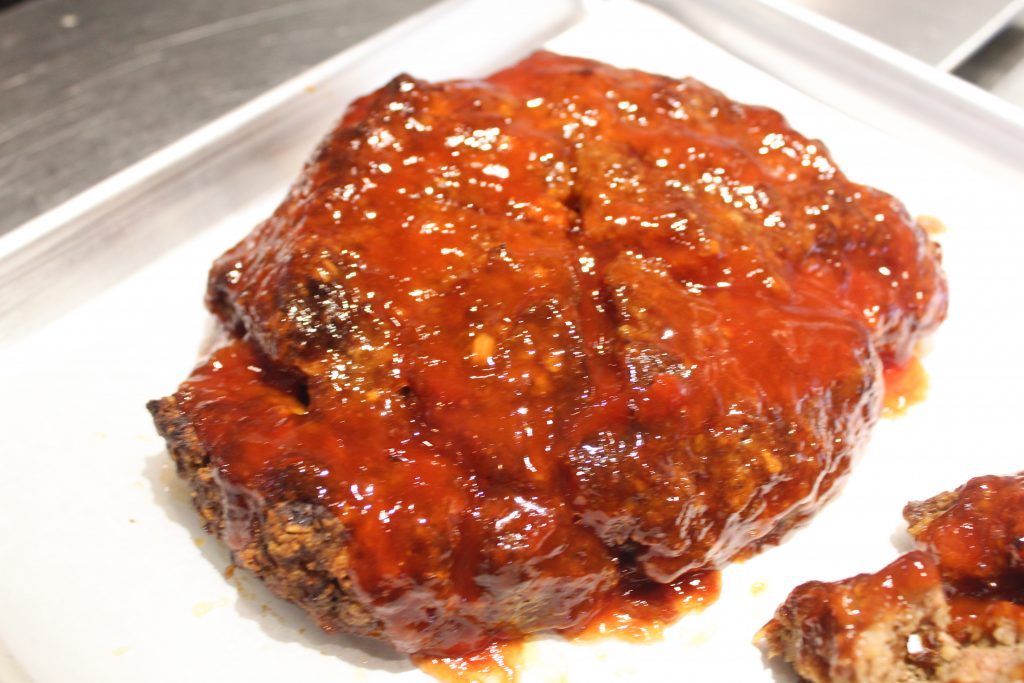
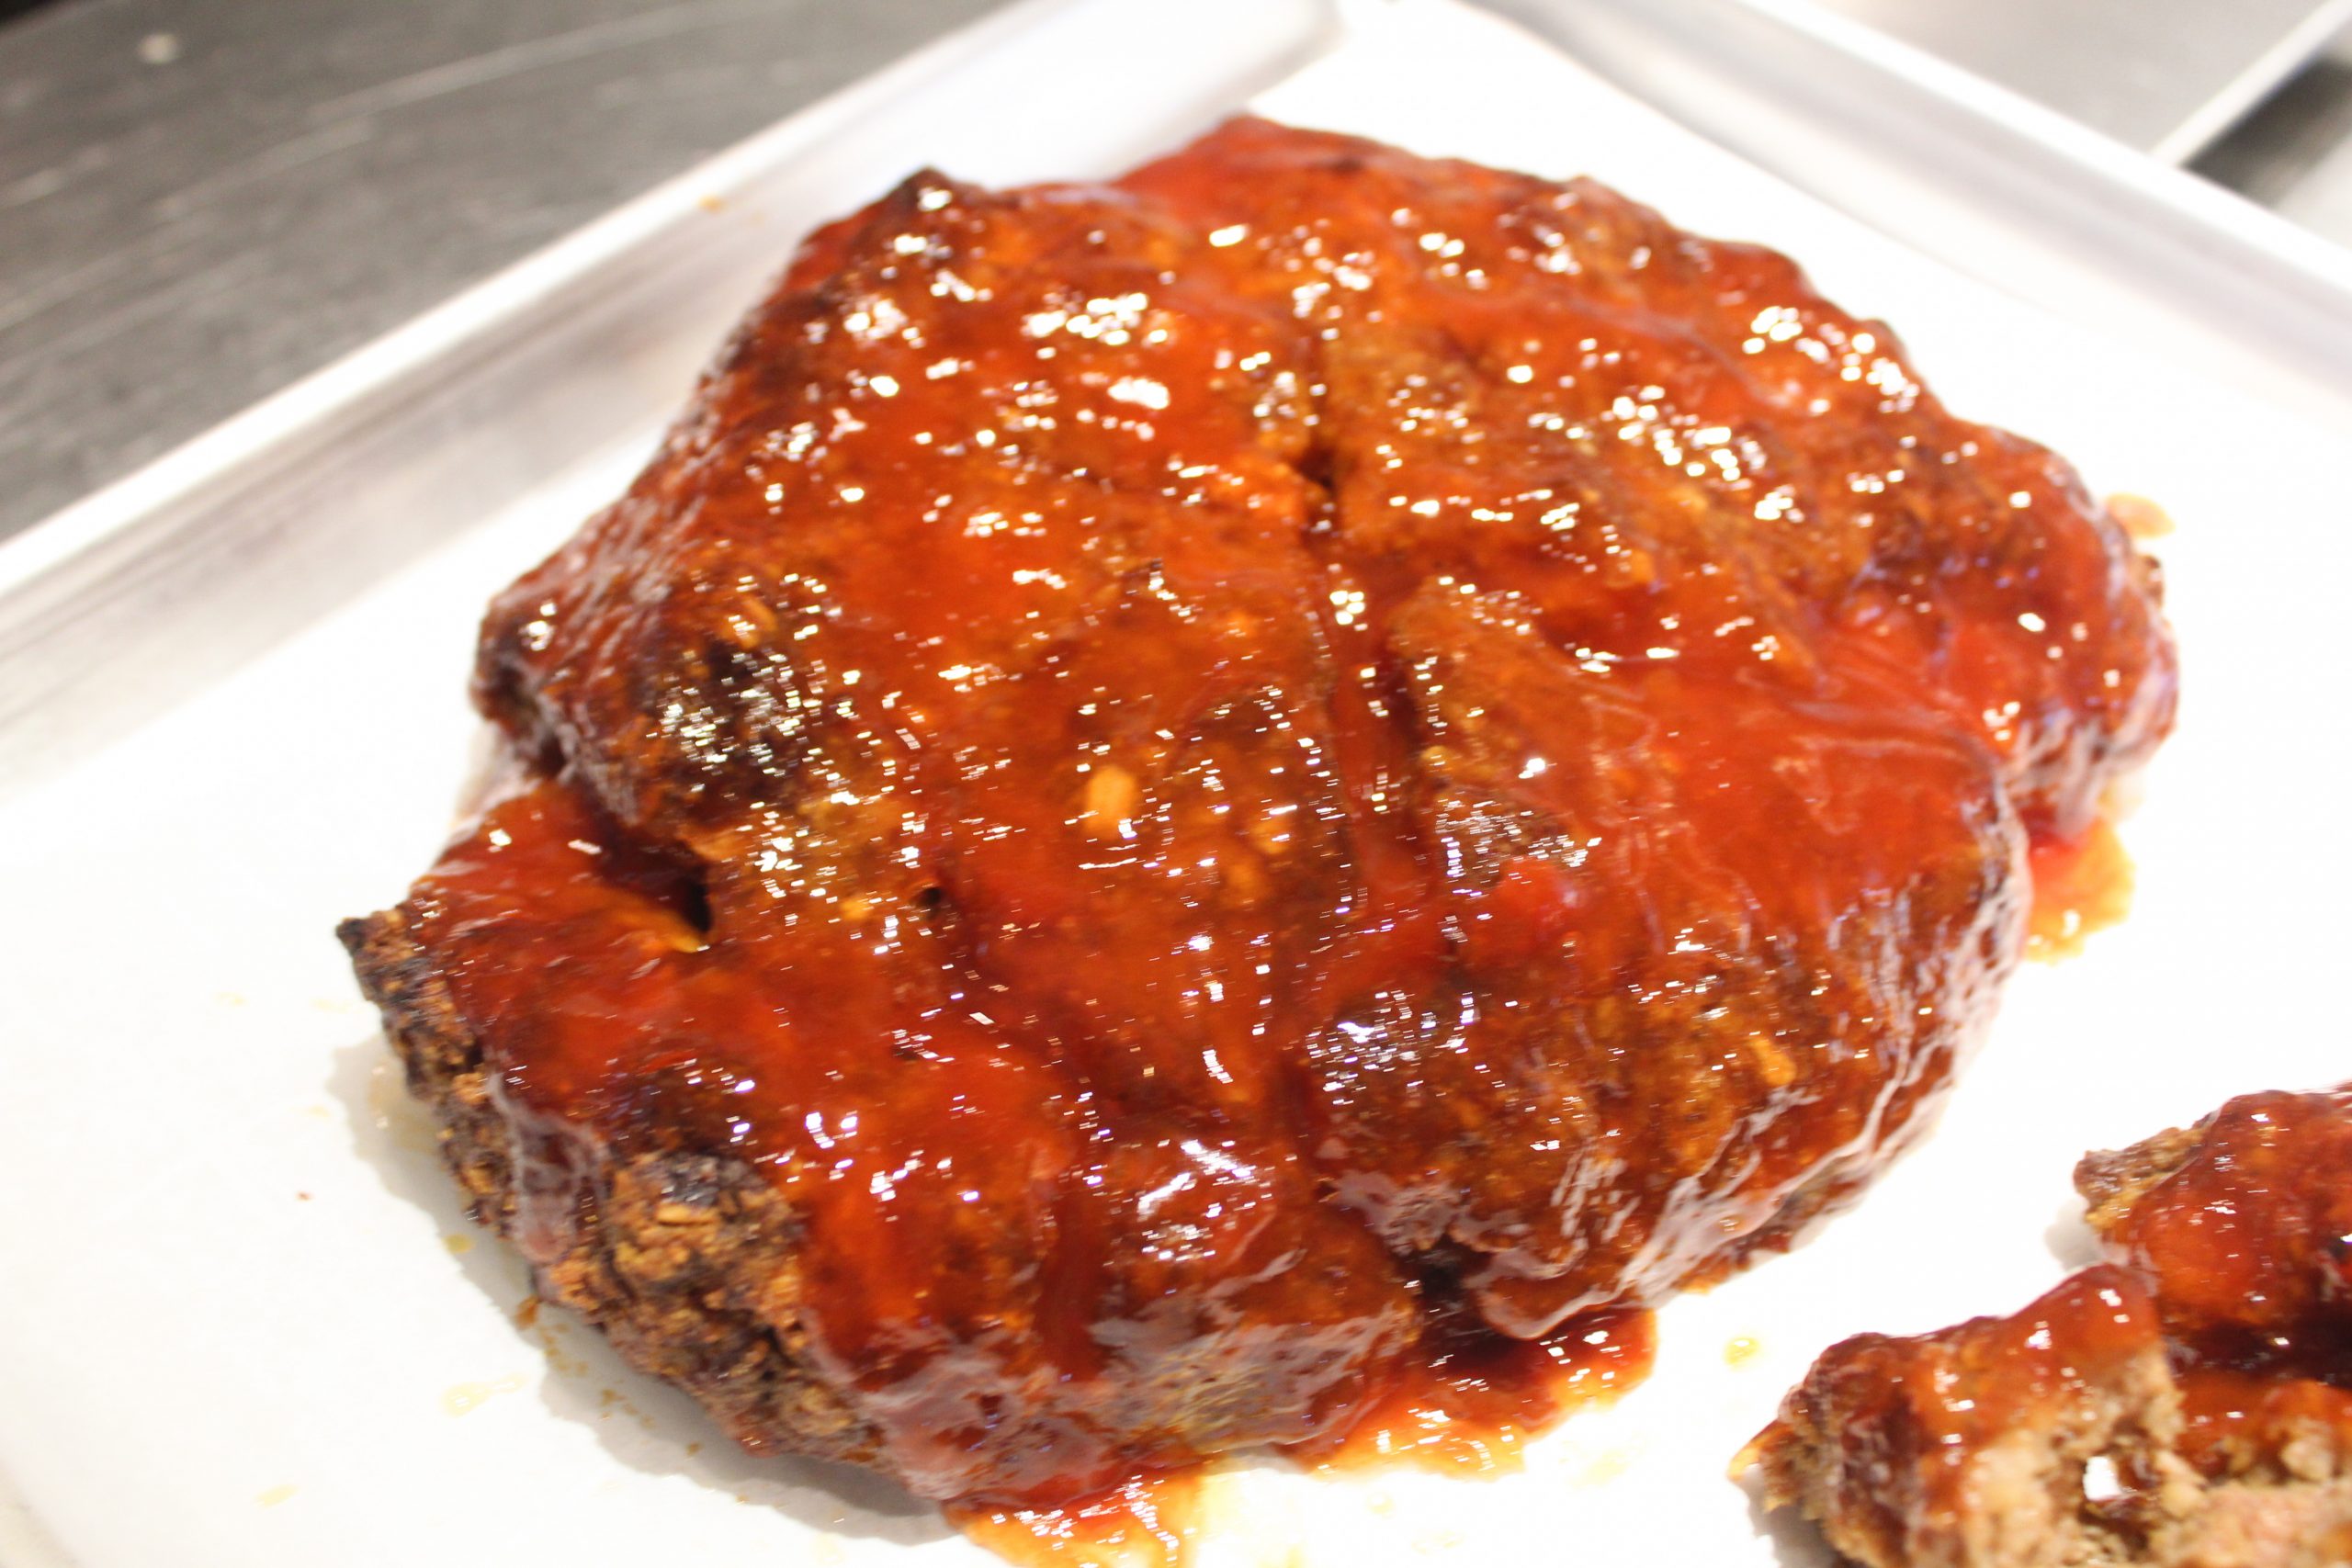
Basted Loaves Ready to Finish Up!

Put the 2 loaves back in the oven for 15 minutes.

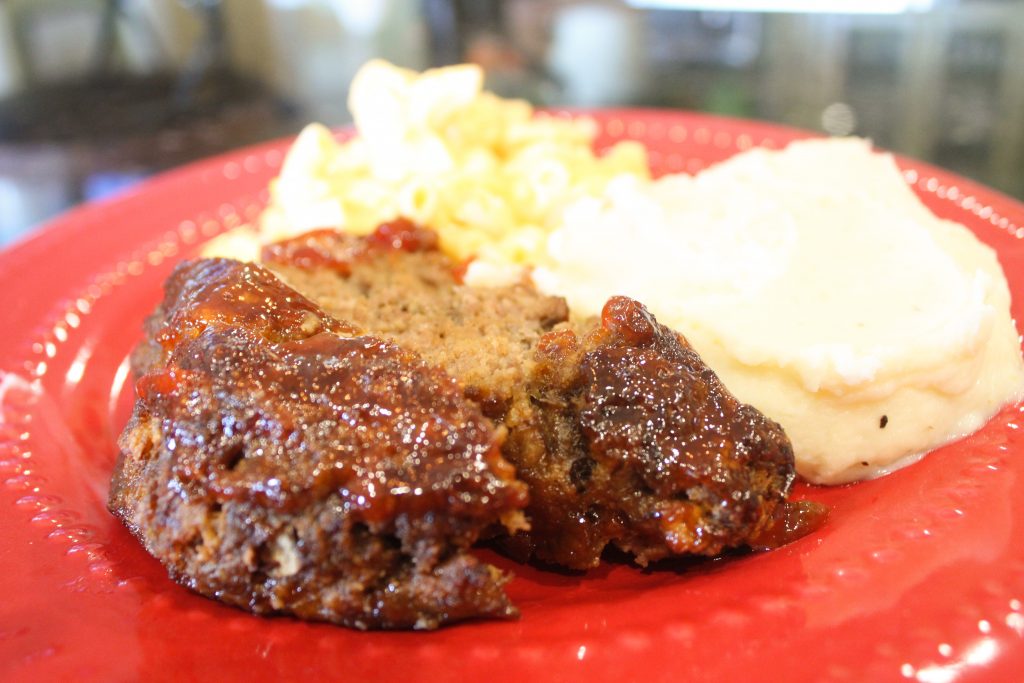
And then plate it up!

Yes, It’s A Little Bit of Heaven!

And yes, it’s John’s favorite meal!

Big John’s Favorite!

And it will be yours, too!

Cracker Barrel may even be calling for the recipe…I wouldn’t be surprised.

Mom’s Meatloaf

This recipe will take you back to your childhood, or maybe your last trip to Cracker Barrel. Nothing says love from the kitchen like a plate of homemade meatloaf and mashed potatoes. Thanks, Mom!
Course: Main Course
Cuisine: American
Keyword: dinner, homemade, main course, mashed potatoes, meatloaf
Author: The Alphabet Mom

Ingredients

  • 3 lbs ground chuck
  • 3 eggs, slightly beaten
  • 3/4 cup milk
  • 1 1/2 cups bread crumbs
  • 2 tbsp finely chopped onions
  • 1/2 cup ketchup
  • 3 tbsp Worceshire Sauce
  • 1 tsp salt
  • 1 tsp pepper
  • 1 cup ketchup
  • 1 cup Karo syrup

Instructions

  • Preheat oven to 350 degrees.
  • Line 2 jelly roll pans with parchment paper.
  • Mix ground chuck, eggs, milk, bread crumbs, onion, ketchup, Worcestershire Sauce, salt and pepper with your hands and shape into loaves, about 1 inch thick.
  • Bake for 1 to 1 and a half hours.
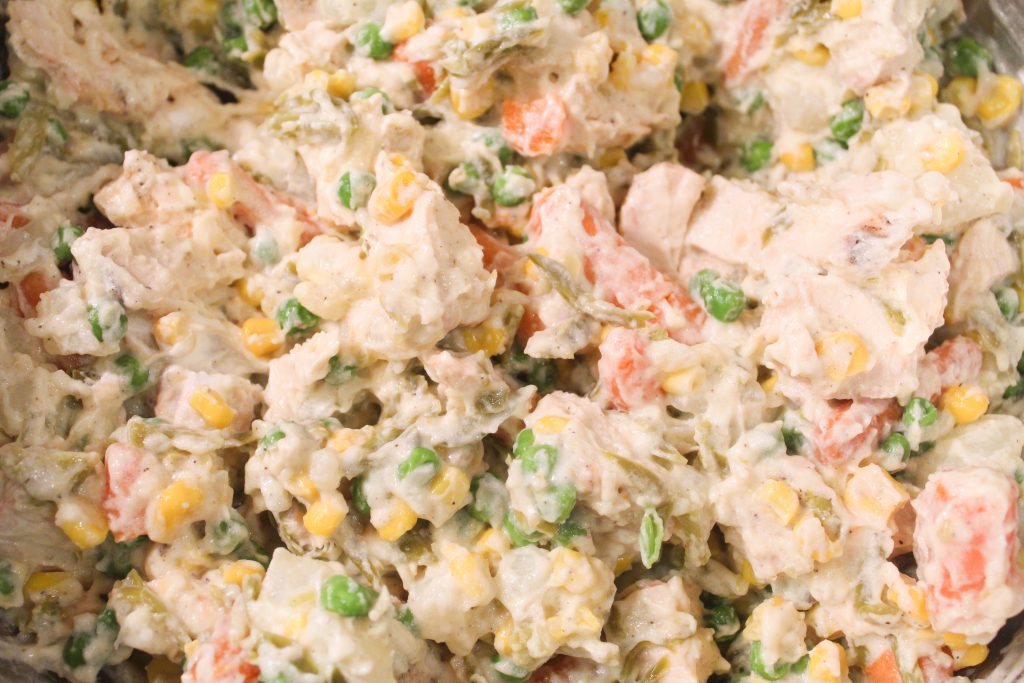
  • Remove from oven and transfer loaves to second jelly roll pan.
  • Baste with ketchup and Karo mixture and return to oven for 15 minutes.
  • Slice and enjoy with mashed potatoes.
Happy Great American Pie Month

and we are celebrating with Chicken Pot Pie

Who says pie has to be sweet to celebrate?

Not me.

And Chicken Pot Pie is just as worthy of a celebration as any pie I know.

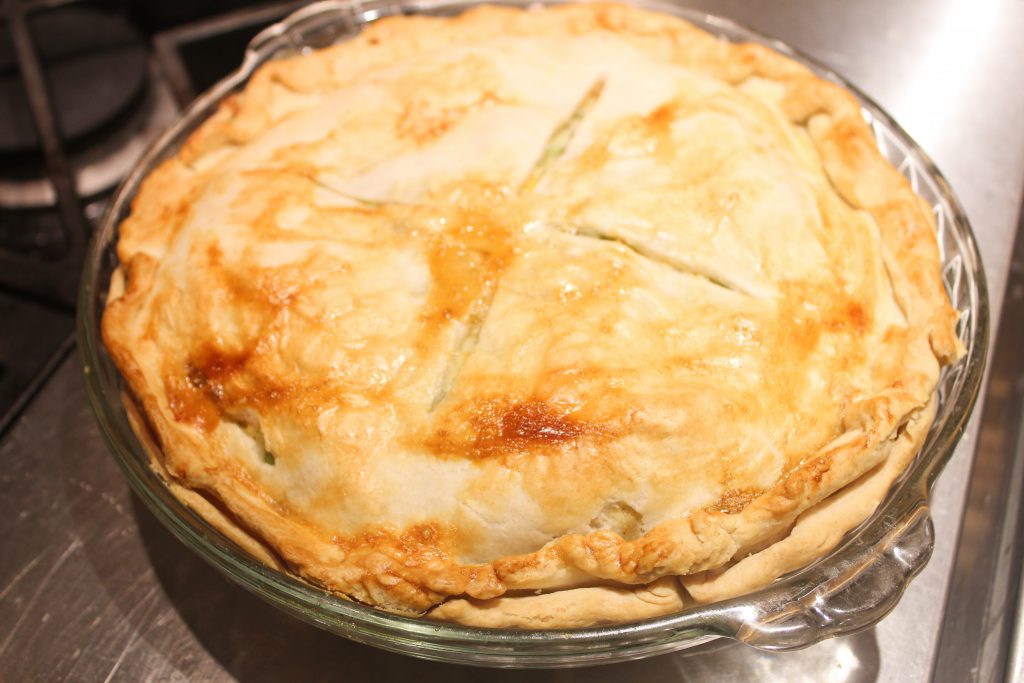
Chicken Pot Pie For the Win!

Well, except Grammy’s coconut pie.

Or chocolate.

Or banana caramel.

But I’m going to wait and share those later during “Pie July.”

That should give you something to look forward to.

In the meantime, we are going to make Cindy’s Chicken Pot Pie because well, I have no idea where I got this recipe.

I think it started with one my mom used to make, and I decided to modify it.

You know, because I’m just a kitchen chemist like that.

Speaking of being a kitchen chemist, be watching my social media accounts soon as I literally take to the kitchen on my live feeds.

Also something for you to look forward to.

I may have even bought a lab coat and goggles for the live news feeds.

It will be fun to be testing recipes and you will be right there in the kitchen while I do.

Because the good Lord knows I spend a lot of time testing them now.

The problem with an oldie but goodie like Chicken Pot Pie, is that I have been making it so long, I don’t really have a recipe.

You know what I mean?

Who else out there just starts throwing a bunch of stuff in the pot? Or the bowl?

So, when I get ready to share it with you, I have to stop, measure and bake.

Wait.

Did we just create a new kitchen mantra?

Moving on because I know you are ready to get to the end of this blog post and see the divine creation we are going to create today.

And we are going to start with a lesson in roasting chicken.

Now, if you ask my family and friends, I can roast some chicken.

But I can’t take credit because my cooking idol, Ina Garten, aka the Barefoot Contessa, is the one who showed me the way.

Now, I roast breasts all the time.

Qualifier: I roast chicken breasts all the time, for a number of reasons.

Sometimes I stuff their bodies and roast with veggies.

Sometimes I roast chicken breasts to put in chicken and spaghetti.

Or make chicken salad.

Or just to put on top of a big Caesar salad.

Any way you roast your chicken breasts, and for whatever way you want to serve them, this is the most foolproof way to do it.

And delicious.

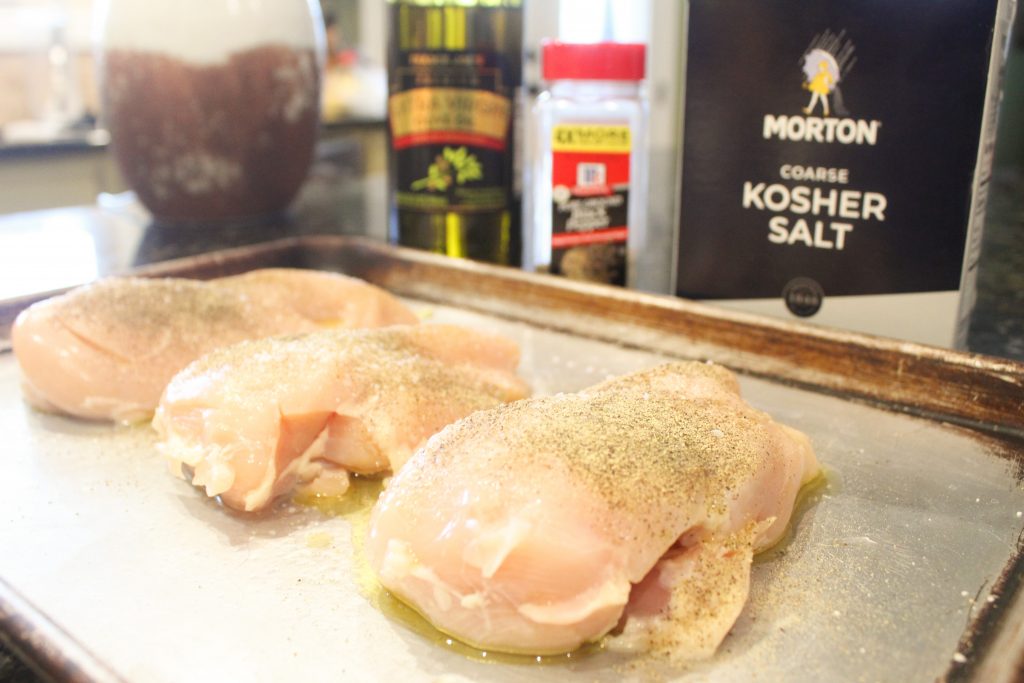
For today’s recipe, we are going to roast 3 chicken breasts, laid out on our jellyroll pan in a 450 degree preheated oven.

Coat them with 1 tablespoon olive oil, 1 tablespoon of Kosher salt and ½ teaspoon of black pepper.

Roast them for 30-40 minutes, until they are white and tender.

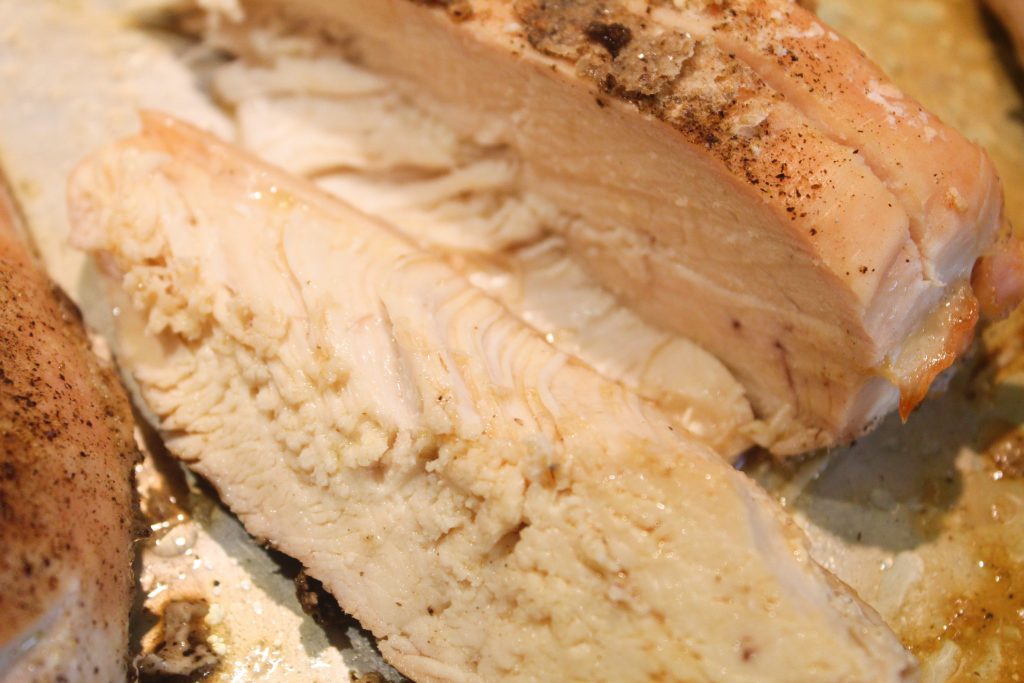
I cut this piece open so you could see how juicy and tender it is.

What Did I Tell You?

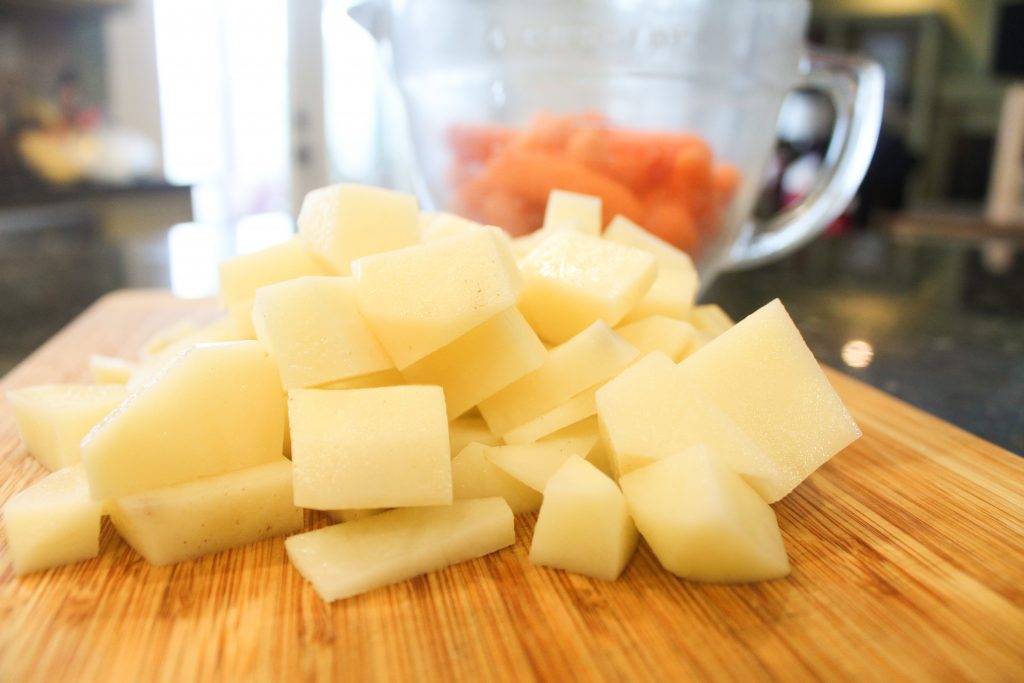
While our chicken breasts are roasting, peel and cube 2 large baking potatoes.

Potatoes and Carrots Coming Right Up!

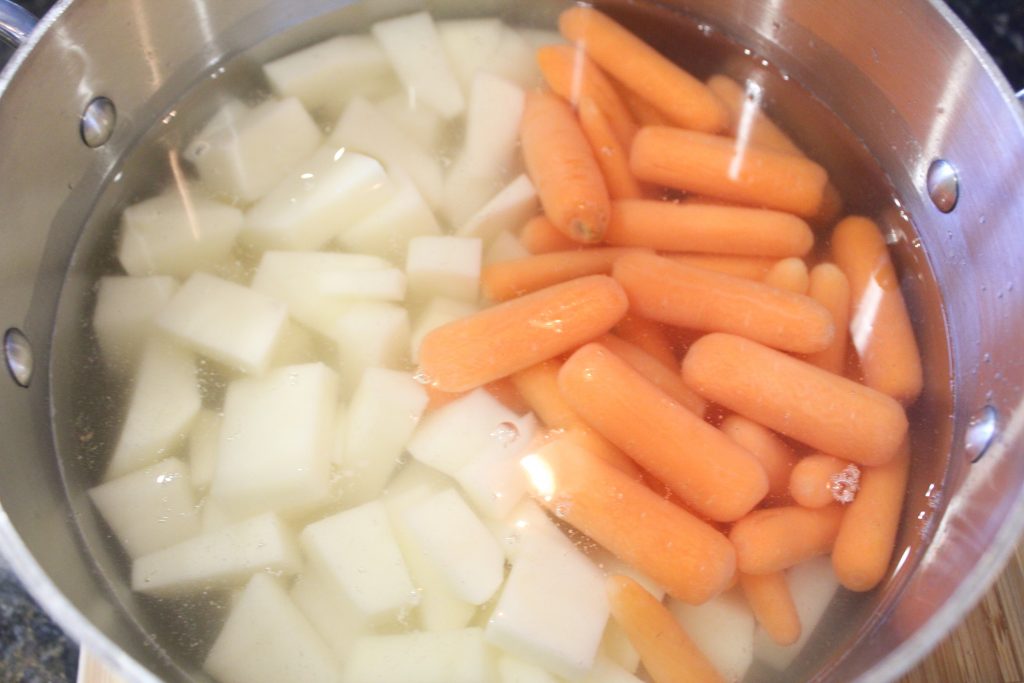
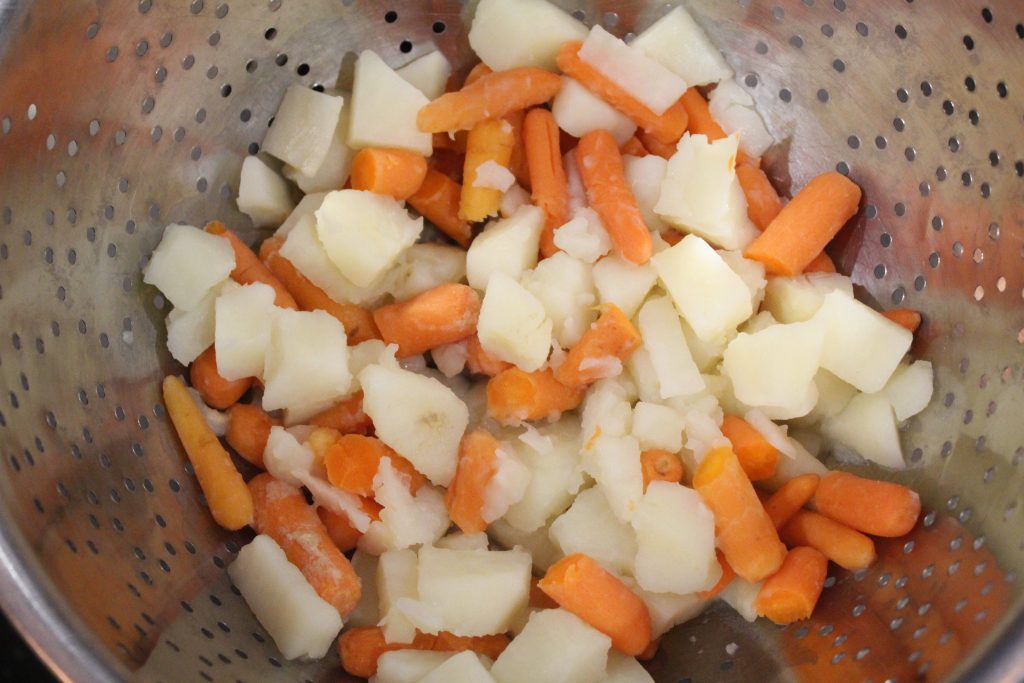
To that, add 2 cups of whole carrots, cover in water and boil for 30 minutes or until they are tender when you cut them with a knife.

Here…We…Go!

Don’t cut your carrots before you boil or they will just be little round carrot mushes.

Drain After They Are Tender

If that’s a word.

After potatoes and carrots are tender, drain and take a knife and cut through each carrot, cutting them in half.

Now we are ready to mix the pot pie guts.

Yes, this is the good part.

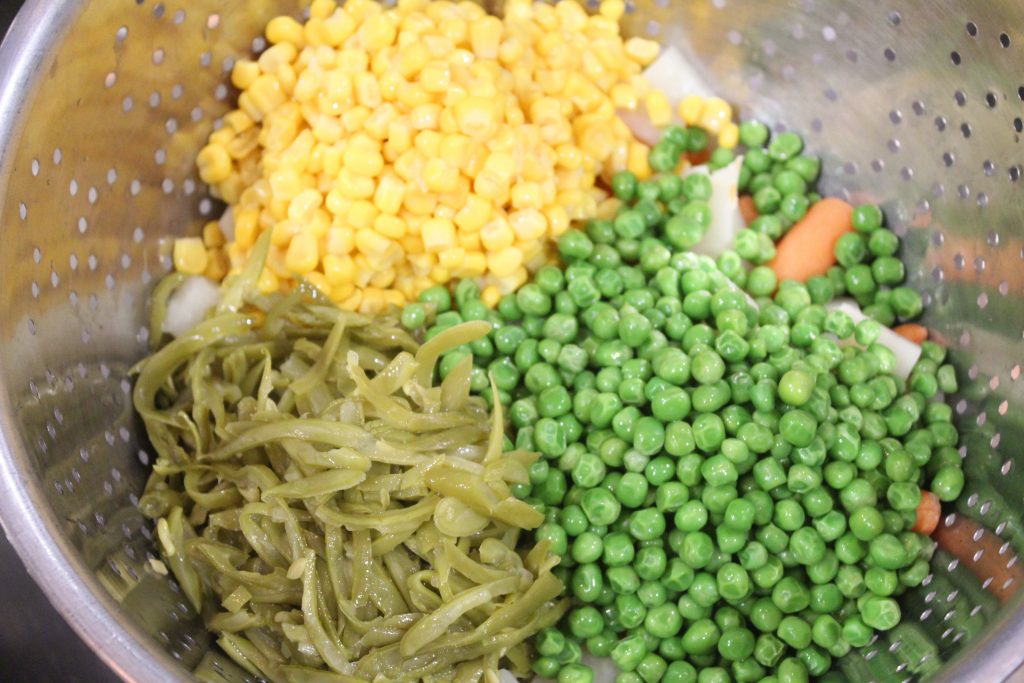
Drain one can whole kernel corn, one can French-style green beans and 1 cup frozen sweet peas with the potatoes and carrots.

This Is Going To Be Good

Okay, now we are really ready.

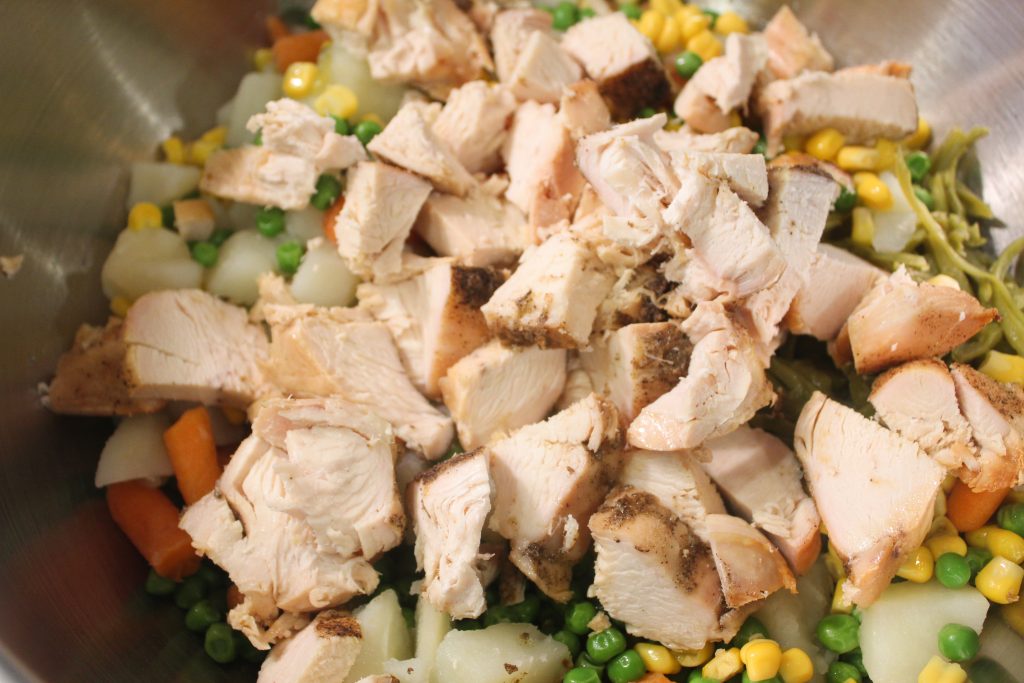
Cube your chicken and toss in the bowl with the veggies!

Here’s Where We Add the Chicken

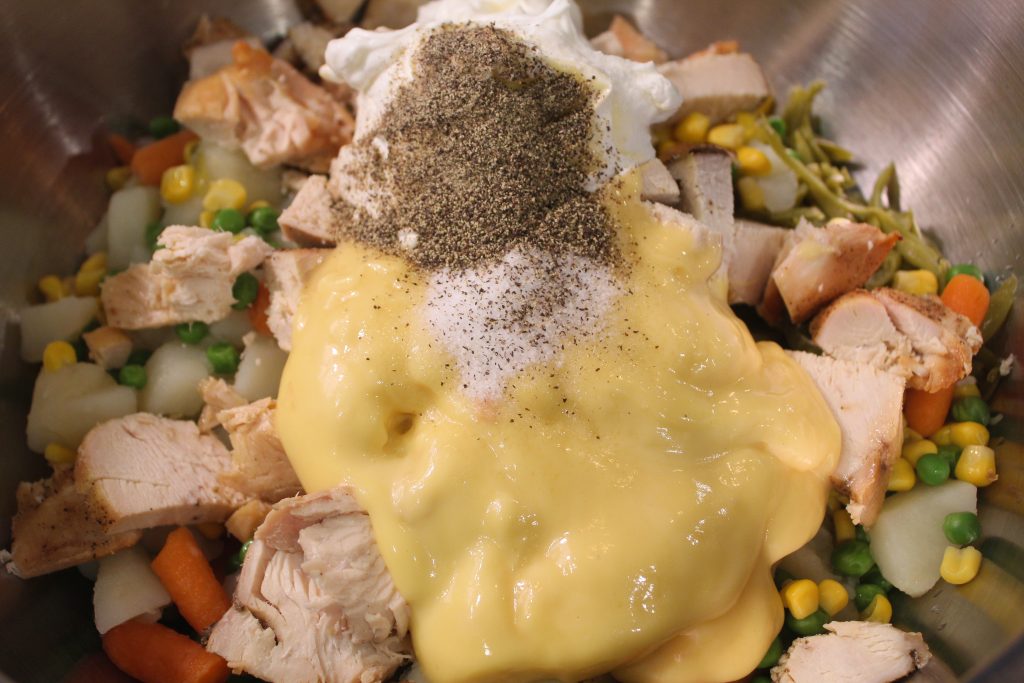
To the veggies and chicken add one can Cream of Chicken, one cup sour cream, 1 teaspoon salt and ½ teaspoon of black pepper.

Now we are ready for the secret ingredient.

Whipping cream.

Isn’t that really the secret ingredient to life?

That and butter?

Butter as we know, IS life.

But I digress.

Next, add 4 tablespoons of whipping cream and mix well. This is what gives it the creamy yummy flavor, and you can use milk, but I prefer whipping cream.

Whipping Cream = Secret Weapon

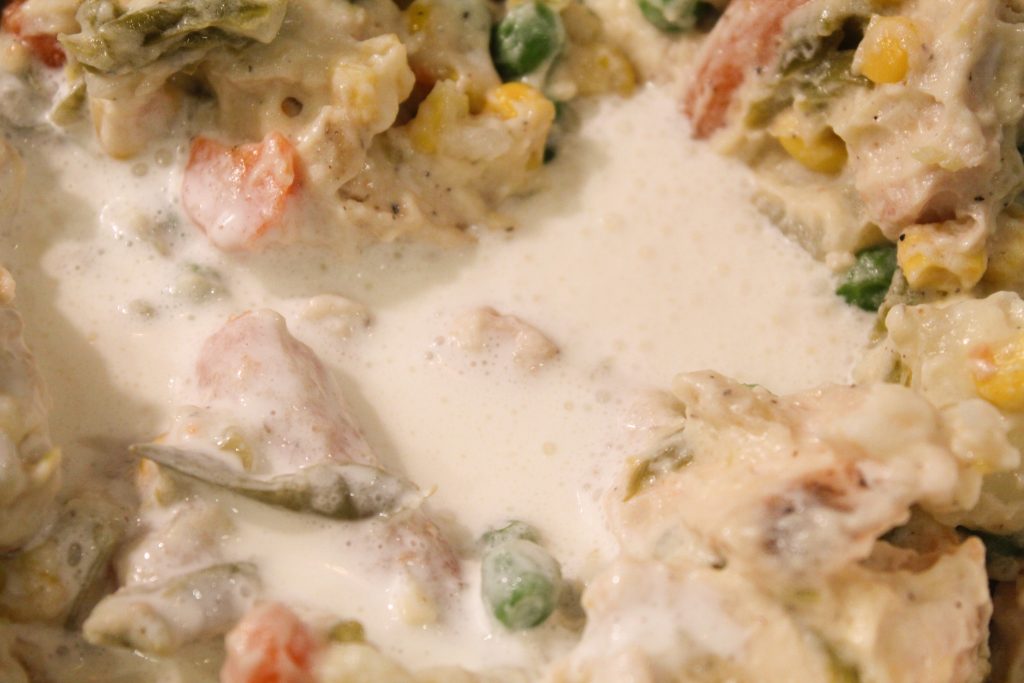
How’s this for chicken pot pie guts?

And here we all are at the great pie crust debate…to make homemade or not to make homemade?

I’m a Roller…Be a Roller With Me

Who am I kidding?

I’m a roller…roll it out and put it in your pie plate.

Recipe Makes Two!

Incidentally, we cook in bulk at my house, always have, so I don’t know how to make this recipe for just one chicken pot pie.

Get Ready to Stuff the Crust!

Good news: it makes enough for two.

So, you just need one? Take one to work, your neighbor or have it two nights in a row.

Like I said before, I won’t judge you.

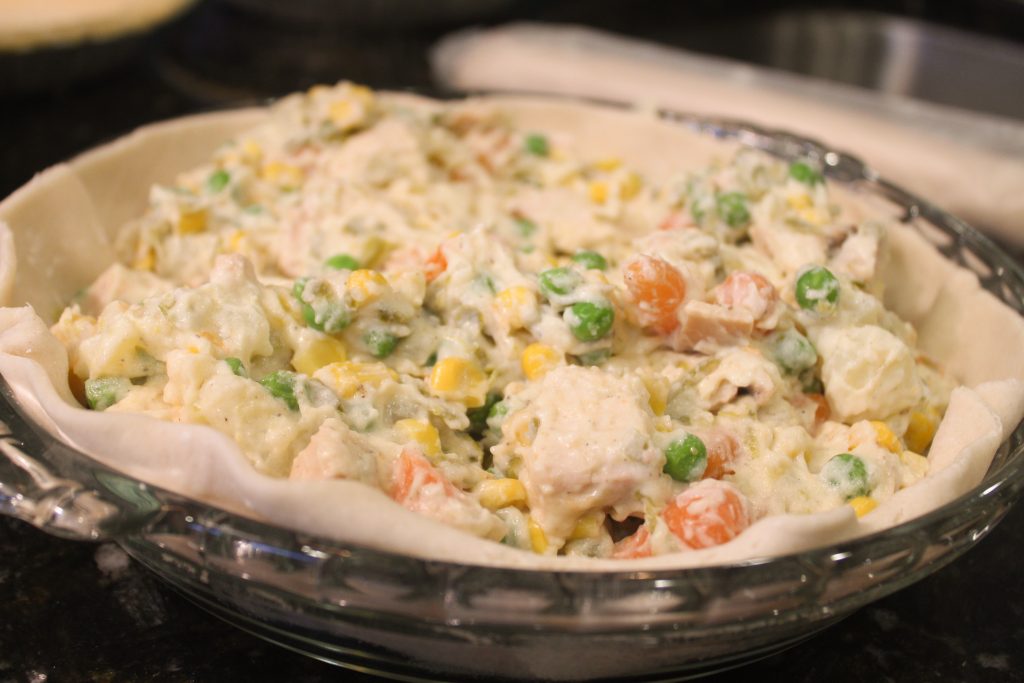
I put about 3 cups of filling in each pie crust.

3 Cups Per Pie Crust!

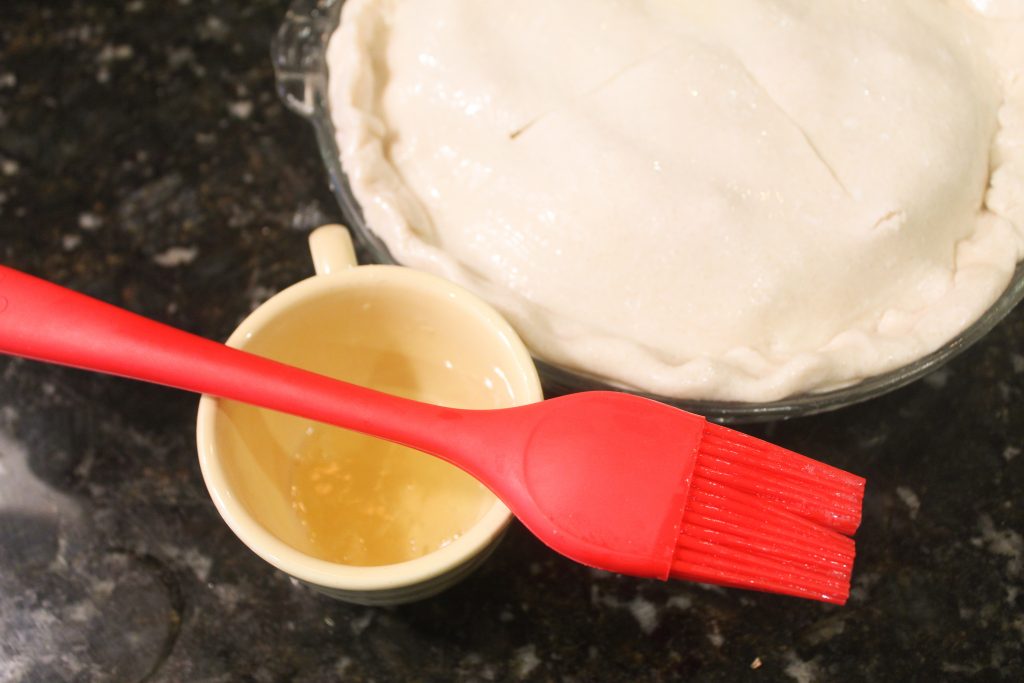
After we get the top crust on, give it about 4 slits with a knife and THEN…

Get Ready to Bathe It In Egg Wash!

With any pie crust you make, brush an egg white across the top. This will give it it’s rich brown color and flaky crust.

Rest in Peace My Dear Friend, Paul

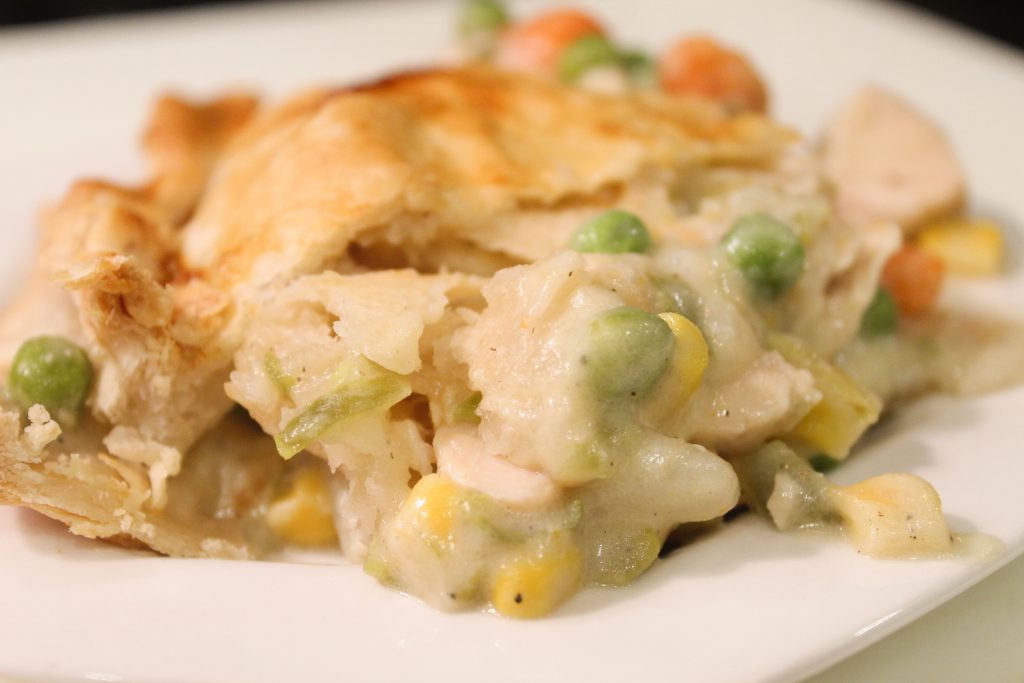
To quote my late great friend and mentor, Paul, “get you some of this.”

Cindy’s Chicken Pot Pie

An oldie but goodie that will take you back to your grandmother's kitchen table. Full of vegetables and chicken and baked with a flaky crust, it will have your family wanting more!
Course: Main Course
Cuisine: American
Keyword: chicken and vegetables, chicken dishes, chicken pot pie, dinner, main course, pot pie
Author: The Alphabet Mom

Ingredients

  • 3 boneless, skinless chicken breasts
  • 1 tbsp olive oil
  • 1 tbsp Kosher salt
  • 1/2 tsp black pepper
  • 2 large brown baking potatoes, peeled
  • 2 cups whole baby carrots
  • 1 can whole kernnel corn
  • 1 can French-style green beans
  • 1 cup frozen sweet peas
  • 1 can cream of chicken
  • 1 cup sour cream
  • 1 tsp salt
  • 1/2 tsp black pepper
  • 4 tbsp whipping cream
  • 2 boxes pie crusts makes 2 pies
  • 1 egg white

Instructions

  • Rub chicken breasts with olive oil and sprinkle with salt and pepper.
  • Bake on 450 for 30-40 minutes until tender and white. Cube cooled chicken and set aside.
  • While chicken is roasting, peel and cube potatoes. Combine potatoes and carrots and boil 30 minutes until tender.
  • Drain, along with corn, string beans and peas in colander. Add to mixing bowl. Add cubed chicken.
  • To this mixture, add cream of chicken, sour cream, salt and pepper. Mix well. Add the whipping cream and mix.
  • Line pie plate with one crust. Fill with 3 cups of pie filling and cover with other pie crust. Repeat as recipe is enough for 2 pies.
  • Cut slits in top of pies. Brush with egg white wash.
  • Bake at 350 for 35-45 minutes until brown and flaky.

Happy Valentine’s Day

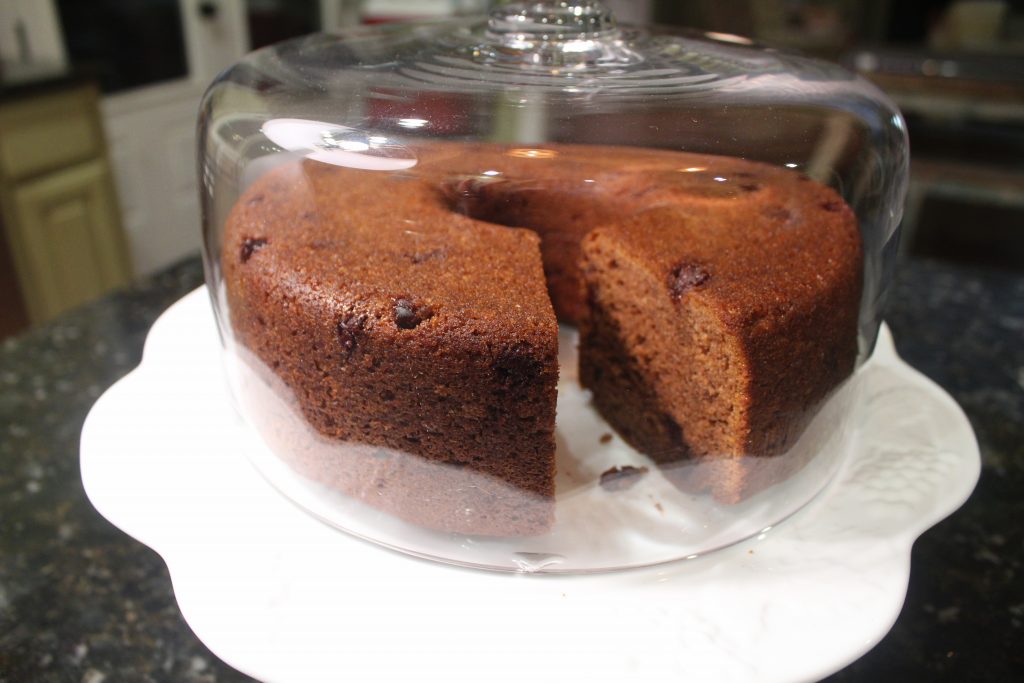
and we are saying it with a Chocolate Chip Pound Cake

Nothing says love like chocolate.

Here.We.Go.

Right?

Well, that’s not true, chocolate is the love language for everything, even when it’s not Valentine’s Day.

I know I always say I am bringing you my family favorites, but we cook a lot readers….hence, we have A LOT of family favorites.

Except this family favorite didn’t start in my kitchen, it started in my sister-in-love, Sherry’s, kitchen.

She’s a really good cook…like really good.

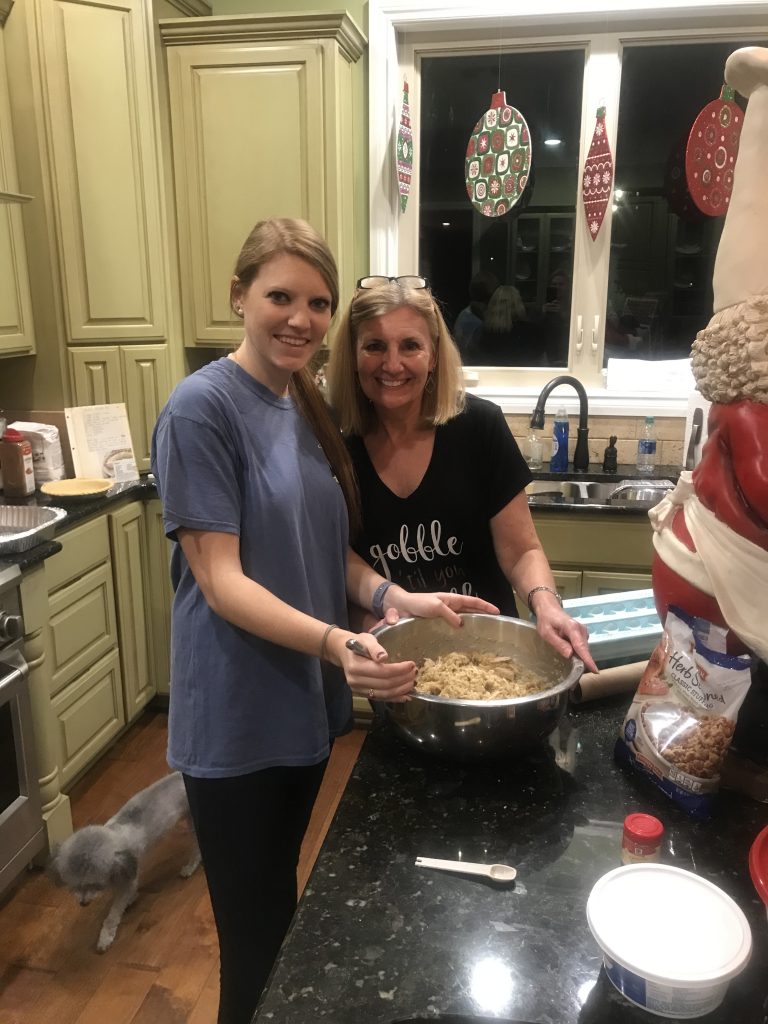
Sherry and Laura Making Grammy’s Dressing…Supervised by Annie Lou Foust

It’s true…I have good cooks all around me.

And now, our children are becoming good cooks, too.

I love being in the kitchen with Robert Scott…he’s fun and adventurous and doesn’t mind throwing in a little of this or a little of that.

Makes me proud.

And he loves today’s recipe, Chocolate Chip Pound Cake, which was originally made by his Aunt Sherry.

And she got it out of the Celebrations on the Bayou cookbook which is published by our local Junior League.

I’ll never forget my son’s reaction after eating this pound cake for the first time, “Mom, why in the world have you never made this before? I could eat it every day.”

That’s a lot of pound cake.

Now, everyone in my tribe makes it for their family.

It’s that good.

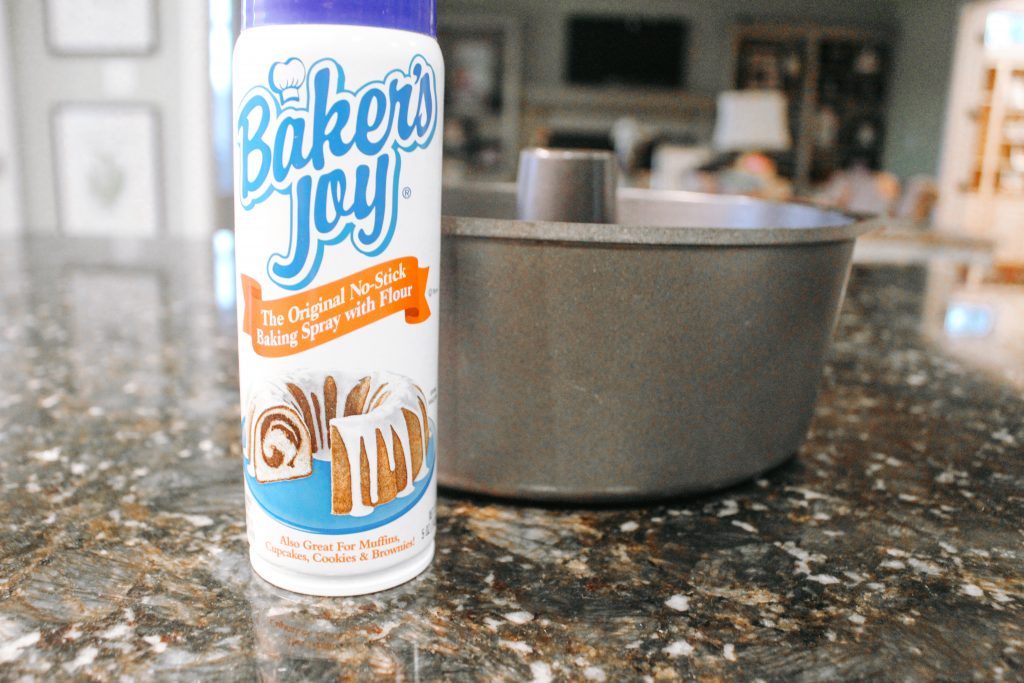
So, let’s get our pan prepared with Baker’s Joy…because you know it brings me a lot joy when my cakes don’t stick…and this is the ticket.

Baker’s Joy Gives Me Joy

Your cakes will come out with ease.

Every.Single.Time.

Oh, and preheat your oven to 325.

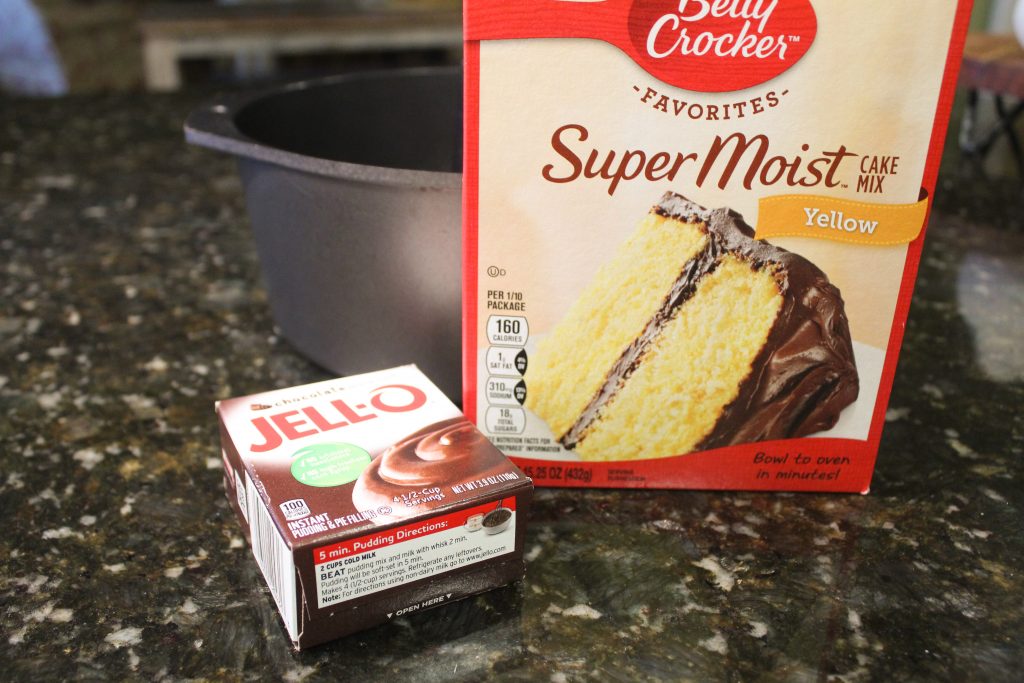
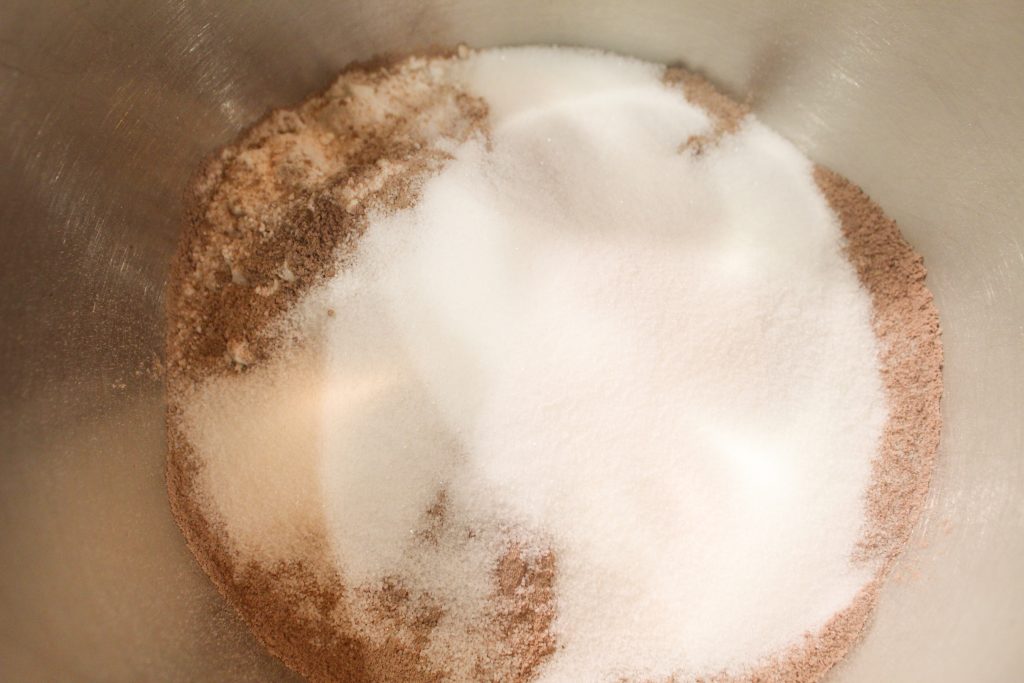
Let’s get started and we will do that with a yellow cake mix, a small box of chocolate pudding and ½ cup of sugar.

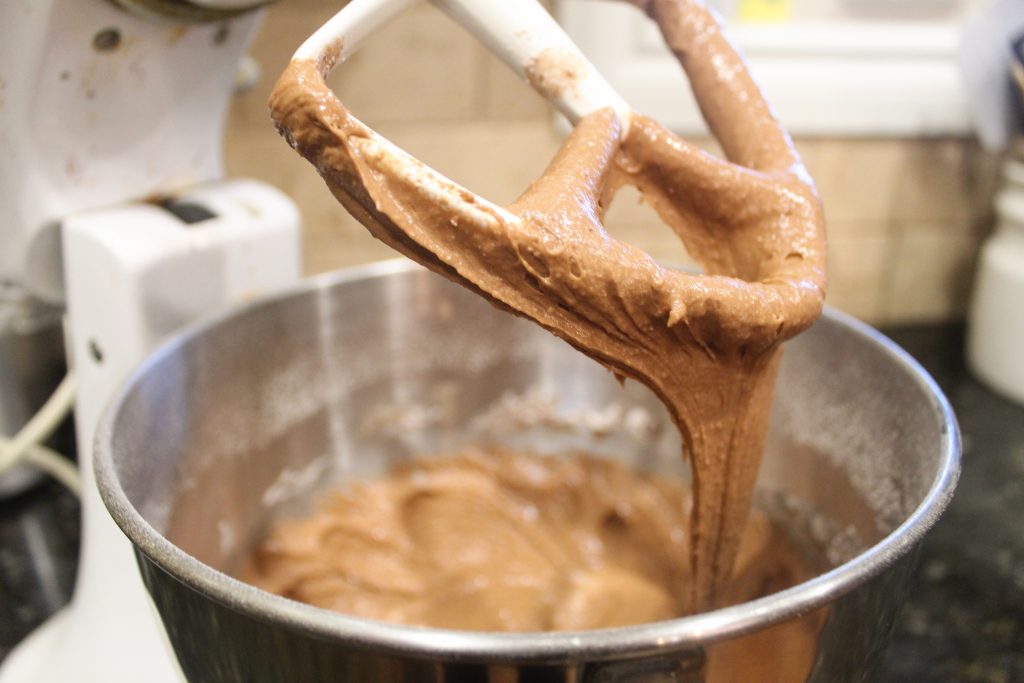
Turn your mixer on and mix well.

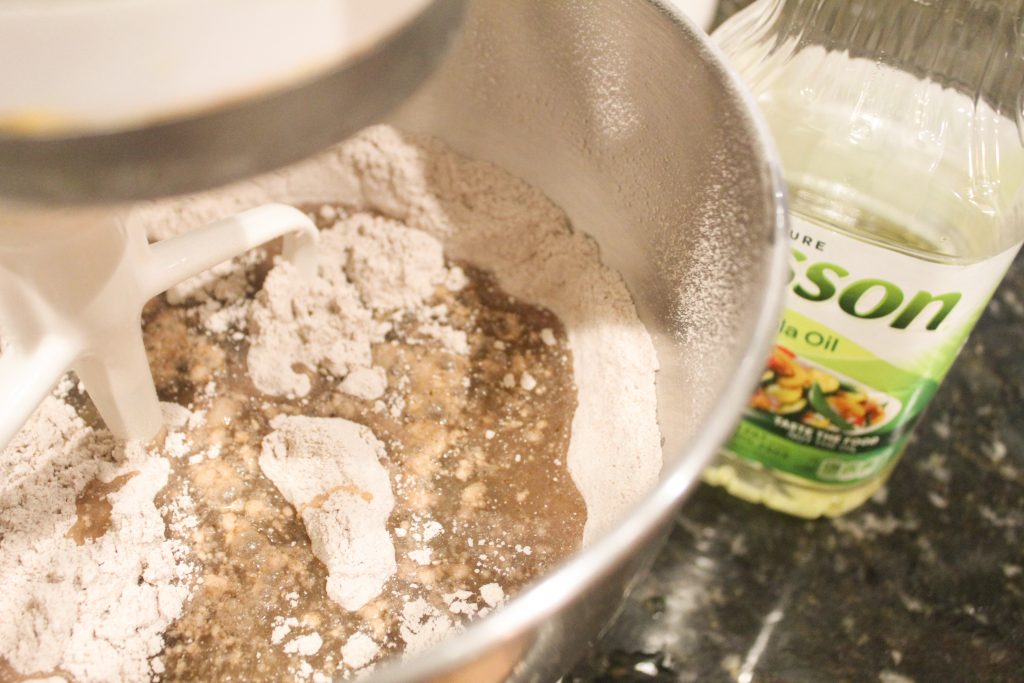
Next add ¾ cup of water and ¾ cup of cooking oil.

Add Water and Cooking Oil

I didn’t say this was low fat.

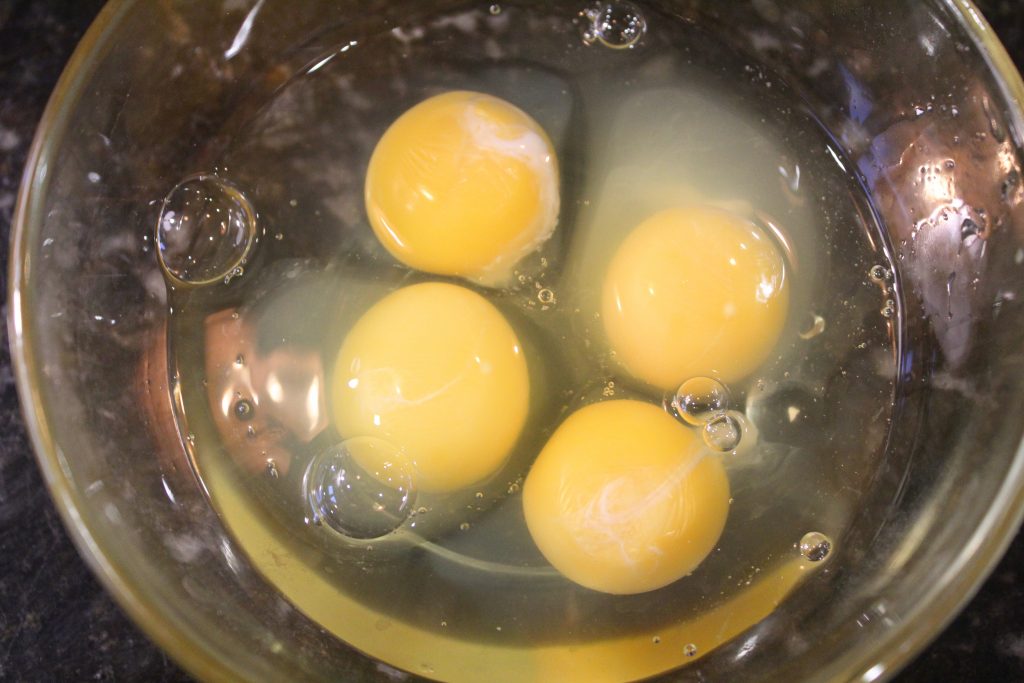
To this, slightly beat 4 eggs in a separate bowl and add to the mixture. Let it all get married real well.

Eggs Next!

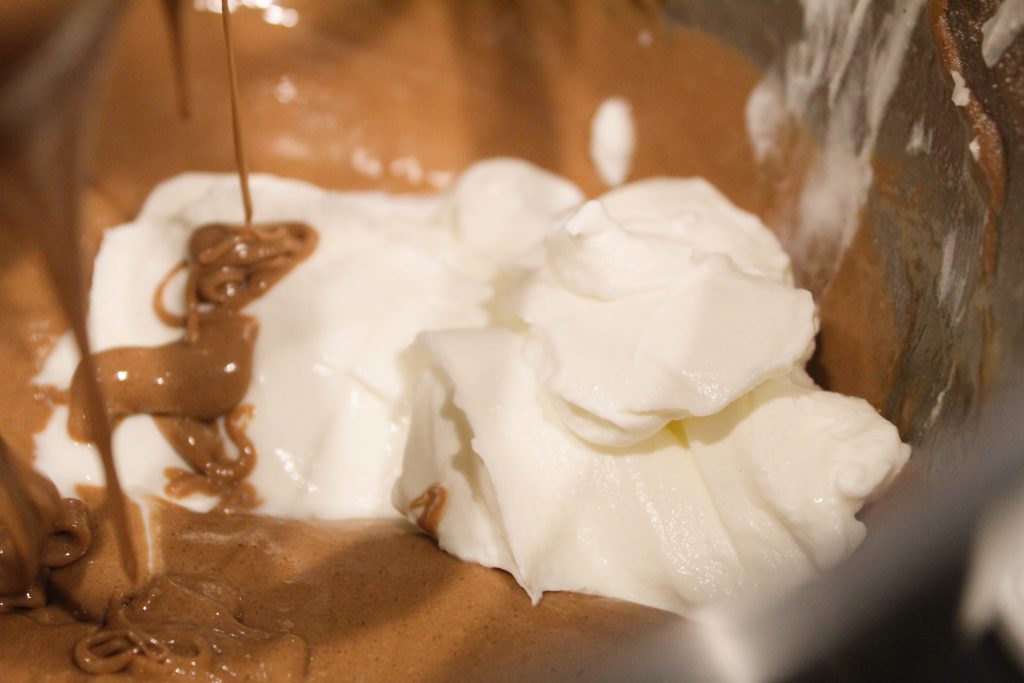
To this mixture add one cup of sour cream. I’m telling you, this is the secret weapon in this cake…it gives it a moist, light texture and you cannot leave it out.

Sour Cream…Secret Ingredient

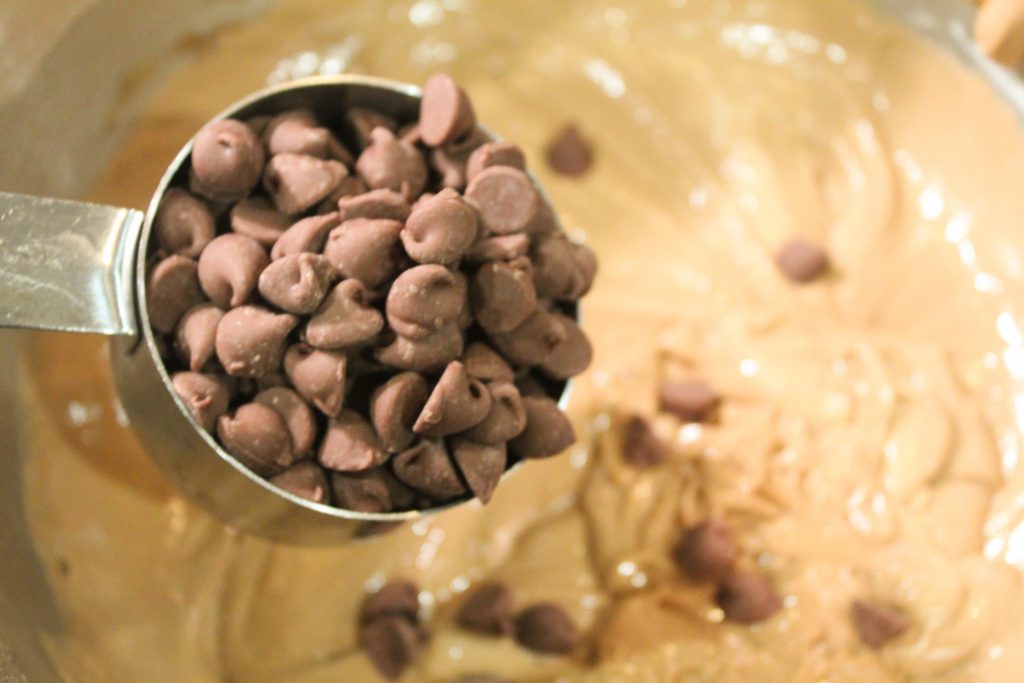
Finally, fold in ½ cup of chocolate chips.

Chocolate Chips Are Always A Good Idea

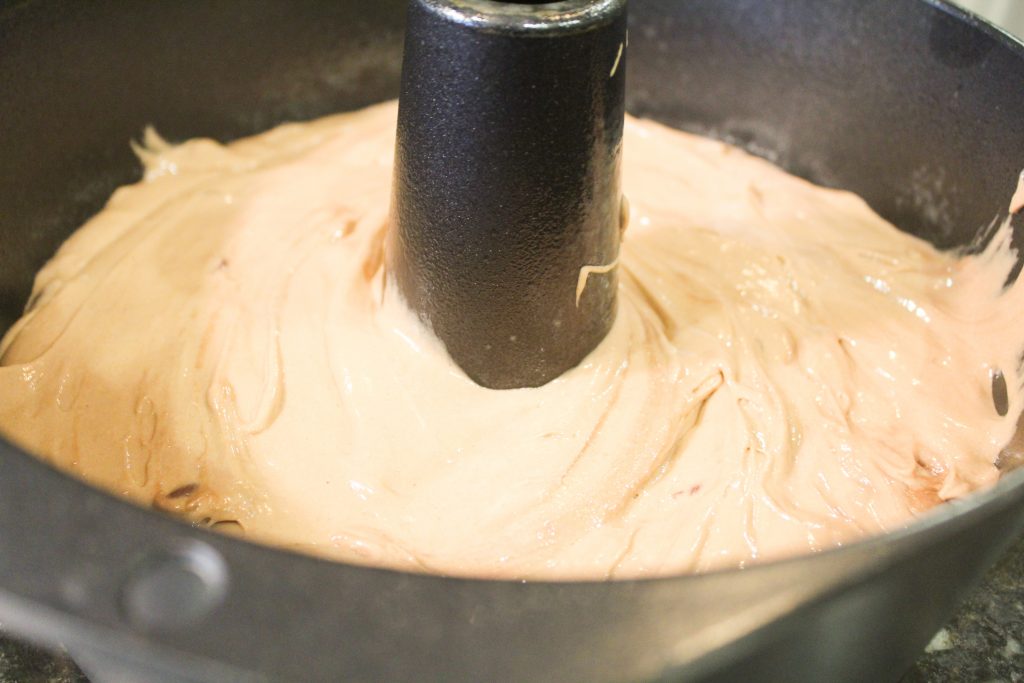
Pour into your greased pan and pop in your oven.

Bake 50-60 minutes or until toothpick inserted in the center comes back clean.

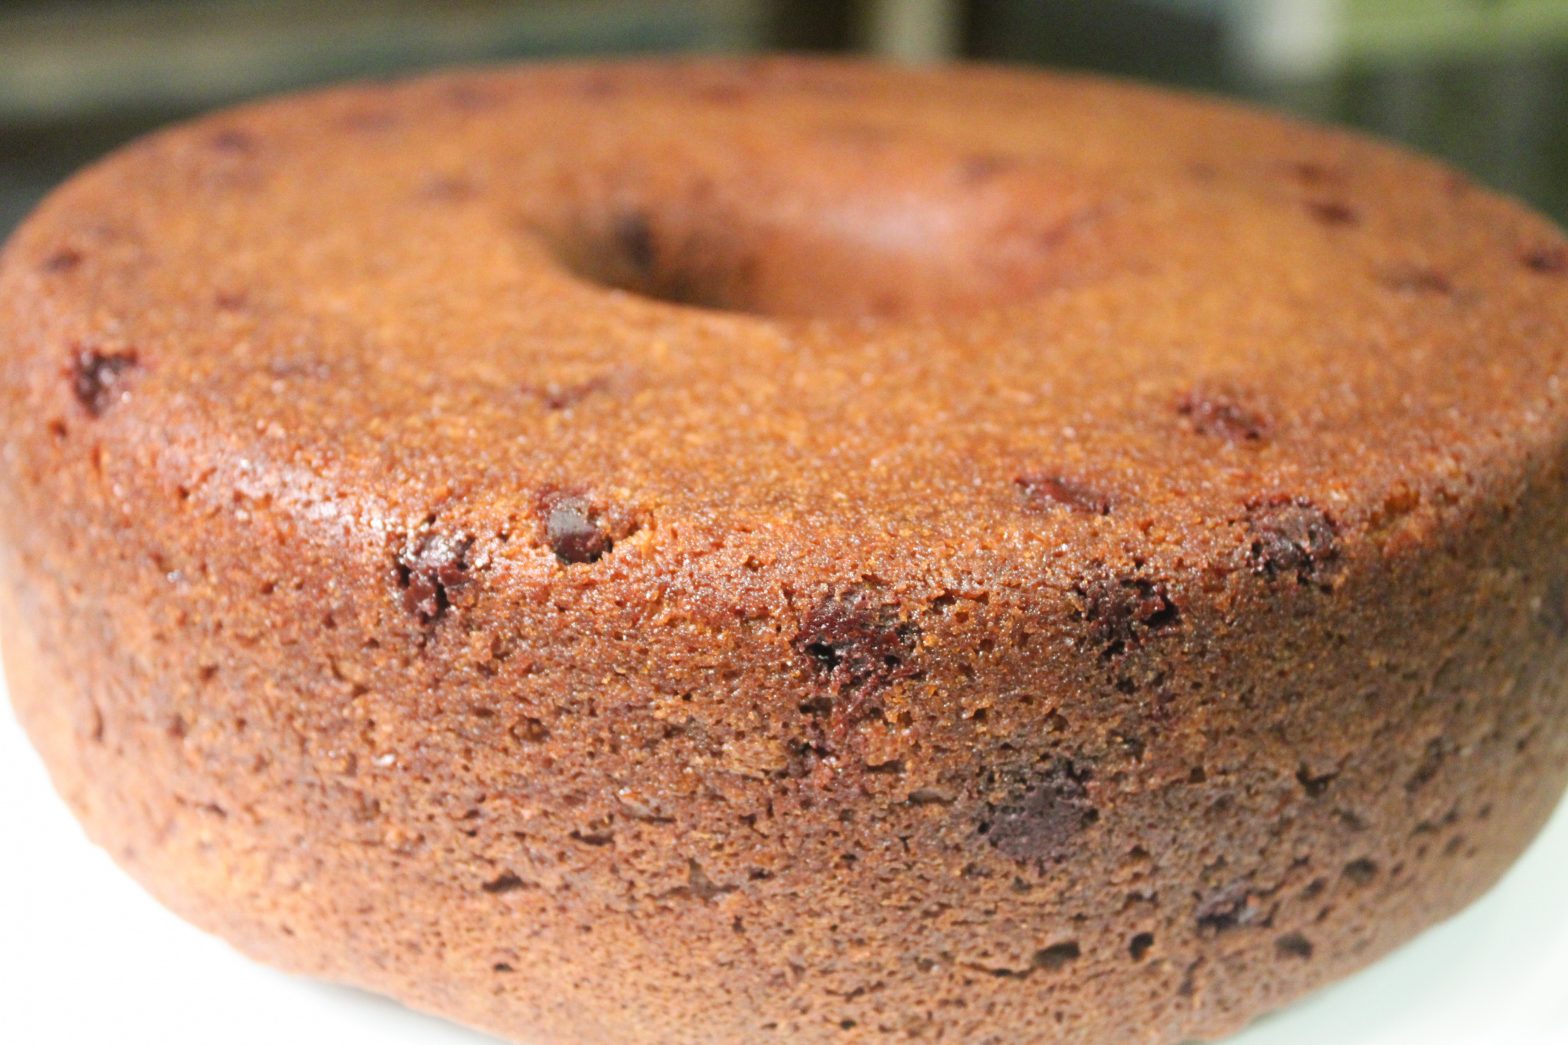
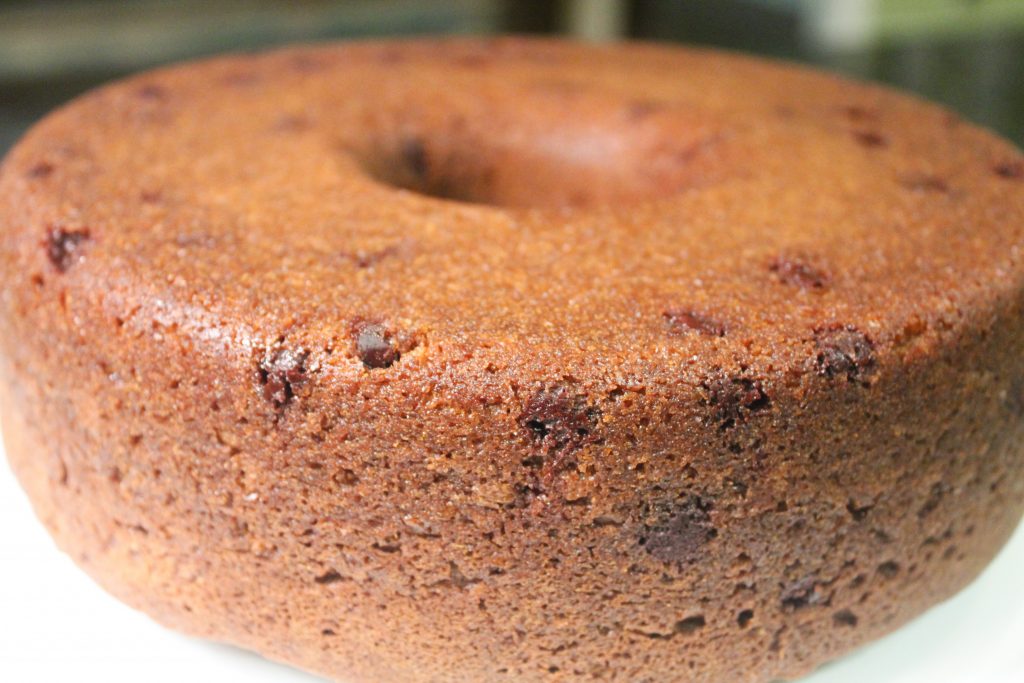
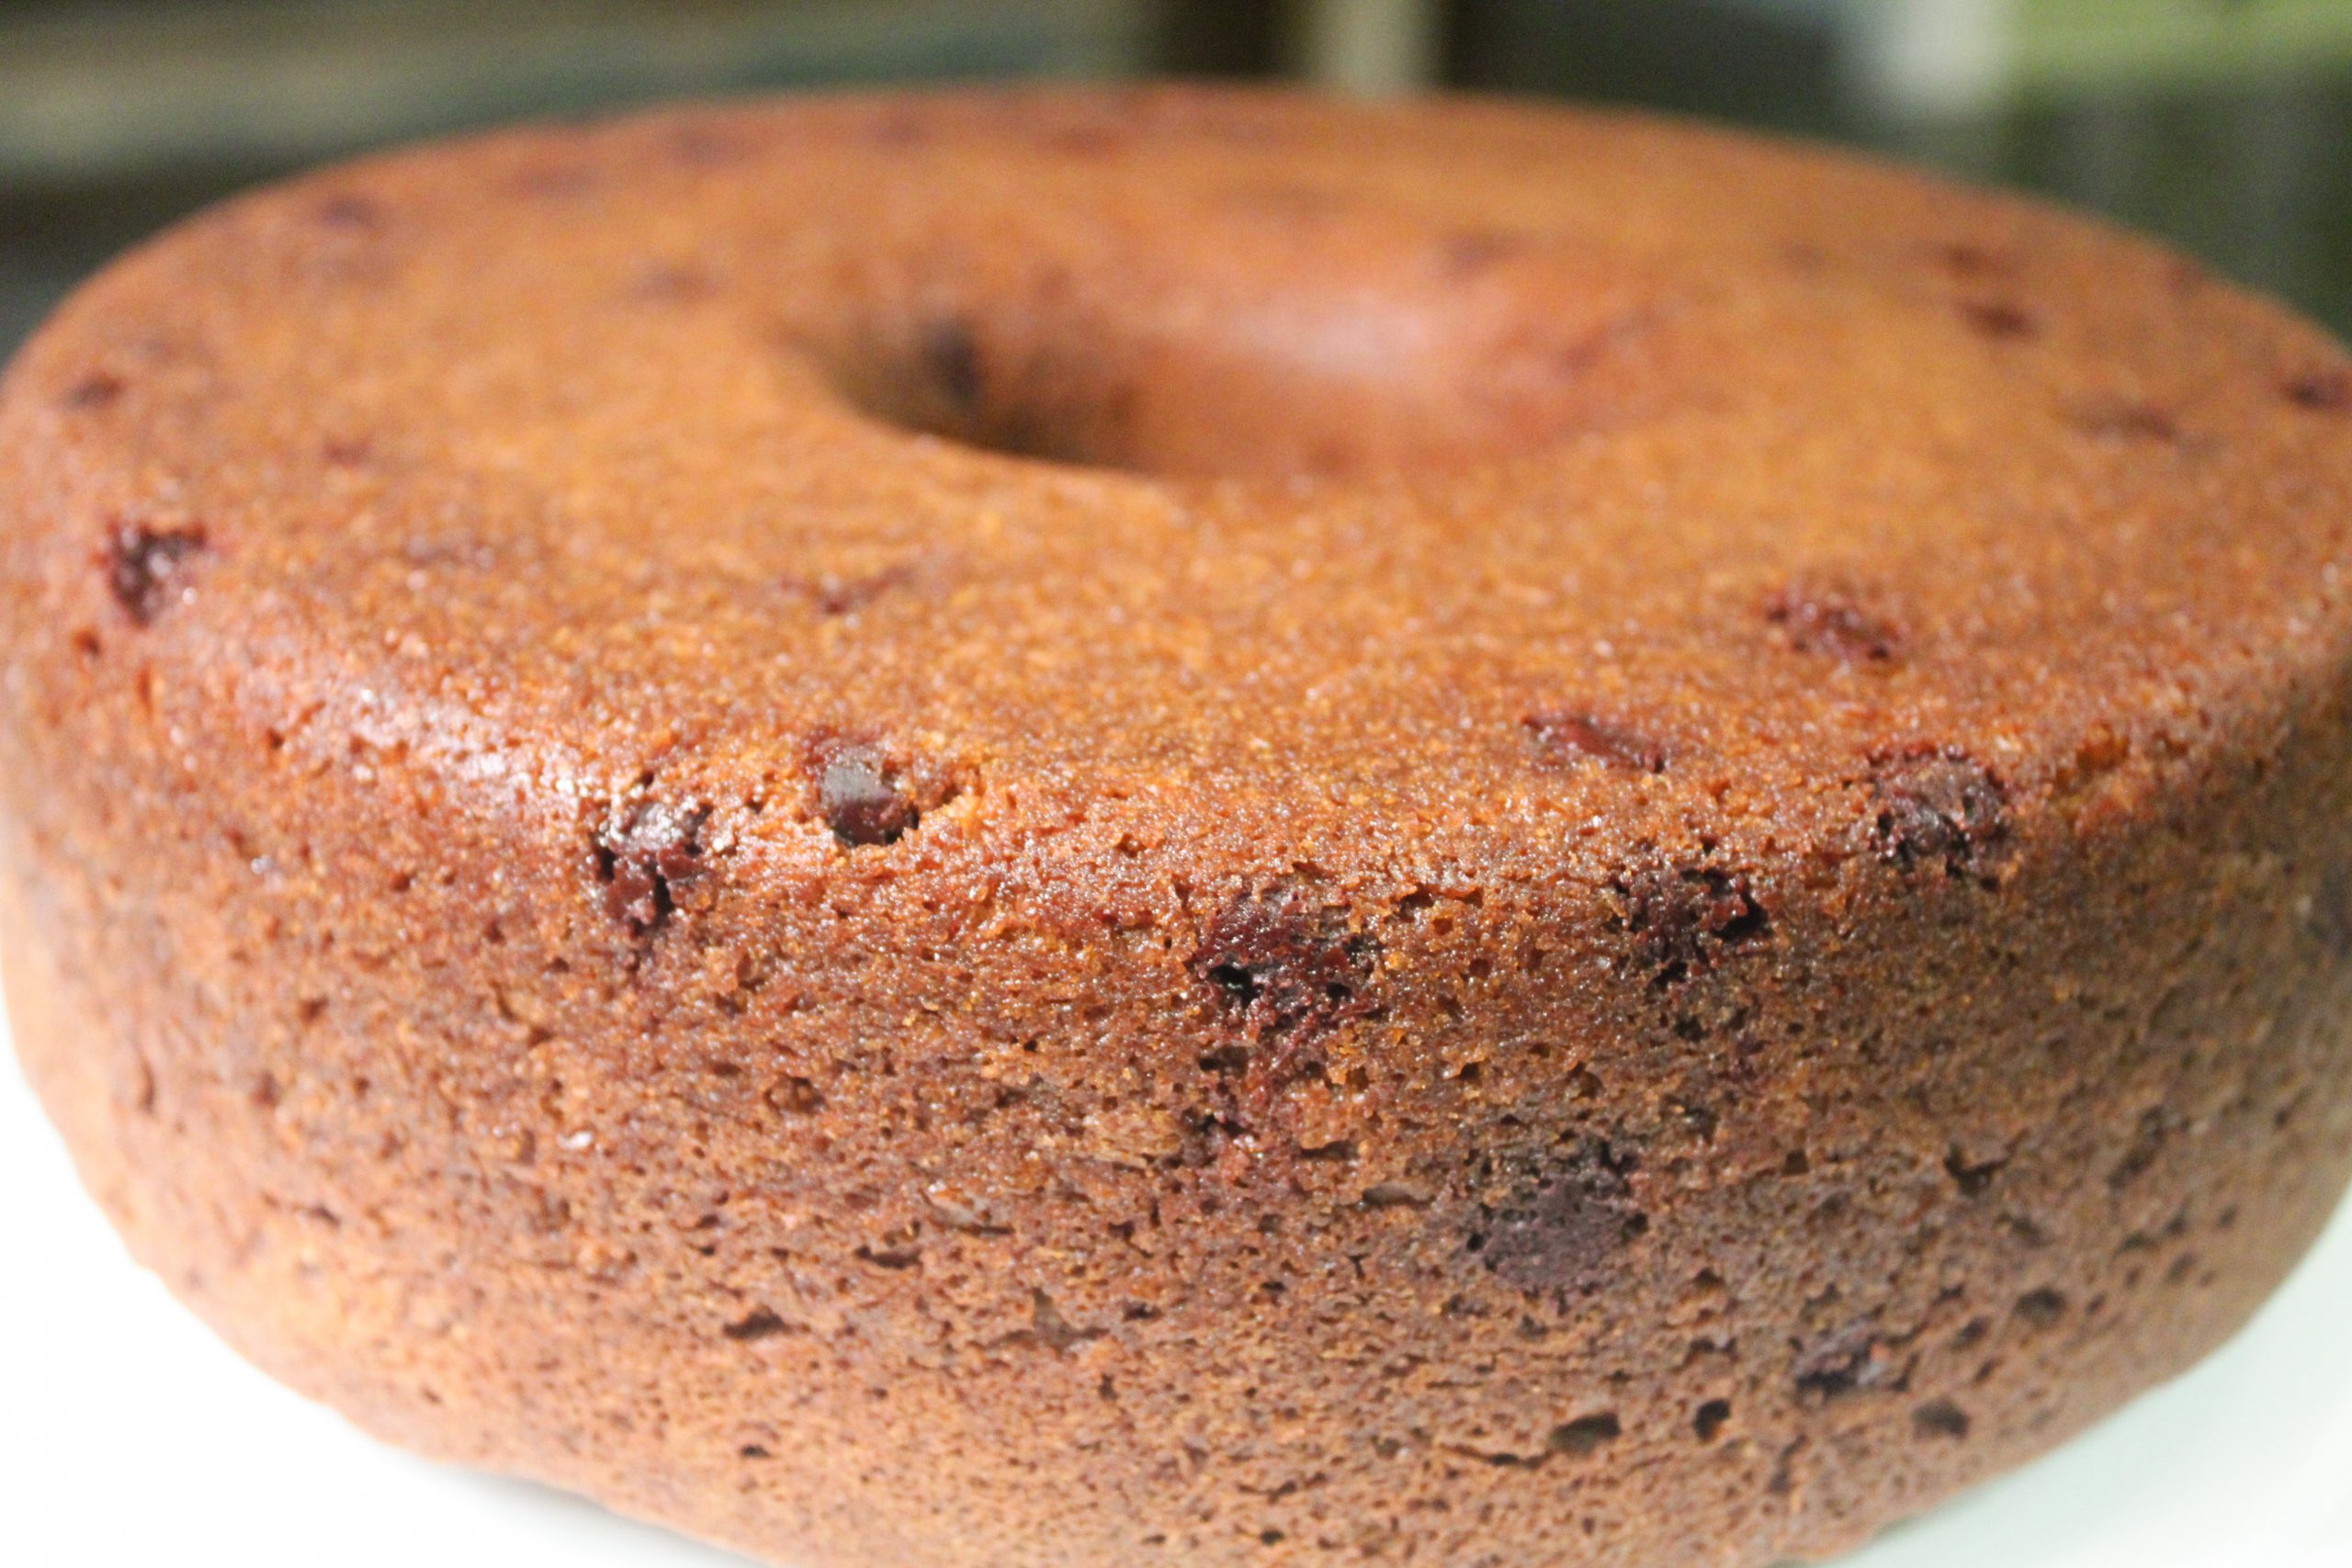
What In The World?

I usually cool about 15 minutes on a wire rack, but sometimes I just dump it straight onto the cake plate.

Please tell me you put your cakes on a cake plate.

Always Put Your Cake On a Cake Plate…Makes It Taste Better

Otherwise, we might not can be friends.

This one was compliments of my mom…it was an actual wedding gift!

She just thought I would use it more so she gave it to me.

People in your tribe just get you.

And people in your tribe will be happy for you to make this cake.

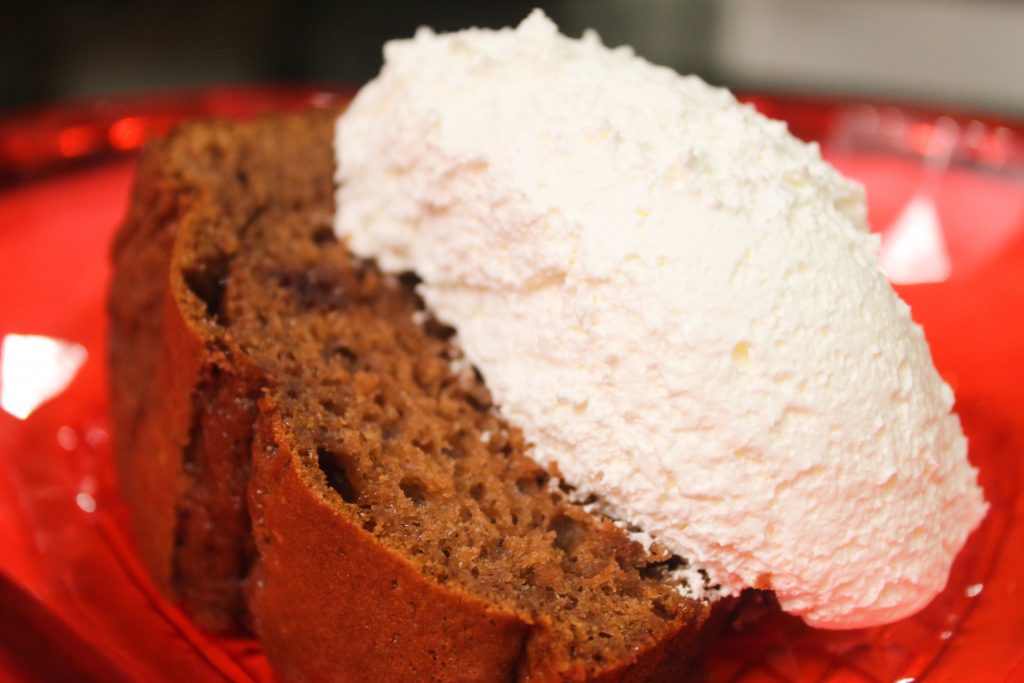
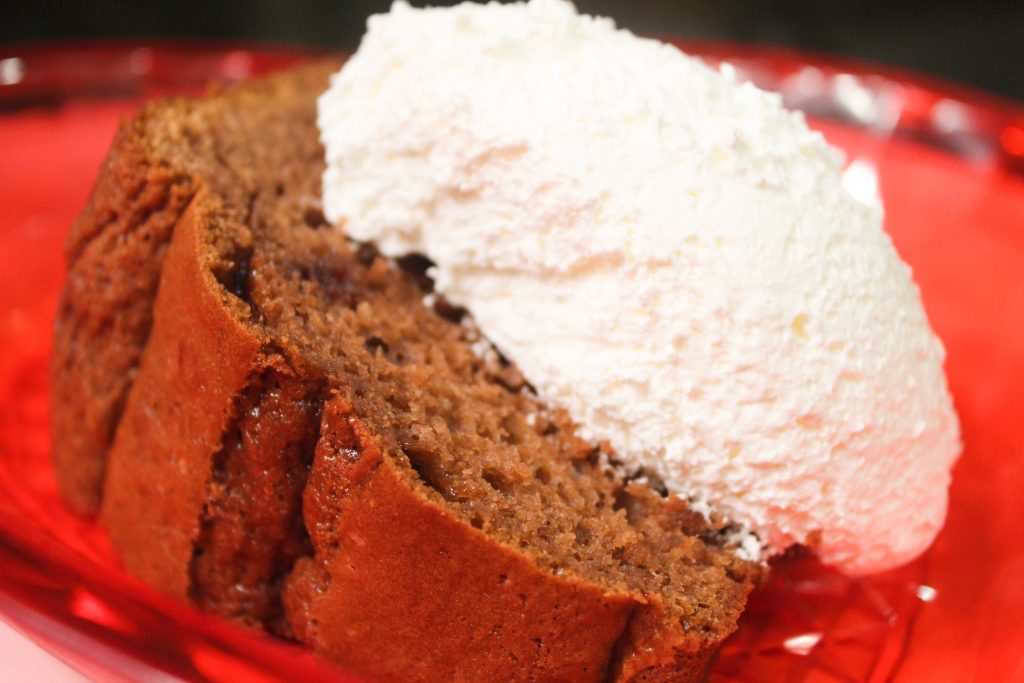
A Dollop of Whipped Cream is Always A Bonus!

So get in out of the snowstorm and get into the kitchen.

What else do we have to do?

Chocolate Chip Pound Cake

If you thought pound cake couldn't be any better, you just haven't tried it with chocolate chips! Top with Cool Whip or Ice Cream and you will never go back!
Course: Dessert
Cuisine: American
Keyword: chocolate, chocolate chip, chocolate chip pound cake, dessert, junior league, pound cake
Author: Junior League of Monroe

Ingredients

  • 1 box yellow cake mix
  • 1 pkg chocolate instant pudding mix 3 ounce box
  • 1/2 cup sugar
  • 3/4 cup water
  • 3/4 cup cooking oil
  • 4 eggs, beaten
  • 1 cup sour cream
  • 1/2 cup milk chocolate chips

Instructions

  • Preheat oven to 325 degrees.
  • Grease and flour cake pan, I use Baker's Joy. I also use a cake pan, but you can use a Bundt Cake pan.
  • Mix cake mix, pudding and sugar.
  • Add water and cooking oil and continue to mix.
  • Add beaten eggs to this mixture and incorporate well.
  • Add sour cream and mix until all ingredients are mixed.
  • Fold in chocolate chips. Pour into cake pan.
  • Bake for 50-60 minutes until a toothpick inserted into center comes out clean.
  • Cool for 15 minutes in pan on wire rack and then invert onto serving plate to cool completely.

Family February Favorites

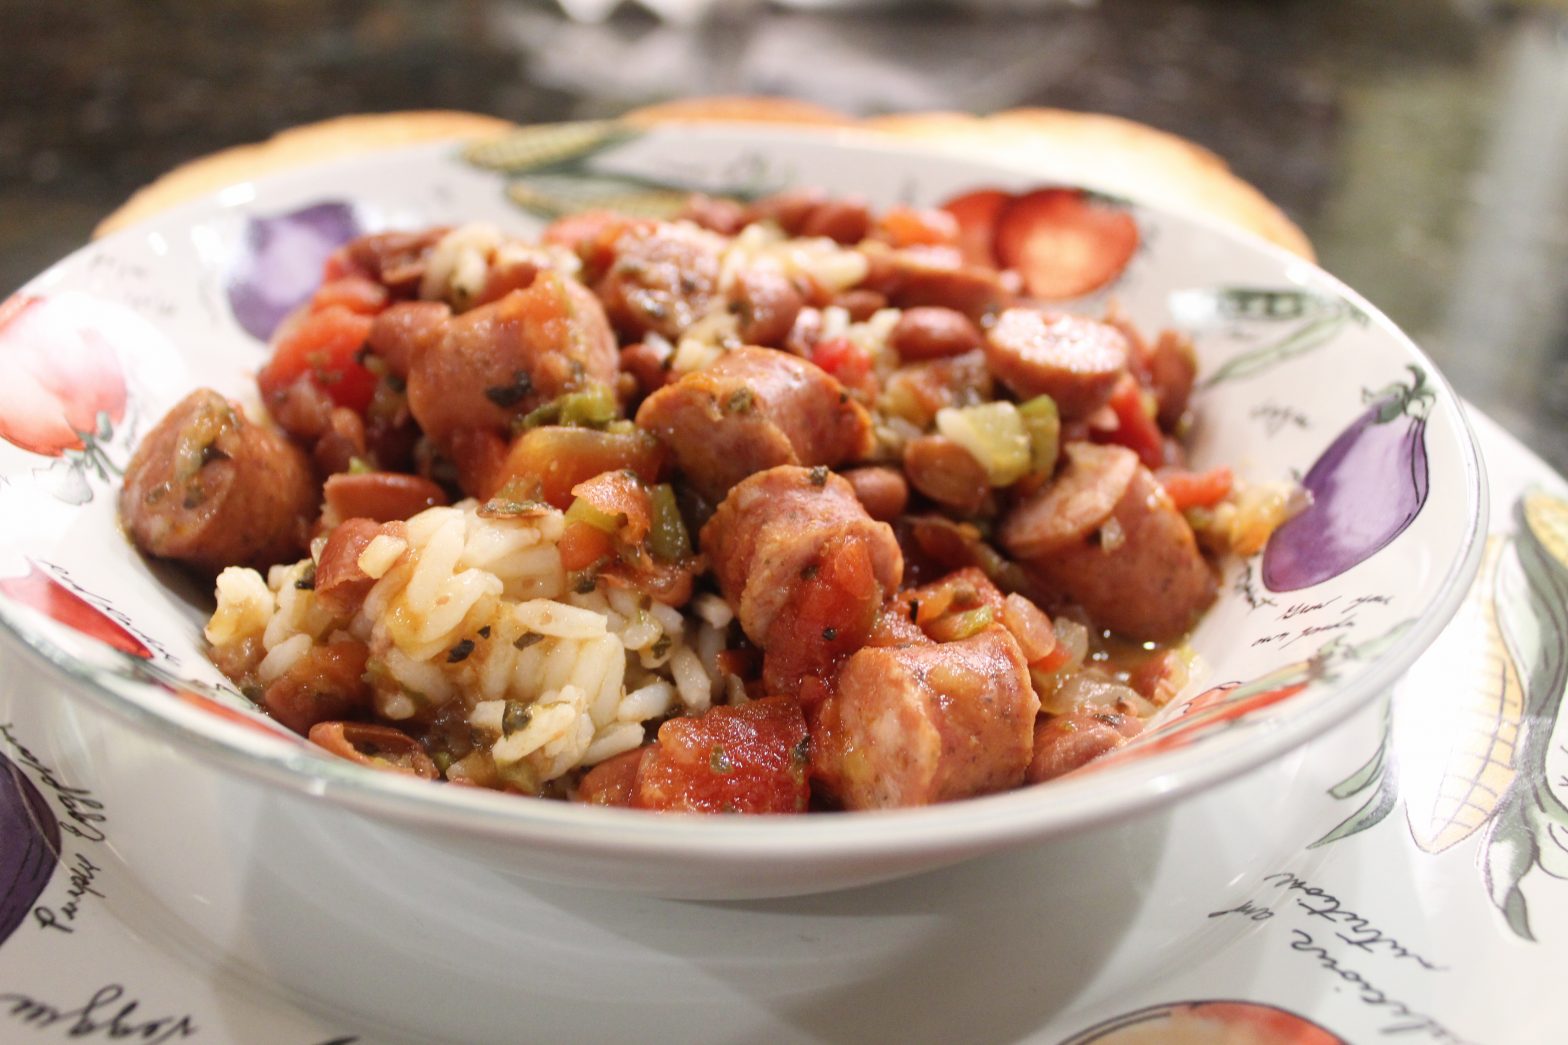
and we are starting with Red Beans and Rice

As promised, I’m taking a break from cooking through the alphabet.

I mean, we only have 10 letters left, so a little break is perfectly fine!

I mean, it’s only taken a year to cook all the way through, so what’s a few more weeks?

What in the world?

So let’s take a few weeks off and do some really fun stuff.

Every Wednesday this month I’m going to bring you some great meals that are tried and true family favorites.

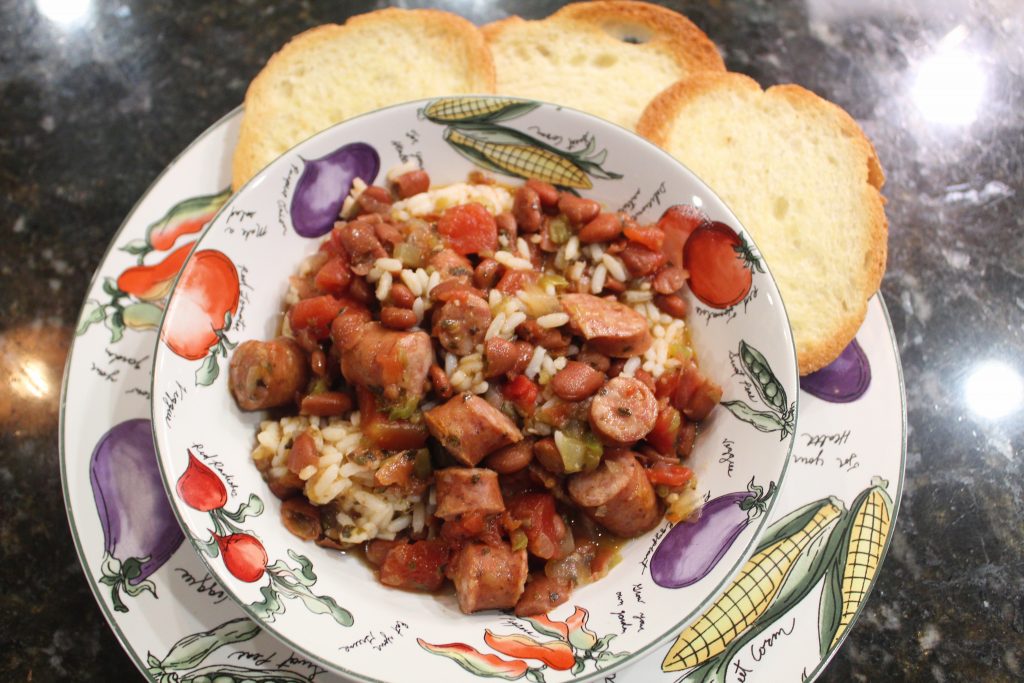
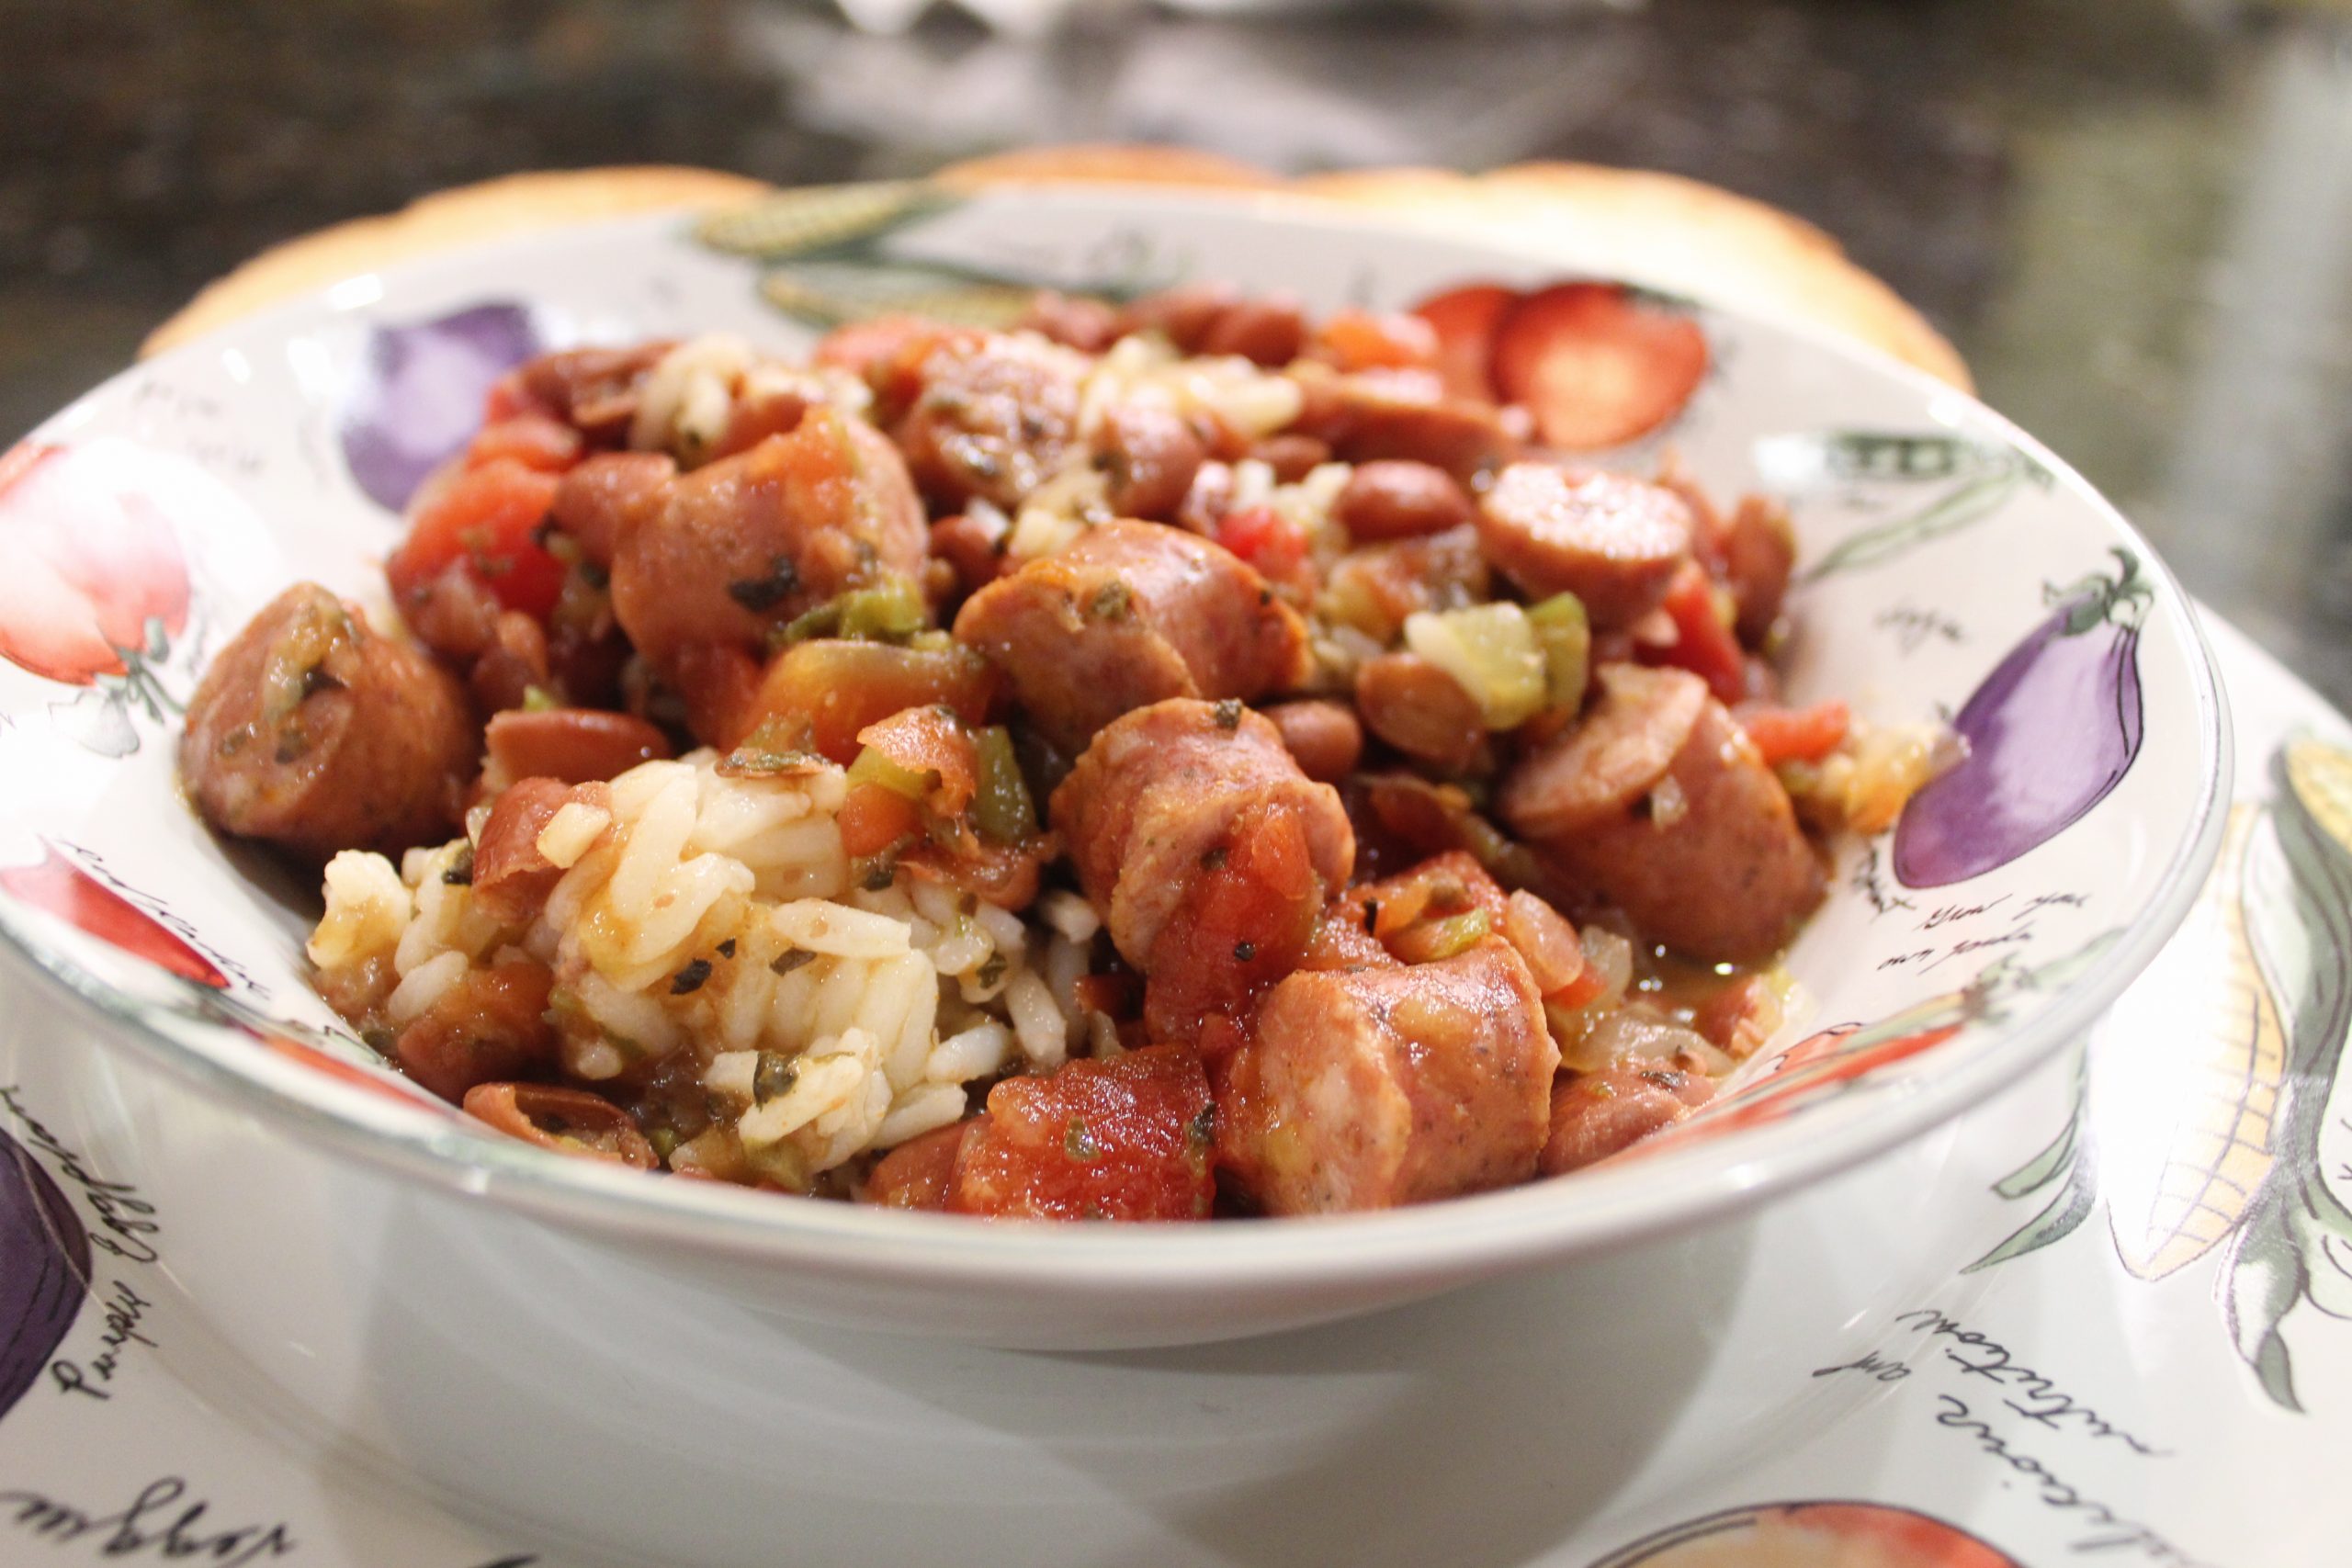
Because who wouldn’t want a good Red Beans and Rice recipe?

I mean, have you had my Red Beans and Rice?

I got to thinking about the origin of this recipe and it goes way way back for me.

Like way back…to the days of the Pilgrims.

I worked with this lovely lady, Mrs. Shirley Watts, who is now in heaven, but man could she cook.

And she made this recipe for something we had at work and then shared her recipe.

Like a good cook does.

Let’s see…that was in 1988.

Wait.

Yes, I was alive in 1988 for those of you wondering…I know that was a long time ago.

So, the truth is I have been making this recipe for almost 35 years!

What in the world?

But hey, if it’s not broke, don’t fix it.

Right?

My best friend Sam considers this the quintessential Red Beans and Rice recipe and one of his favorite things I cook.

Wait.

Everything I cook is his favorite.

Because he has to live with Linda Lou…who used to be a good cook.

It’s true…she was a great cook actually…and still makes a pretty mean pizza.

But when you stop cooking, you lose your touch.

So now, when she does cook something for him, I get texts with messages like “SOS, Linda Lou tried to make beef stew and I’m choking.”

I hope she doesn’t read this blog post because she’s going to think we are picking on her.

Which we are, because she’s fun to pick on.

But she does make my Red Beans and Rice for him periodically…and he doesn’t choke.

But it’s my sister-in-law, Sherra’s, favorite too, because it’s gluten-free.

Hey…you know I’m a problem solver.

Now, this recipe has a lot of ingredients, but don’t let that deter you.

And don’t leave any of them out…repeat…don’t leave any of them out.

Here’s Where We Are Going To Start

Because it’s the combination of all these spices that give this dish its earthy, warm, yummy flavor.

Also, it’s one of those things that once you buy the dry ingredients, you always have them.

Because who besides me uses dried basil every week?

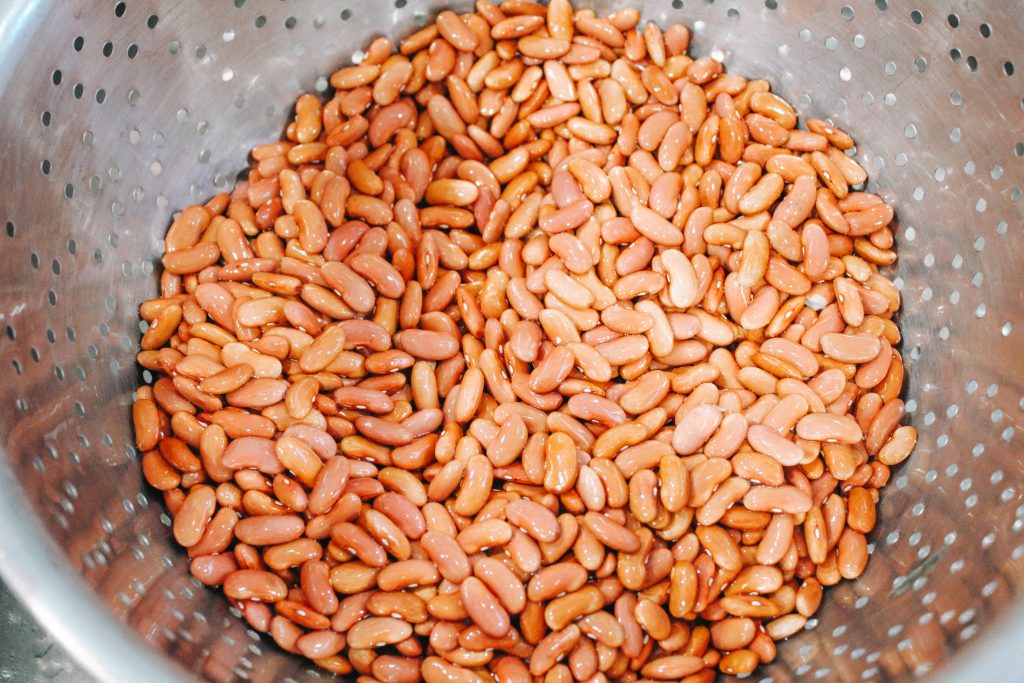
So here’s where we are going to start…with a two pound bag of red kidney beans.

And here’s a helpful hint from the Alphabet Mom…we are going to pre-cook them…not just soak, but cook.

That’s a LOT of Beans

I know you can soak them overnight…I get it and I’ve done it that way, trust me, after nearly 35 years of making these, I have tried every tweak to this recipe.

Scott, my husband and resident cooking philosopher, says when you pre-cook the beans, that you “cook all the f (rhymes with tart) out of them.”

But he’s also a redneck so ignore his crass and just cover your beans with water and cook until they are slightly tender.

For all you non-cooks that simply means that you taste a bean and if it’s tender, they are ready.

Easy.

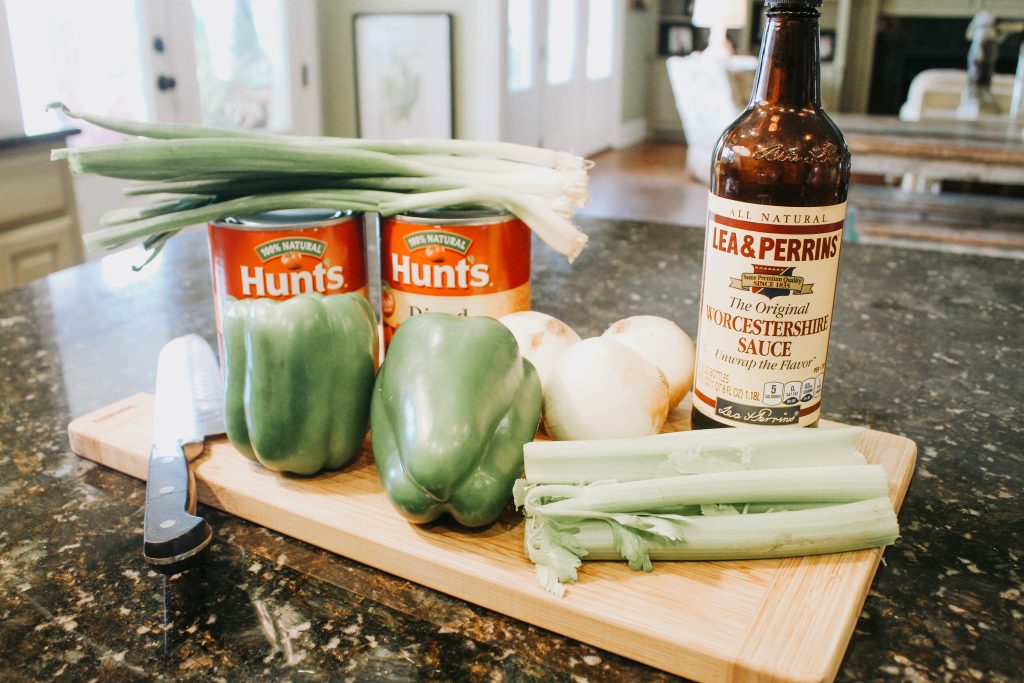
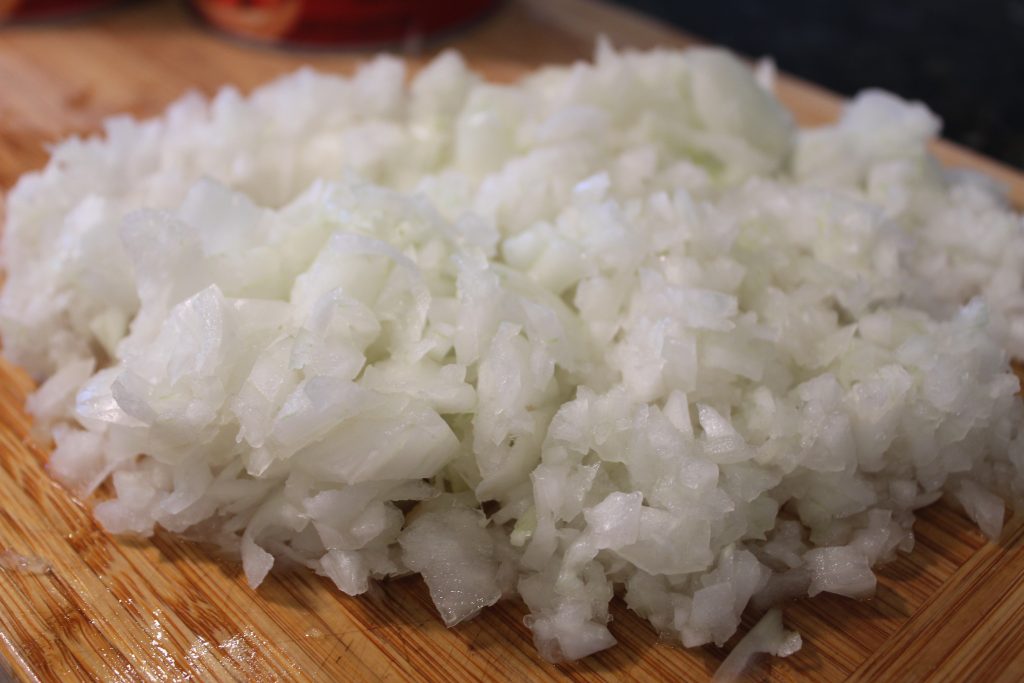
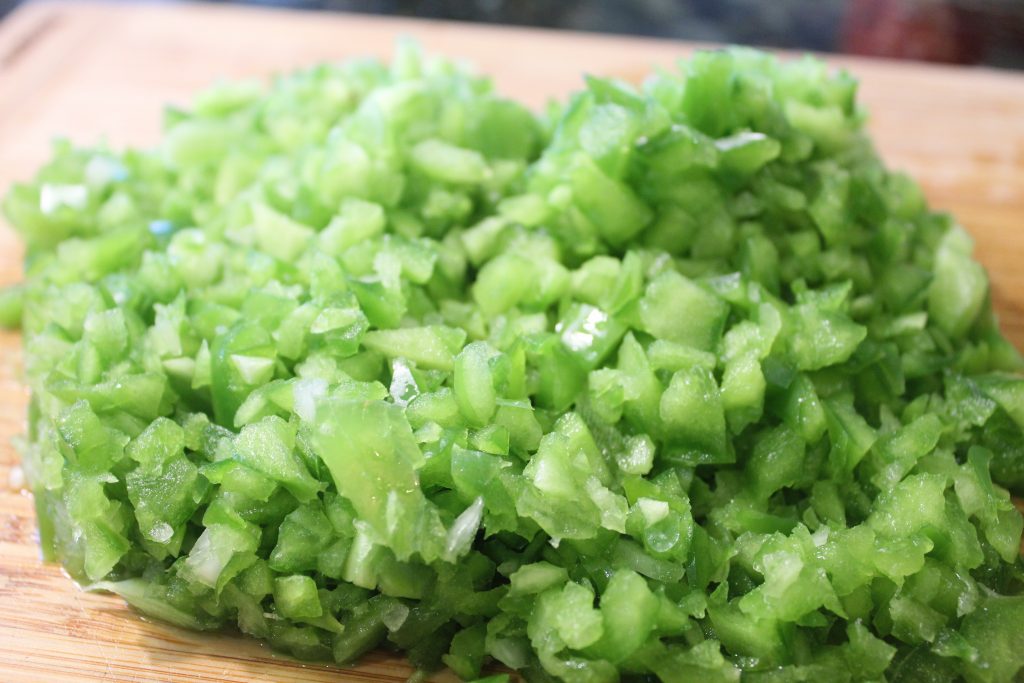
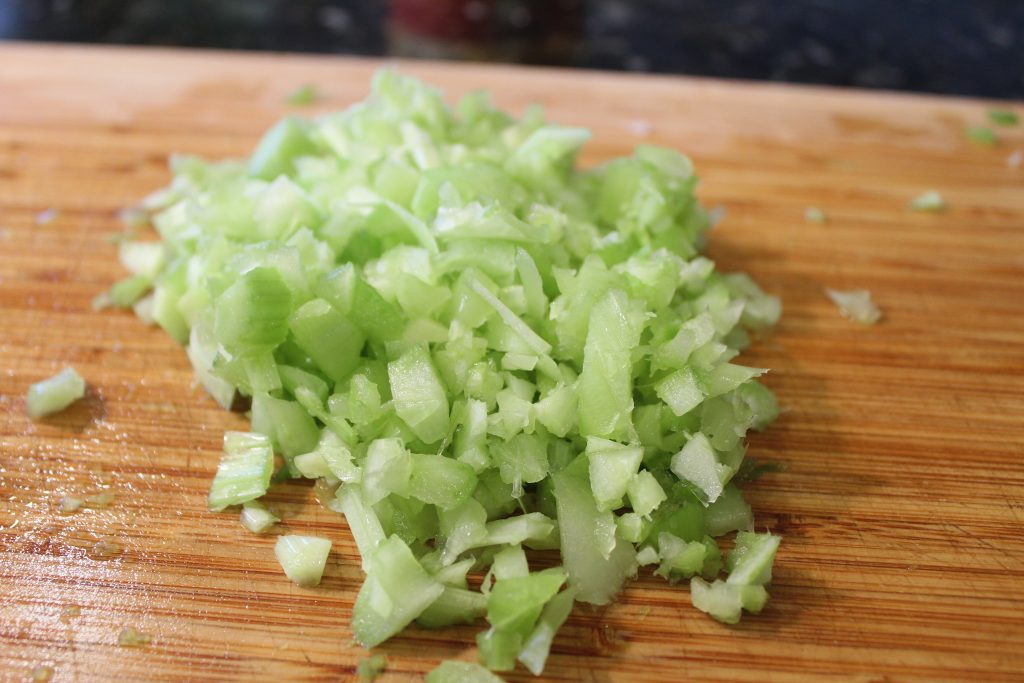
While your beans are cooking, I need you to dice 2-3 medium sized yellow onions, 2 green bell peppers and a stalk of celery.

As we know, this is considered the Holy Trinity in cooking!

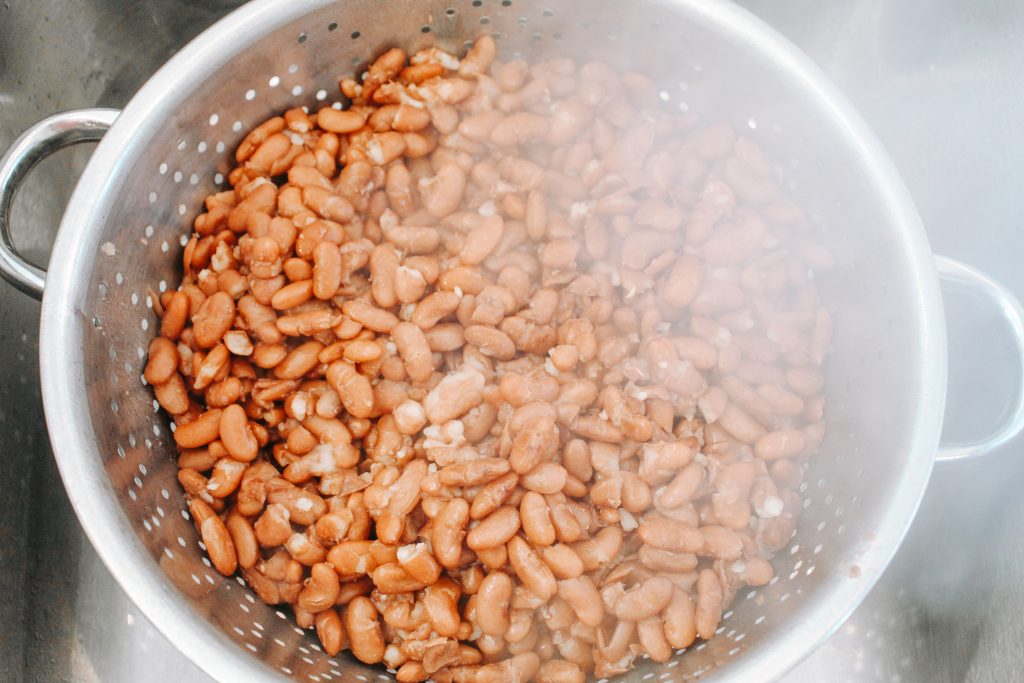
Next, drain the beans in a colander and put them back in the original pot.

I Added a Special Smoke Effect For You

Don’t you just love a dish you can make in only one pot?

Like I said, I’m a problem solver.

Now comes the part you aren’t going to believe…we are simply going to add the ingredients to the “one” bean pot, cover in water and cook!

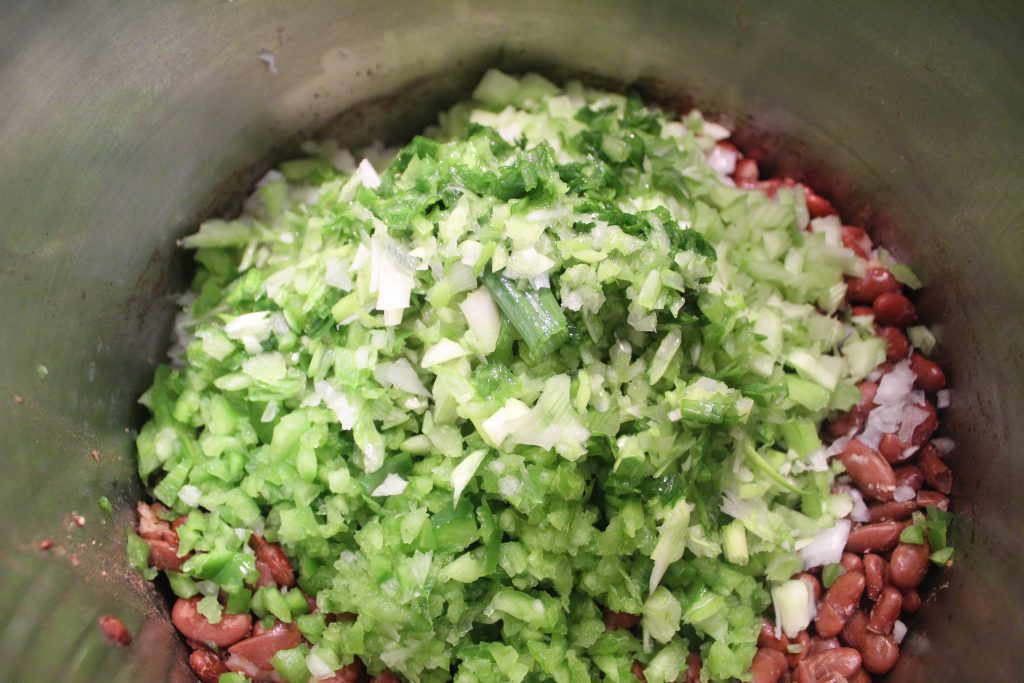
So to your beans, dump the chopped veggies right on top.

Start With Your Veggies

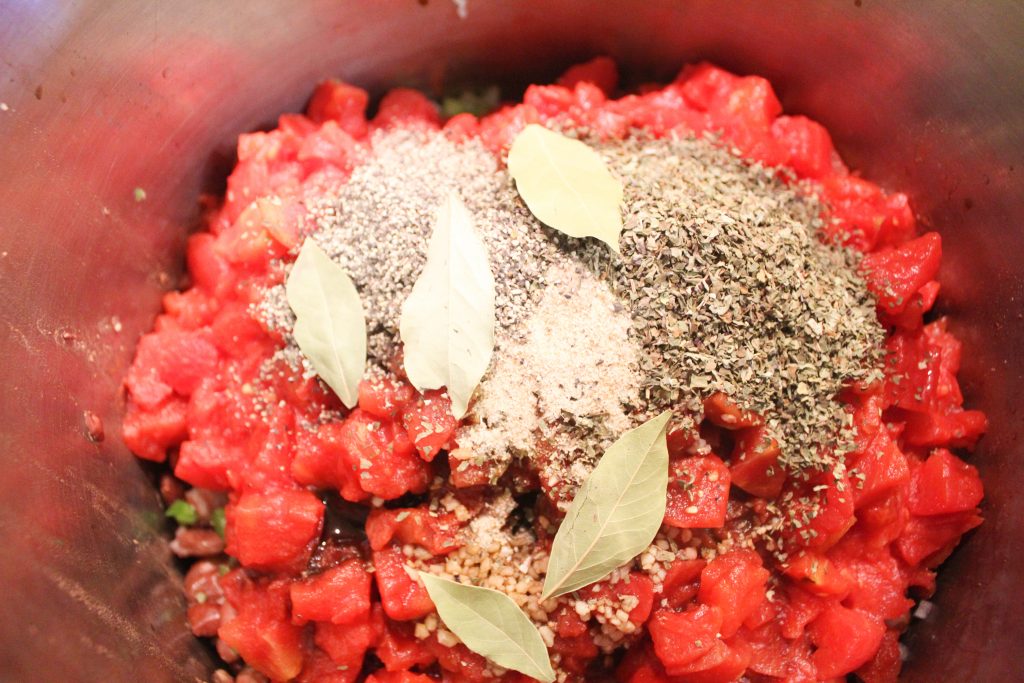
Next add 2 tablespoons of Seasoned Salt, 4 tablespoons of Worcestershire Sauce, 2 large cans of diced tomatoes, 2 teaspoons minced garlic, 2 tablespoons sweet dried basil, 1 tablespoon dried parsley, 5 Bay leaves, 2 teaspoons of black pepper and 1 tablespoon of salt.

Dump the Rest of the Ingredients Right In the Pot

Wait.

That was a long paragraph…and I am totally out of breath.

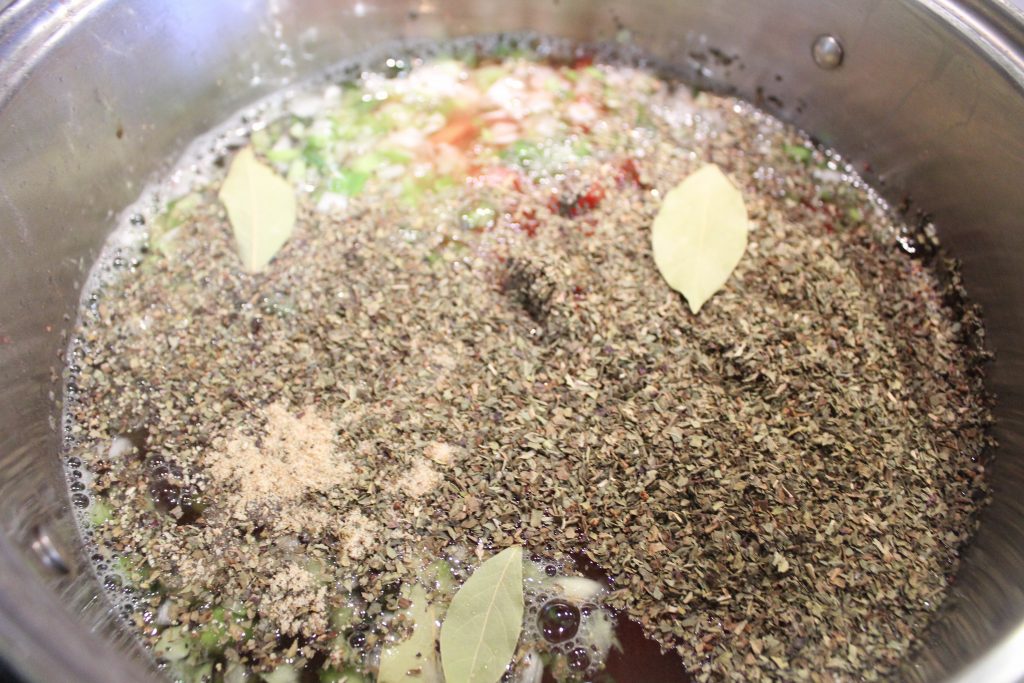
Literally readers, you just dump all the ingredients on top of the cooked beans and cover with cold water.

Cover With Water and Get Ready to Cook!

Bring this mixture to a boil, and reduce heat to medium to low and simmer for several hours to get all the flavors really married.

I have actually whipped this up before and served it right away, but the simmering really does allow all the seasonings to become really acquainted with each other

Like they are the best of friends…or something like that.

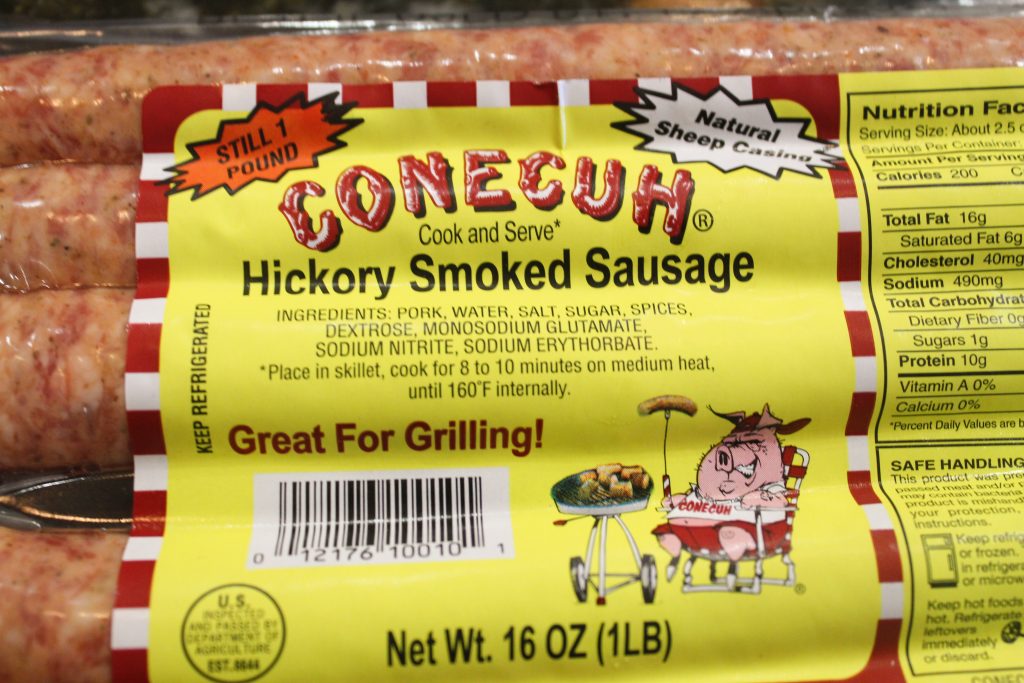
The last part is adding the sausage and I use 3 packages of Conecuh sausage, sliced thin.

Just add the sausage to the pot for 30 minutes to an hour before you are ready to serve.

But if you like a lot of sausage, you can add more or less.

I Just Can’t Talk About It

Some people I know use NO sausage and just eat the beans over rice.

Who am I to judge your dietary choices?

I’m the person who just ate 3 slices of Gina Edmondson’s King Cake she sent me.

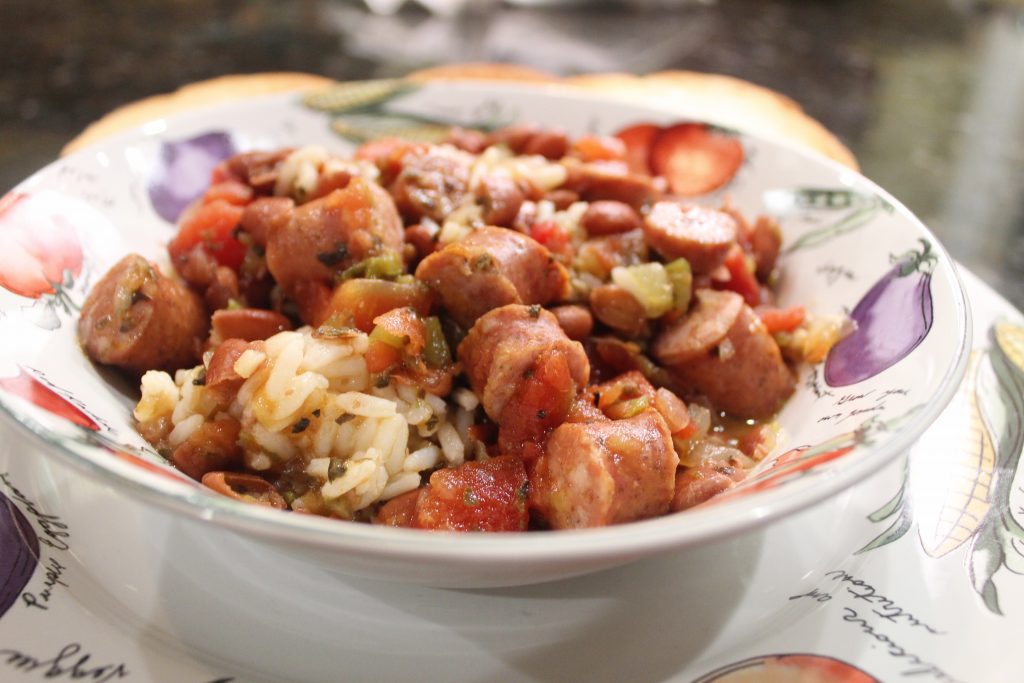
Whatever way you decide to serve it up, trust me when I say, you will never cook your Red Beans and Rice another way.

Come On!

And so that you know, I DOUBLE this recipe to make it for my family and friends and it makes a lot!

Enjoy this southern delicacy my loyal readers (probably just my mom and Decie Lewis) and let me know what you think once you try it!

Red Beans & Rice

Loaded with robust, warm flavors, this dish is the best Red Beans and Rice recipe you will ever serve.
Course: Main Course
Cuisine: American
Keyword: cajun, dinner, main course, red beans, red beans and rice
Author: The Alphabet Mom

Ingredients

  • 2 lb dried red kidney beans
  • 2-3 medium yellow or white onions chopped
  • 2 large bell peppers chopped
  • 1 stalk celery chopped
  • 2 large cans diced tomatoes
  • 2 tbsp Seasoned Salt
  • 4 tbsp Worcestershire Sauce
  • 2 tsp minced garlic
  • 2 tbsp dried sweet basil
  • 2 tsp black pepper
  • 1 tbsp salt
  • 5 bay leaves
  • 2-3 packages smoked sausage
  • Uncle Ben's Rice

Instructions

  • Wash beans and soak overnight if desired.
  • Drain beans and cook until slightly tender. Drain again and return to pot.
  • Finely chop onions, bell peppers and celery. Add to beans.
  • Add all other ingredients right on top of beans and veggies.
  • Cover with water.
  • Bring bean mixture to a boil, then reduce heat to low or medium and simmer for several hours.
  • Add sliced sausage 30 minutes to an hour before serving.
  • Serve over rice.

P is for Pecan Pie

Oh…and chemotherapy

Even though chemotherapy doesn’t start with “P.”

Well, they say 3 times the charm.

So, if that’s the case, I’ll be blogging the rest of my life.

Because I have literally stopped and started this blog process 3 times.

Or is it 4?

Honestly, I’m beginning to think this whole blogging thing might be a little too much for me.

But maybe not.

Because, well, I think each time I have started and stopped it’s been with very good reasons.

Like…really good reasons.

And this time is not any different.

Trust me, I hate talking about it, really I do.

But readers, I had a bit of a medical setback.

But, do we really want to belabor that?

I know I don’t…all I want to do is move ahead!

And solider on!

But not without a short update…this week I had my 9th round of chemo.

And I’ve done extraordinarily well, friends, I mean…really well.

By well, I mean minimal side effects…and with very good results.

Isn’t that the best you can hope for when you have to take chemotherapy?

But guess what? It’s almost in my rear view mirror now.

And like so many things in my life, I am trying to put this in a perspective that will allow me to help other people who have to travel a similar path.

I mean, isn’t that we are ALL called to do?

Also, I have had some pretty amazing support through these last six months.

Support I couldn’t have done without.

And I wish I could have been blogging simultaneous with my treatment, because I really love to blog.

Like really love to blog.

But sometimes, you have to stop and take care of your life…of yourself.

Which is what I did.

However, blogging comes as natural to me as anything I have ever done in my life…so here we go again.

And thank you to ALL of you who have continuously reached out and encouraged me to “restart.”

Because here I am today, back again and resuming with P is for pecan pie.

And let me tell you, chemotherapy got me off the hook for how much of this pie I ate.

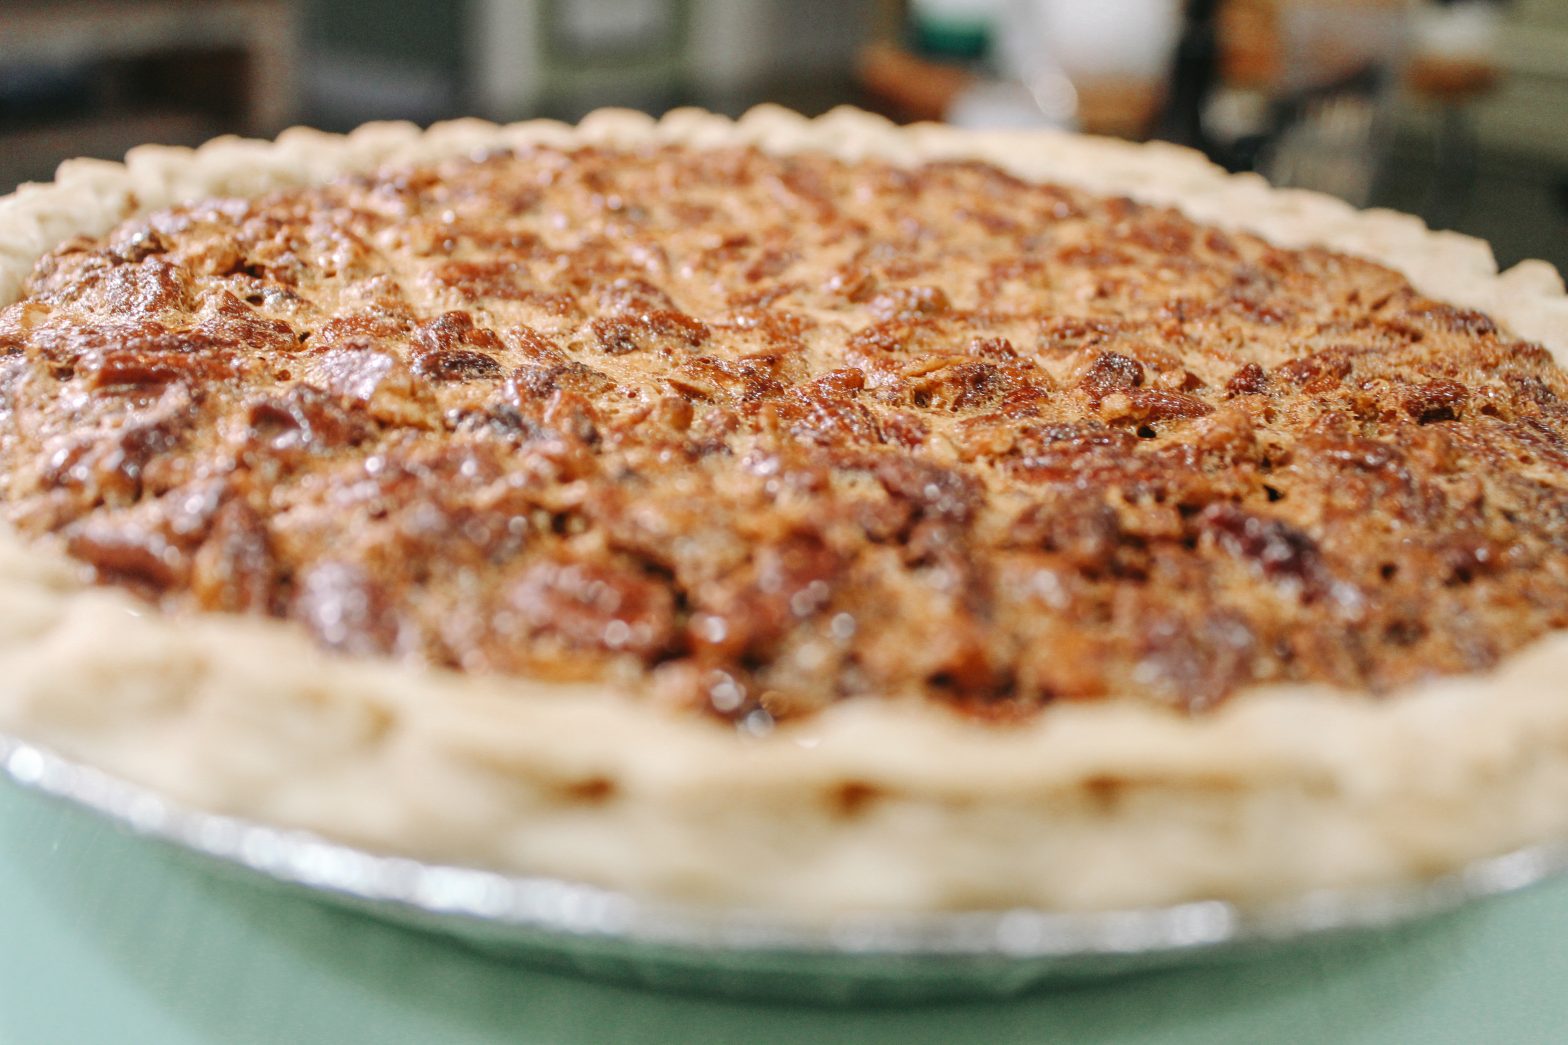
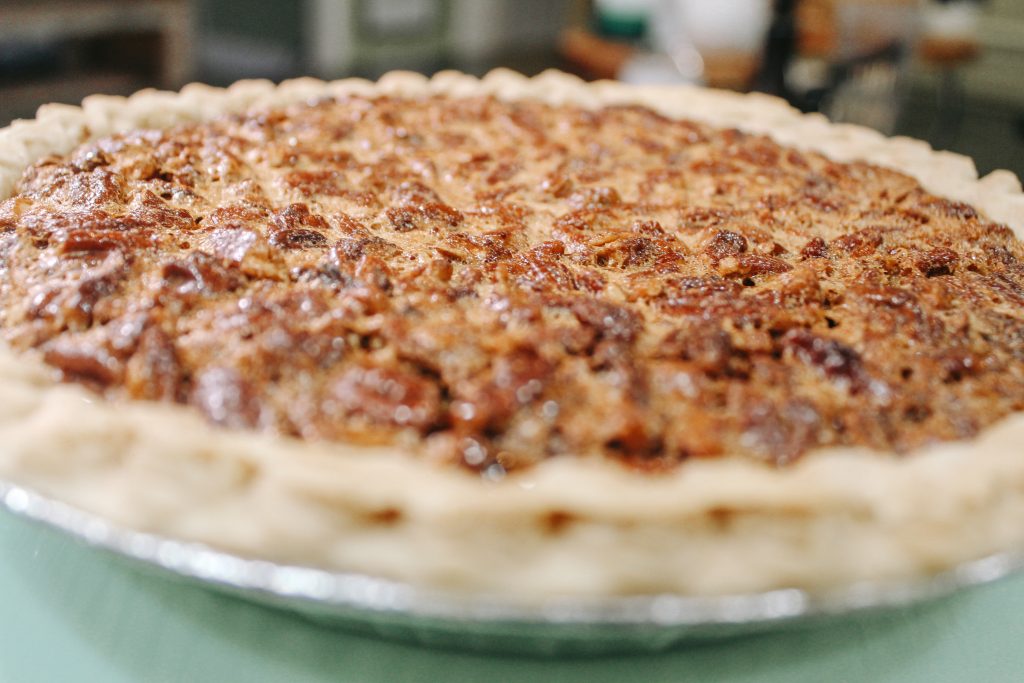
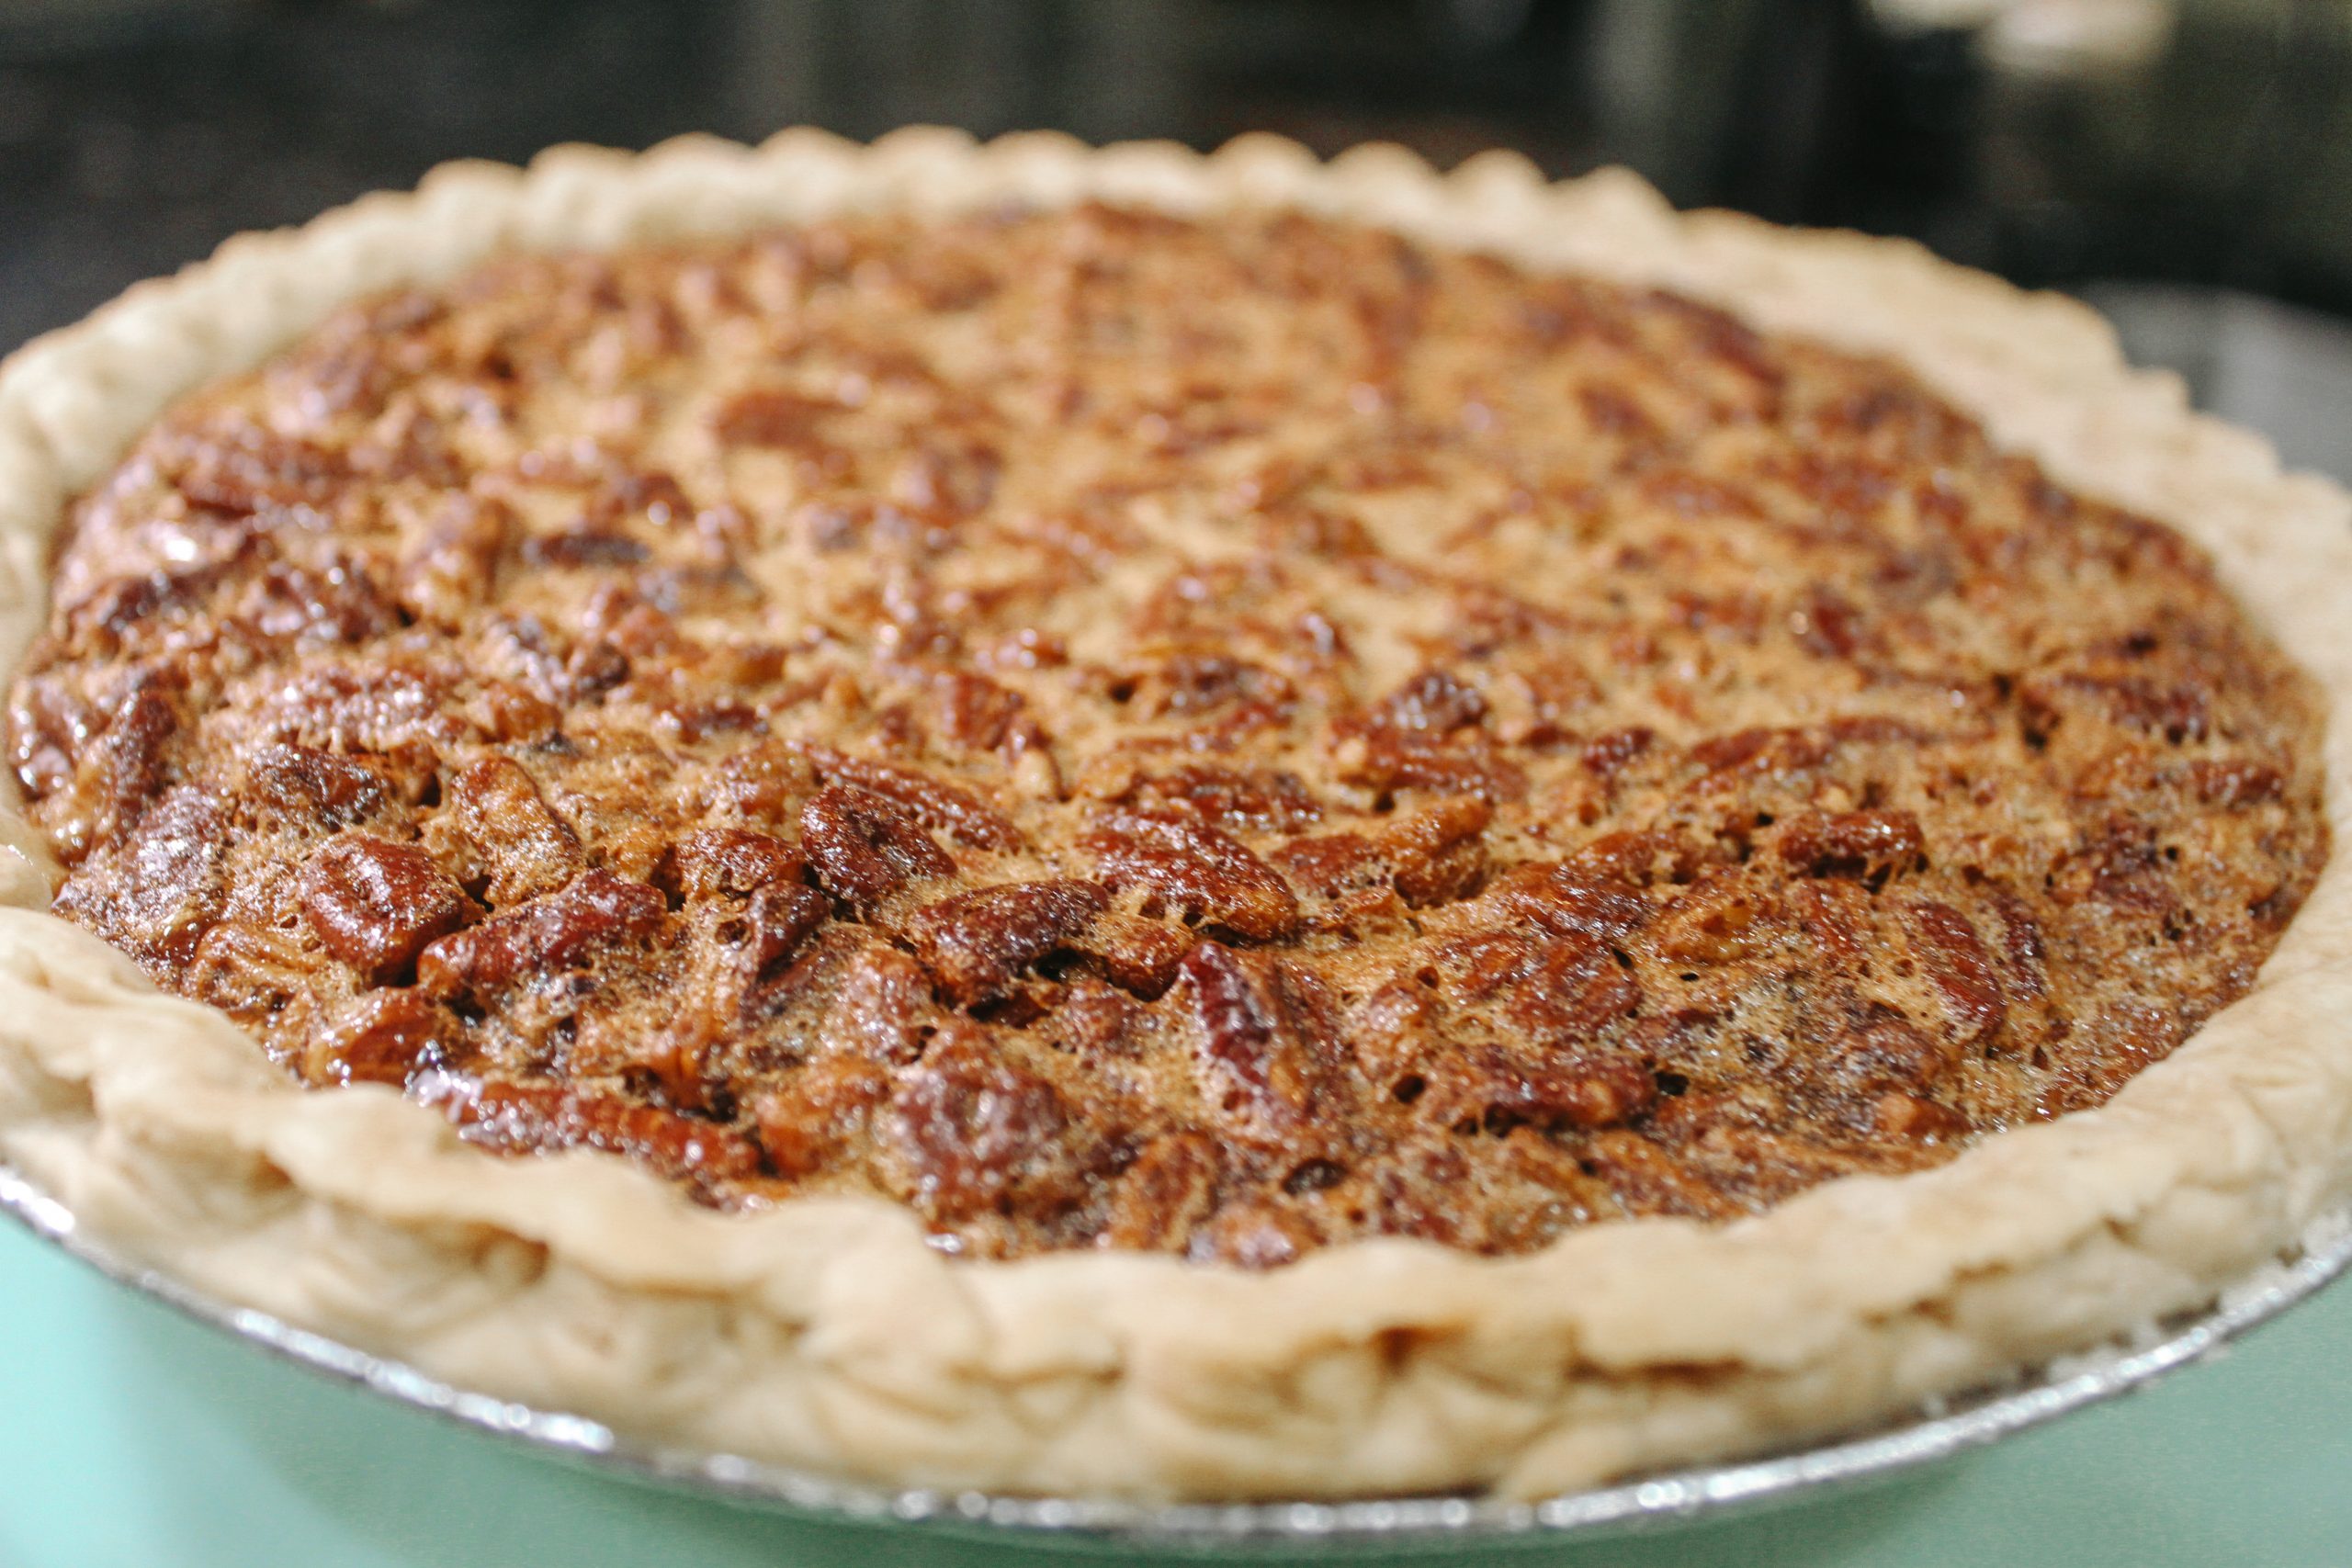
I’m calling it “MeMe’s Pecan Pie” because it’s her recipe and she’s been making it for us my entire life.

Incidentally, it’s my dad’s favorite dessert.

And it will become one of yours, too.

If you top it with a little ice cream or whipping cream, it is a delicious and messy treat.

Messy in a good way… like ooey and gooey and messy.

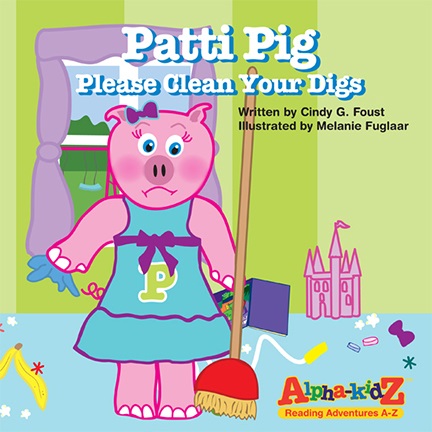
Speaking of messy, I can’t let this P post get by without telling you about my P book.

Do You Have a Messy Little One? If So, You Need This Book!

I should have written it about Shelley, my sister who is an “adult” neat freak.

But that wasn’t always the case.

Better put, Shelley wasn’t always a tidy person…and I’m wondering if she will comment when she reads this post?

When I say “Patti Pig, Please Clean Your Digs” SHOULD have been written about Shelley, what I meant to say it WAS written about her.

Because she had more science projects growing under her bed than a laboratory at NASA.

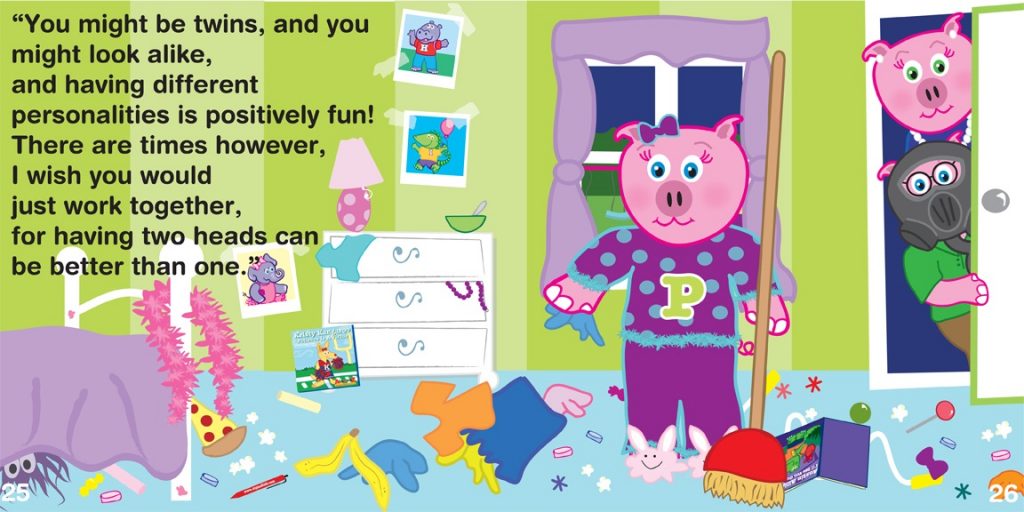
In my book, Patti and Paul are polar opposite twins.

One is a neat freak…that would be Paul.

One is a slob…that would be Patti.

Now, That’s a Messy Room!

I’ll let you read the book to see what happens but let’s just say, if you have a “Messy Marvin” at your house, there is still hope.

Because Shelley rose from lowly messy beginnings to everything has its place kind of a neat freak.

And as a result of this silly story in my life, we now have “Patti Pig, Please Clean Your Digs.”

Get this book…and read it to your kiddos who have a hard time keeping their room clean…or their bathroom…or their dorm room (hey, these books aren’t just for kids!)

And then go straight to the kitchen and make this pie.

MeMe’s Pecan Pie

You can’t believe how good it is and with minimal ingredients.

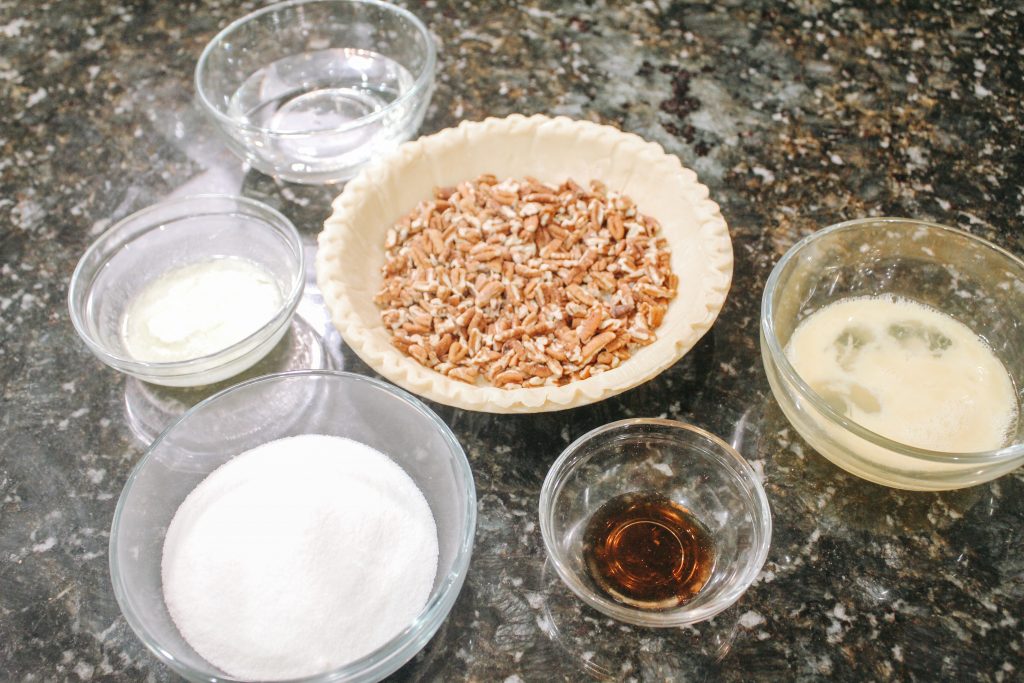
Just 5 Ingredients to Pour Over Your Pecans

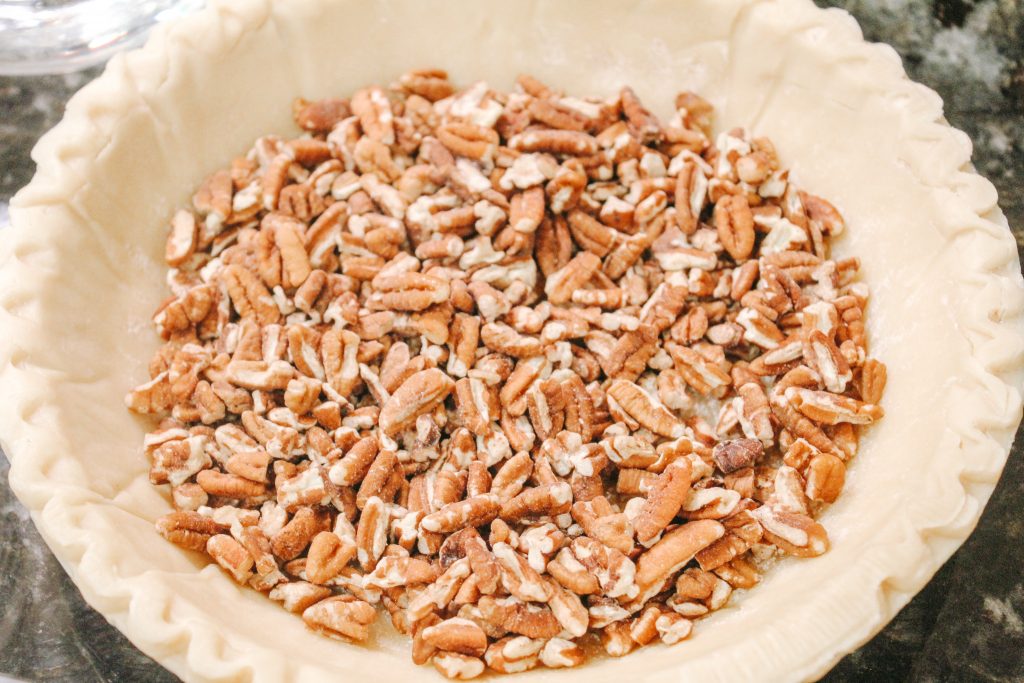
Now, let’s start with a deep dish pie crust.

A Pie Crust Full of Pecans Has to Be a Great Place to Start

Can we talk about pie crusts for just a minute?

I know I can make one from scratch, just like you can, but why would we want to?

A frozen one or one you roll out of a box are both easy and really good.

So if time allows, make it from scratch, but if you need it in a hurry or you don’t want to be Loretta Lynn and break out the Crisco, get you a frozen one.

In that pie crust, dump one cup of chopped pecans.

It is a pecan pie, after all.

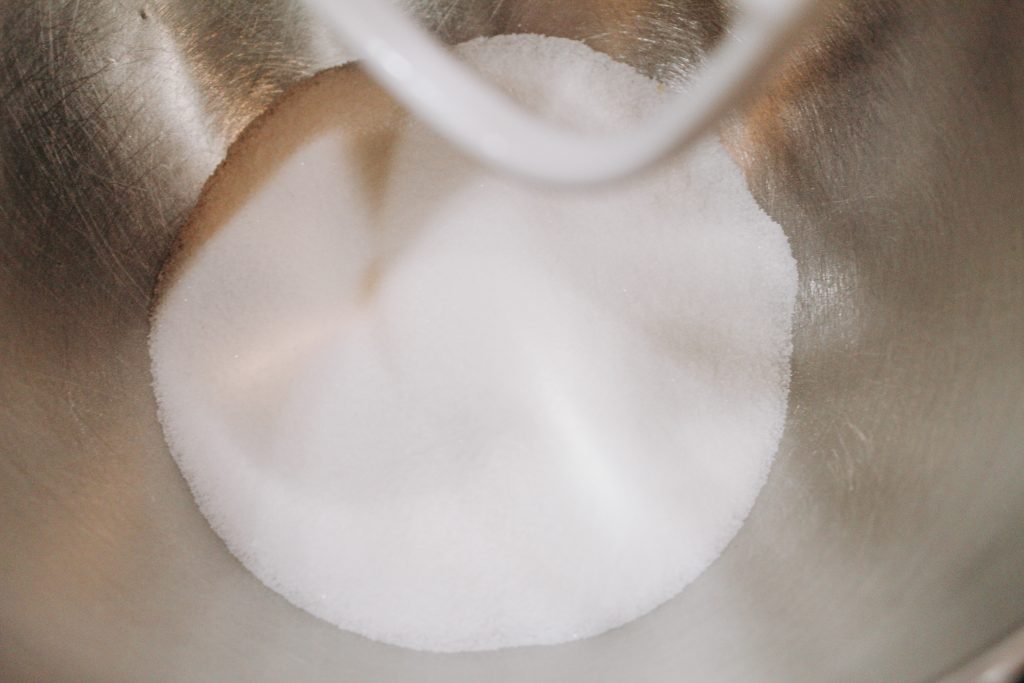
To the mixing bowl we go to start with a cup of sugar.

One Cup of Sugar Starts Us Off

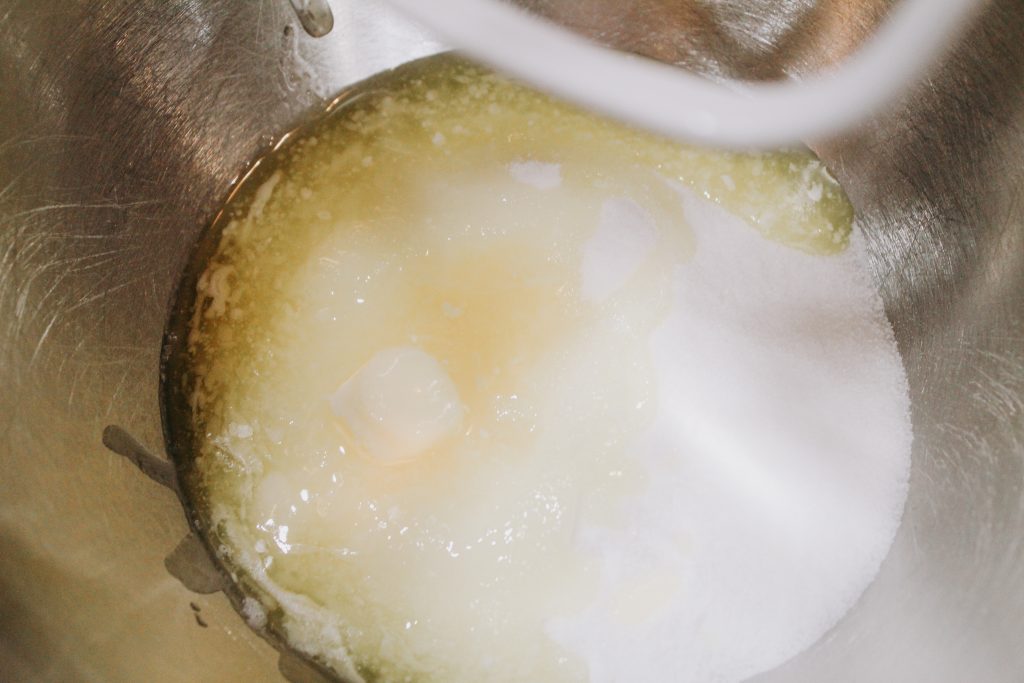
To this add 3 tablespoons of melted REAL butter.

Butter…A Cook’s Best Friend

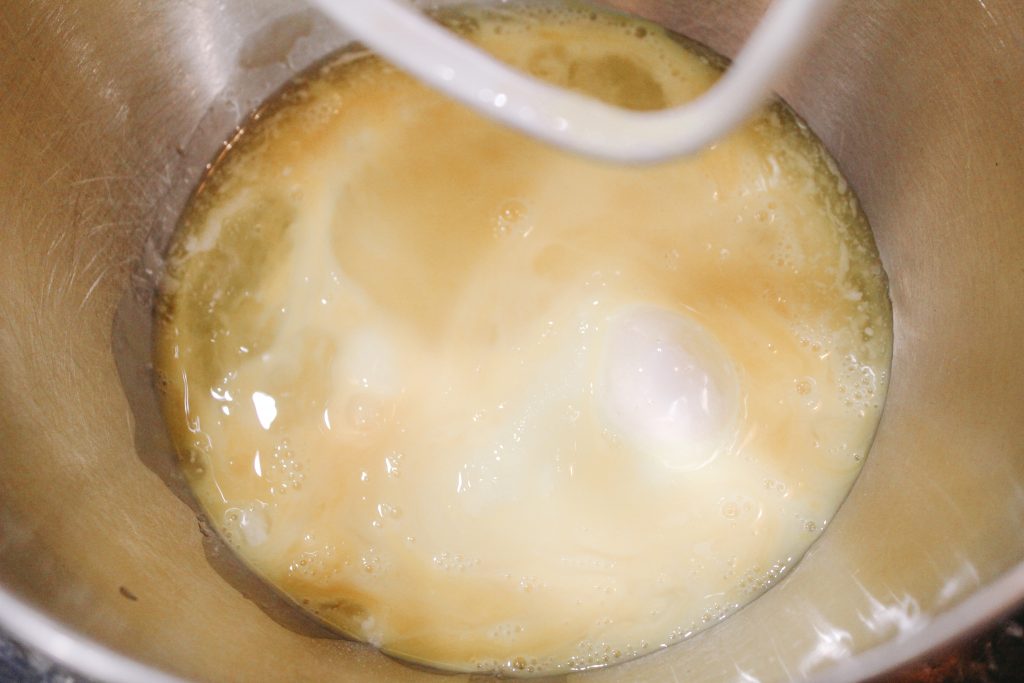
Next, beat 3 eggs in a separate bowl and add to the sugar.

Add 3 Slightly Beaten Eggs

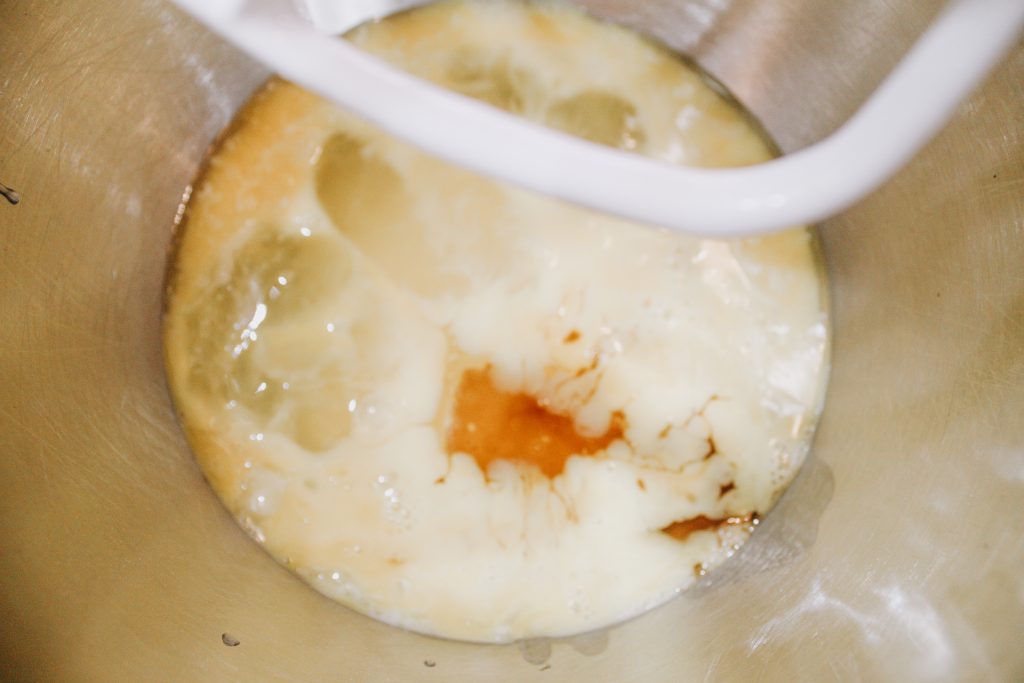
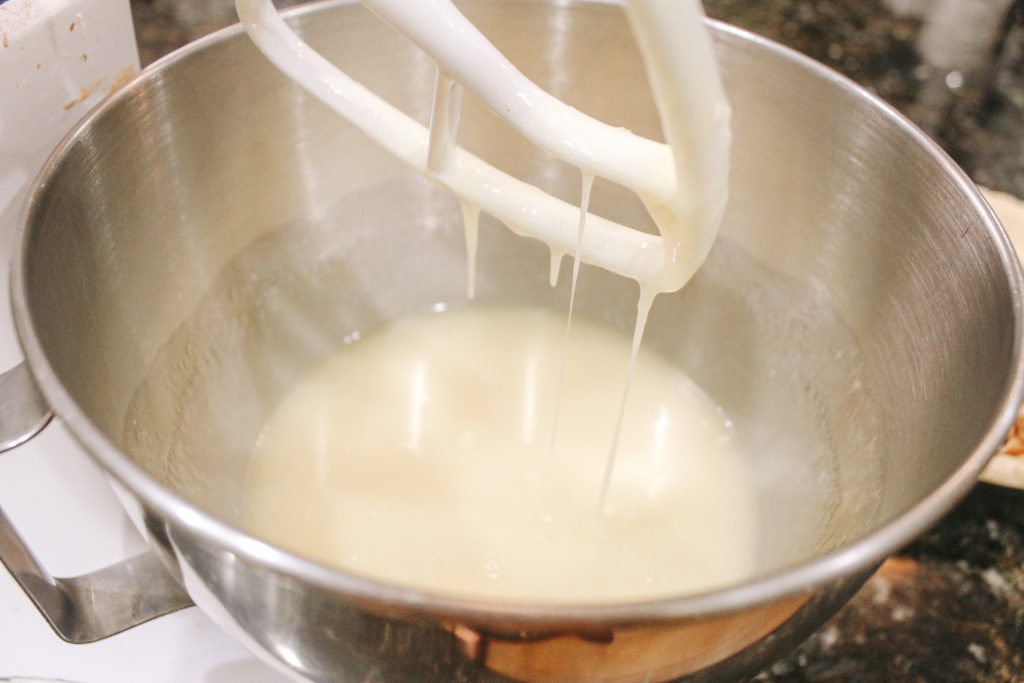
Then the magic happens when you add 1 cup Karo syrup and 1 teaspoon of vanilla.

All In…Ready To Go!

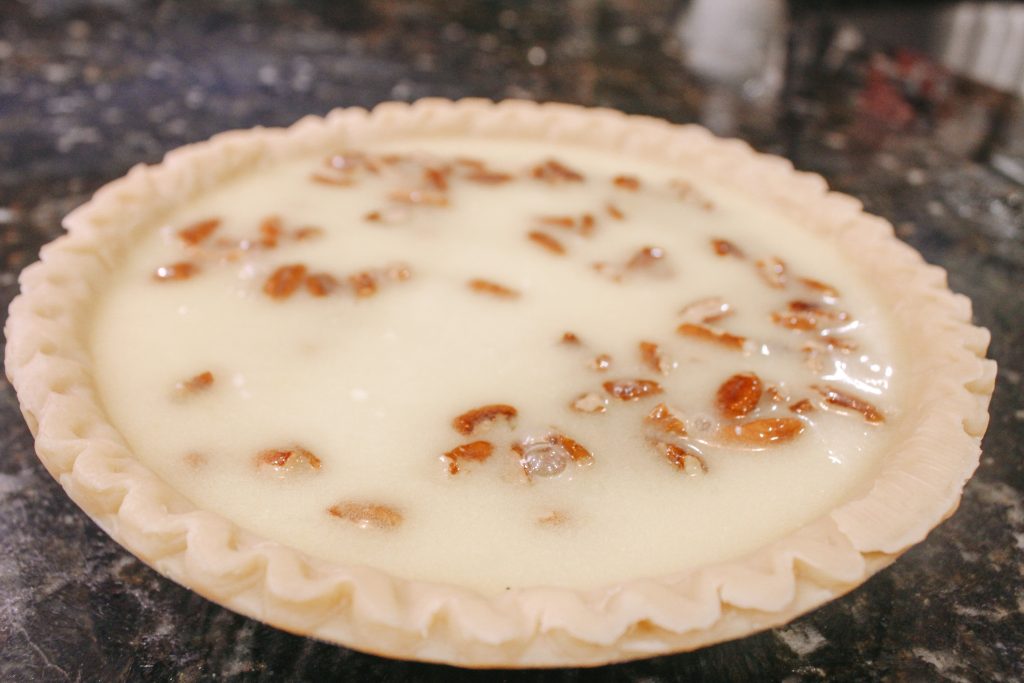
Mix well and pour over pecans.

I Can’t…I Just Can’t…I Want to Lick the Beater

Pour mixture over pecans…we aren’t building a space shuttle, this is super easy.

Almost There!

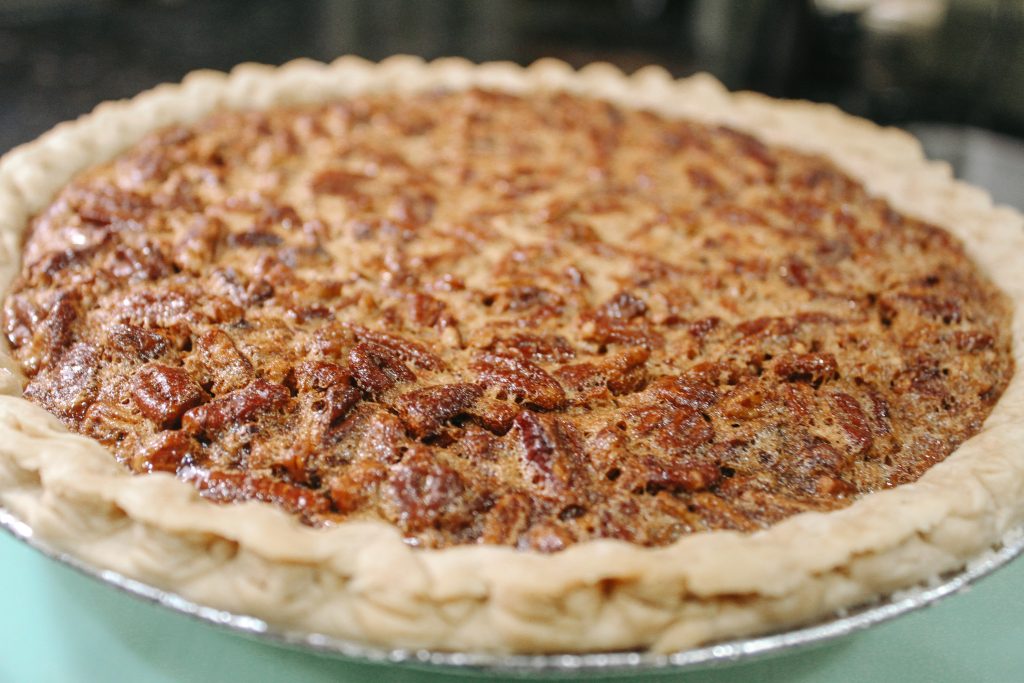
Bake at 350 for one hour or until toothpick comes out clean.

Watch your pie near the end, you don’t want it too brown on top, and depending on your oven, it may take a little less than an hour.

Get You One Of These!

I cool mine for about an hour to give it time to set.

If you can wait that long!

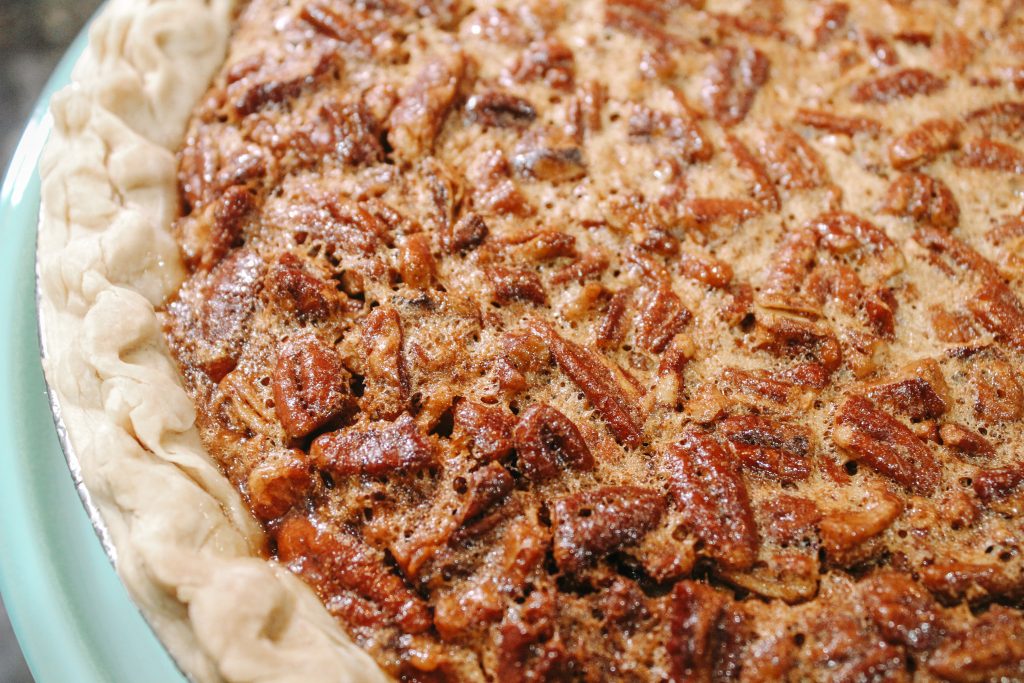
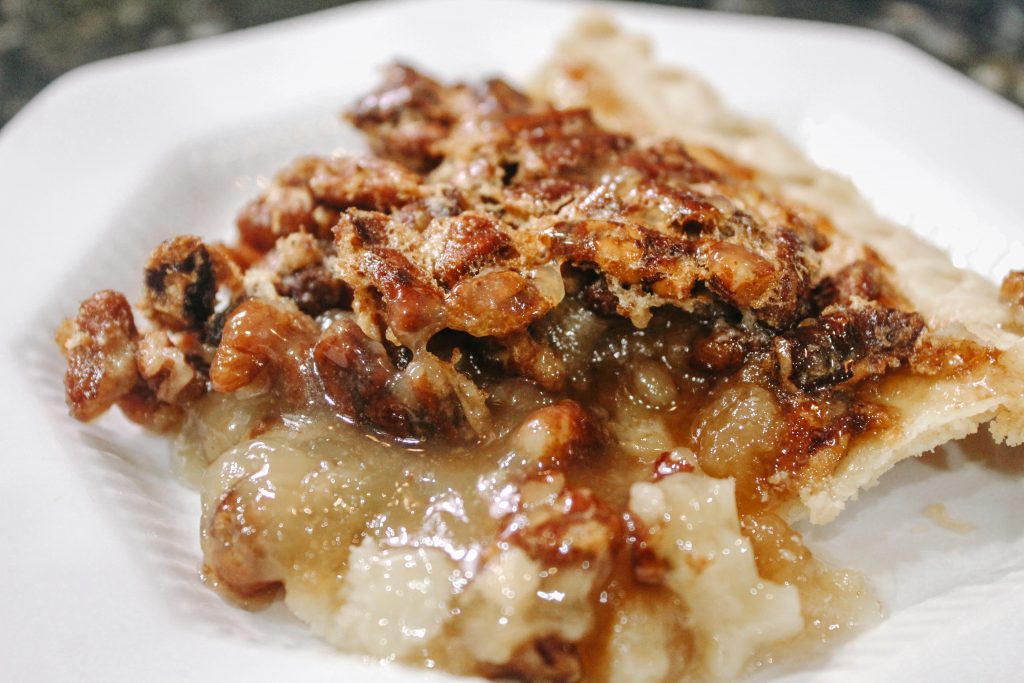
In a Word…Heaven

Thanks MeMe for a perfect pecan pie!

Perfection!

And readers, don’t panic…we will be coming back to finish cooking through the alphabet but we are going to take a few weeks break.

Hang on though…it’s going to be fun!

And we are starting with a give-away!

There’s TWO ways to enter…listen to me very carefully.

One, LIKE my Instagram PAGE or Facebook PAGE at Alphabet Mom.

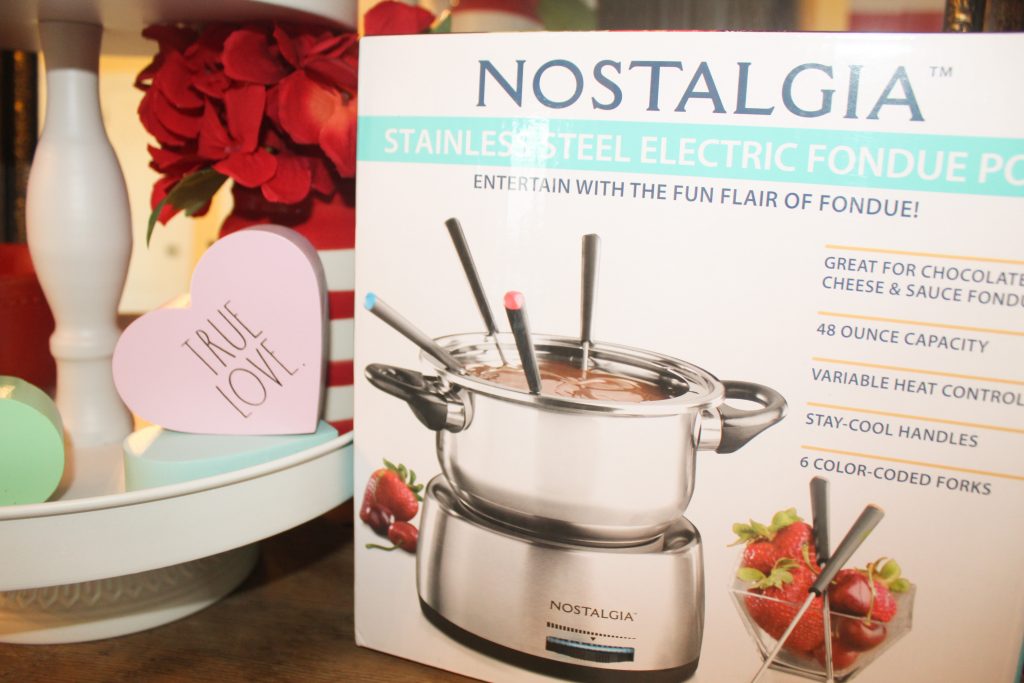
Or, if you already like those pages, simply LIKE this POST on Instagram or Facebook at Alphabet Mom to enter to win this fondue pot.

I’ll draw a winner on Friday, February 12th…just in time for Valentine’s Day!

And, tomorrow I’ll be showing you how to use this fun new kitchen must-have!

It is, after all, the month of chocolate!

MeMe’s Pecan Pie

This pecan pie checks all the boxes for a good ole' southern dessert. Easy to make…delicious to eat!
Course: Dessert
Cuisine: American
Keyword: dessert, pecan, pecan pie
Author: The Alphabet Mom

Ingredients

  • 1 deep dish pie crust
  • 1 cup sugar
  • 1 cup Karo syrup
  • 3 eggs, slightly beaten
  • 3 tbsp melted butter
  • 1 tsp vanilla
  • 1 cup chopped pecans

Instructions

  • Preheat oven to 350.
  • Add chopped pecans to pie crust, set aside.
  • Mix sugar, Karo syrup, eggs, butter and vanilla and beat well until well mixed.
  • Pour mixture over pecans.
  • Bake 1 hour or until knife or toothpick comes out clean.
  • Cool on baking rack until set.

O is for Oatmeal Bar

and Ollie Owl, How to Be a Good Pal

We are rocking readers…like rocking our way through the alphabet on a jet stream.

That sounds fast, doesn’t it?

I’m just a fast kind of girl.

Just ask anyone in my family.

I was always the fastest one on the team.

Don’t Tell Me I Can’t Palm a Basketball-#claw

Well, as long as I was the ONLY one on the team.

It’s true…I was as slow as a snail in a molasses pond.

I just made that up, by the way.

That would be slow.

But at 53, I don’t have to worry about being slow or fast.

I just have to worry about being a good friend.

Wait.

What do jets, snails, molasses and friends have in common?

They are all in my brain hitting this blog post at the same time.

Did I mention I WAS a fast typist?

THAT is a true statement.

But I’m also a good friend.

But I wasn’t always.

One time, in middle school, I betrayed a friend’s trust by telling something she had confided in me about.

I don’t really remember what it was…but that part of the story really isn’t important.

What’s important is I will never forget how it made me feel when she found out.

It was never my intention to hurt my friend…my 7th grade Woodlawn Junior High friend, but I did, nonetheless.

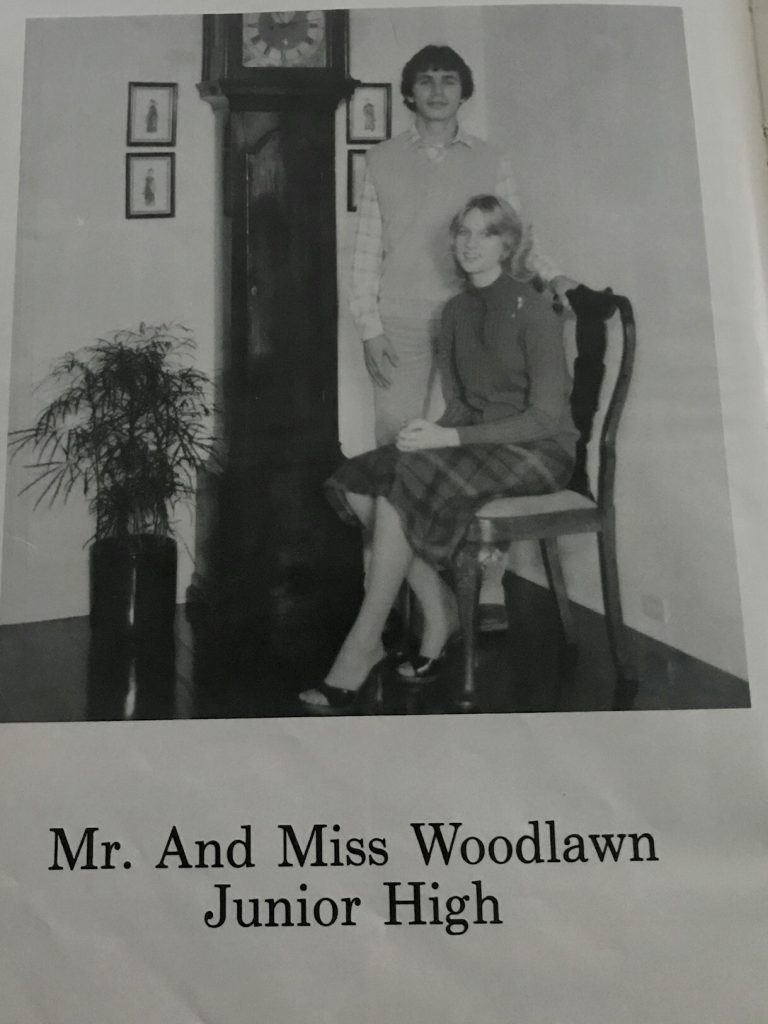
Did I mention I was Miss Woodlawn Junior High?

The Shoes Helped Me Win the Race

Yes, you are actually reading the blog of Ward 8 royalty.

But the real story here, the real lesson, was my friend forgave me, like without even a thought, and we remain friends to this day.

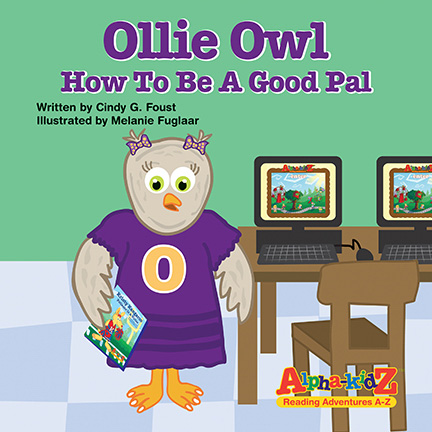
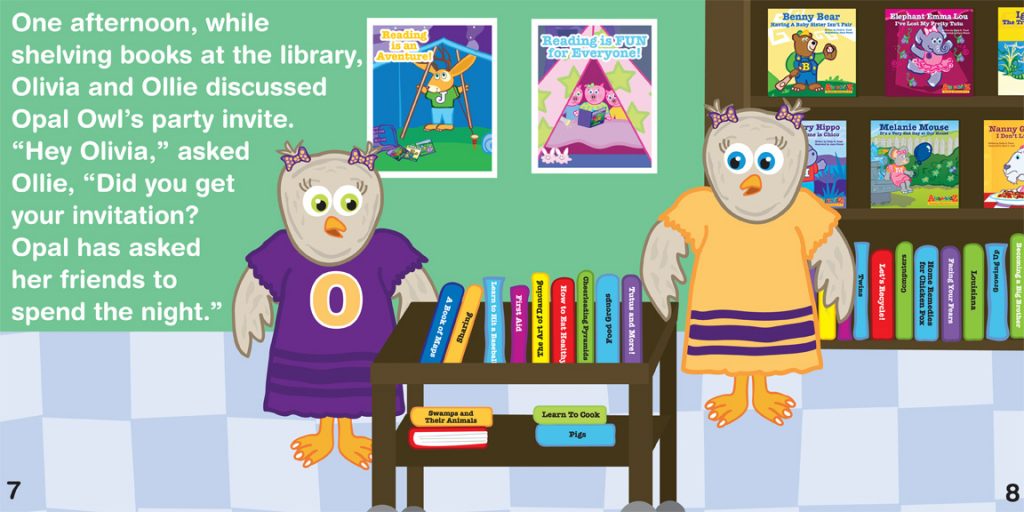
And as a result of my junior high (that’s what we called it back in the day) poor decision making skills, we have “Ollie Owl, How to Be a Good Pal.”

Meet Ollie Owl

Because to have a good friend you have to be a good friend.

Olivia and Ollie

Right?

And thankfully, I still have my lifelong friend.

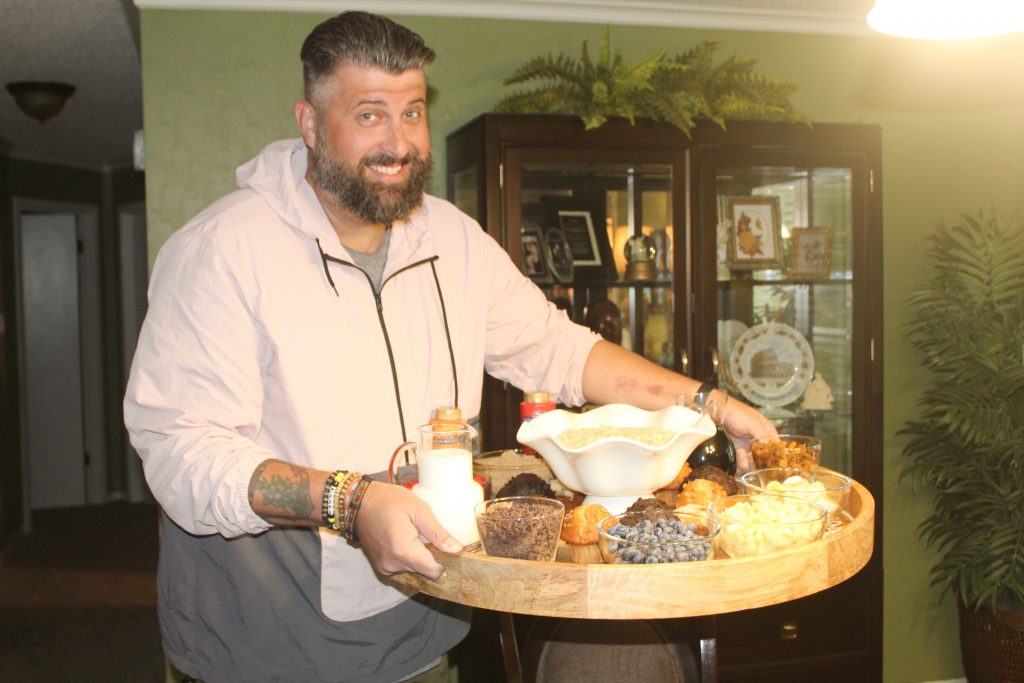
Speaking of friends, check out this Alphabet Mom friend.

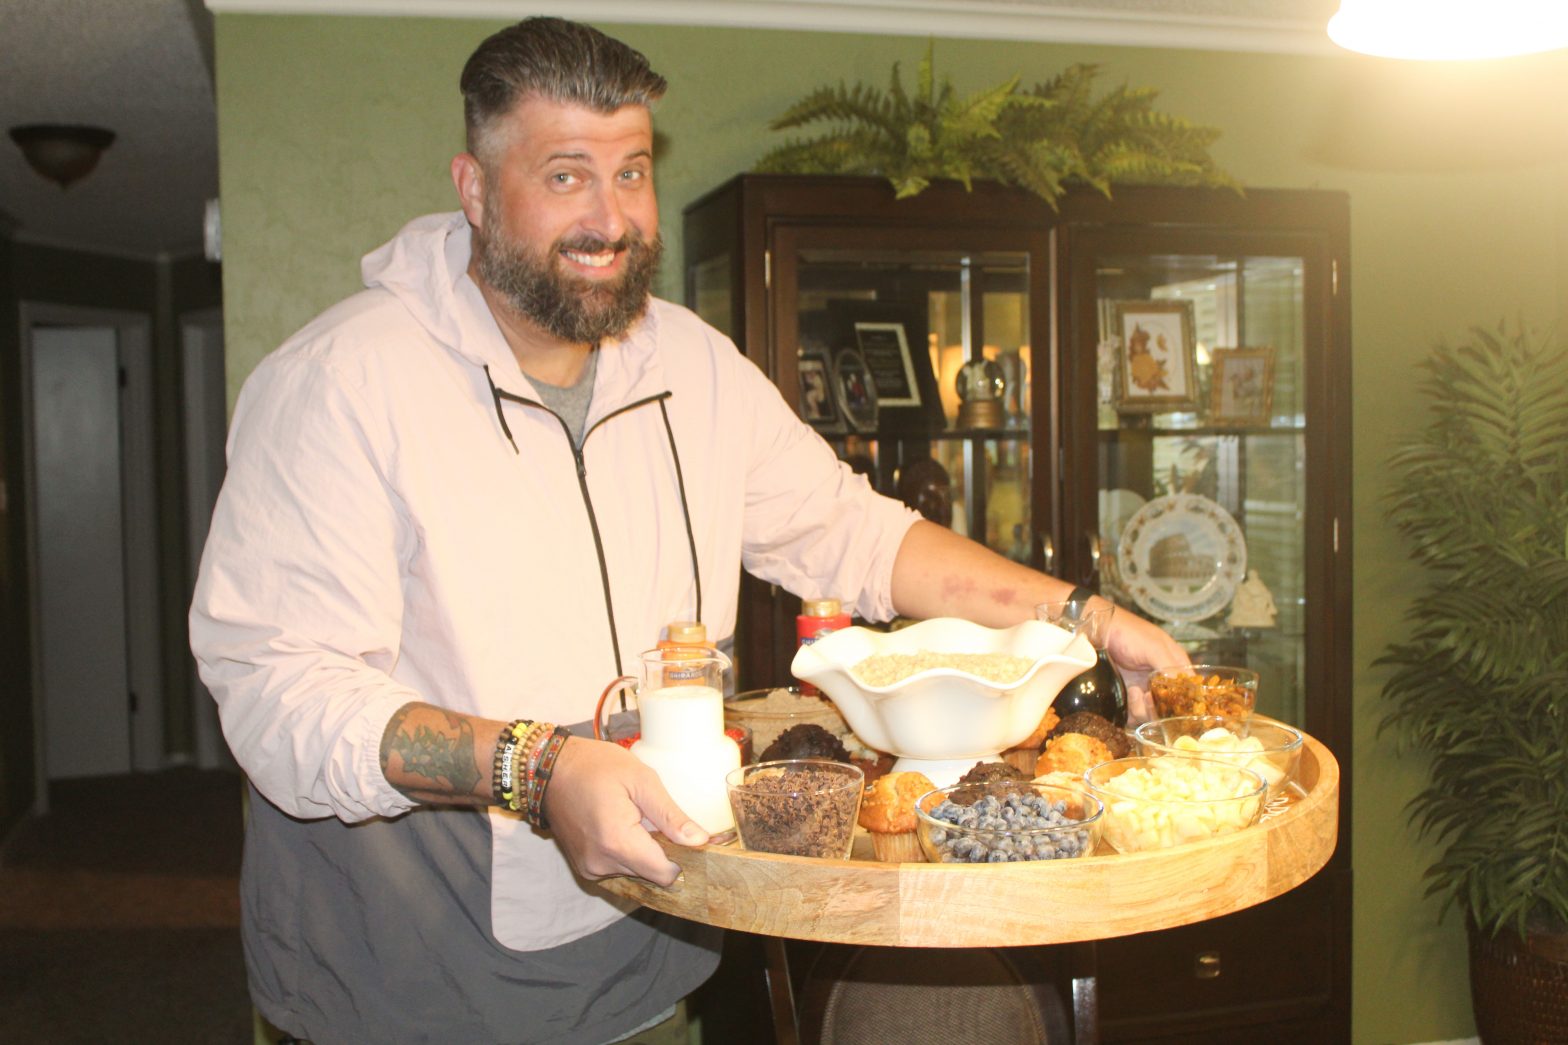
The Alphabet Mom Oatmeal Charcuterie Board Model

Oh, wait, that’s an Oatmeal charcuterie board model.

There’s a big demand for these guys, I’m not even kidding.

And were we ever lucky to get him, or what?

So, what is our model modeling?

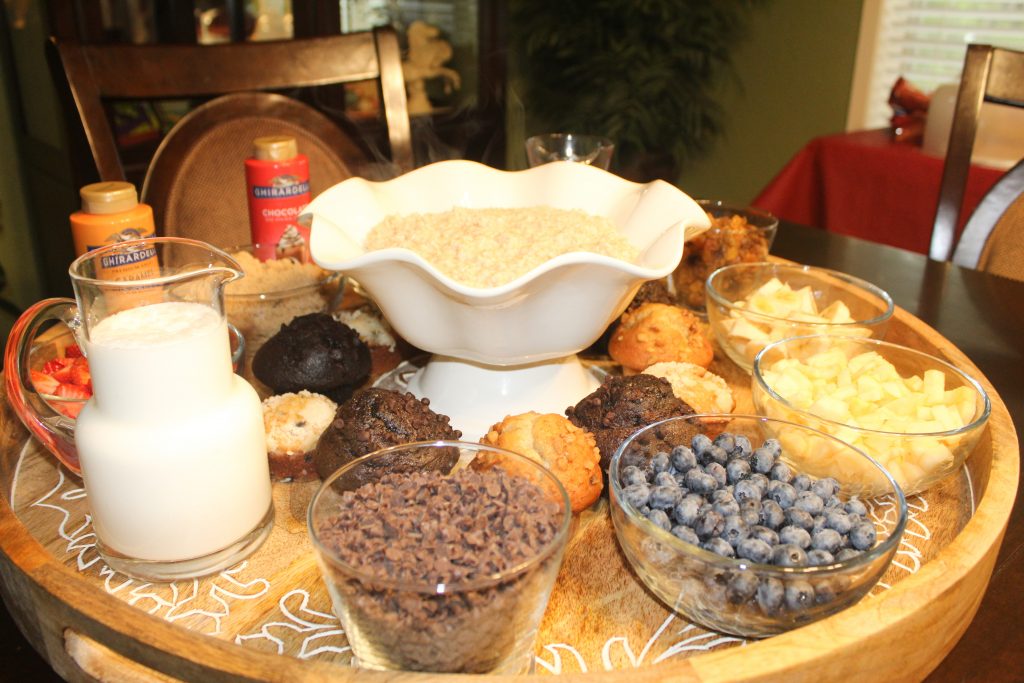
For the letter “O” we are having an oatmeal bar.

Oatmeal Bar – Yes We Are!

I made this one on my charcuterie board, but you can absolutely do this on your island or your table or buffet.

I like things to match…

…I’m a little OCD like that.

So I headed out to the dollar store and picked up some small clear bowls and pitchers for a minimal investment.

Like a $10 investment.

Here’s what inspired me.

My brother and his family are here for a few weeks.

Thank you, Jesus.

And they love it when “Cha-Cha” gets creative in the kitchen, right?

Like with the S’More charcuterie board last week.

I absolutely won the “Aunt of the Universe” award for that one.

That was before we decided to do breakfast for dinner one night.

Best time to eat breakfast if you ask me.

And when the kids wanted oatmeal…I surprised them with oatmeal Utopia.

And did we ever have all the fun.

And boy it was healthy!

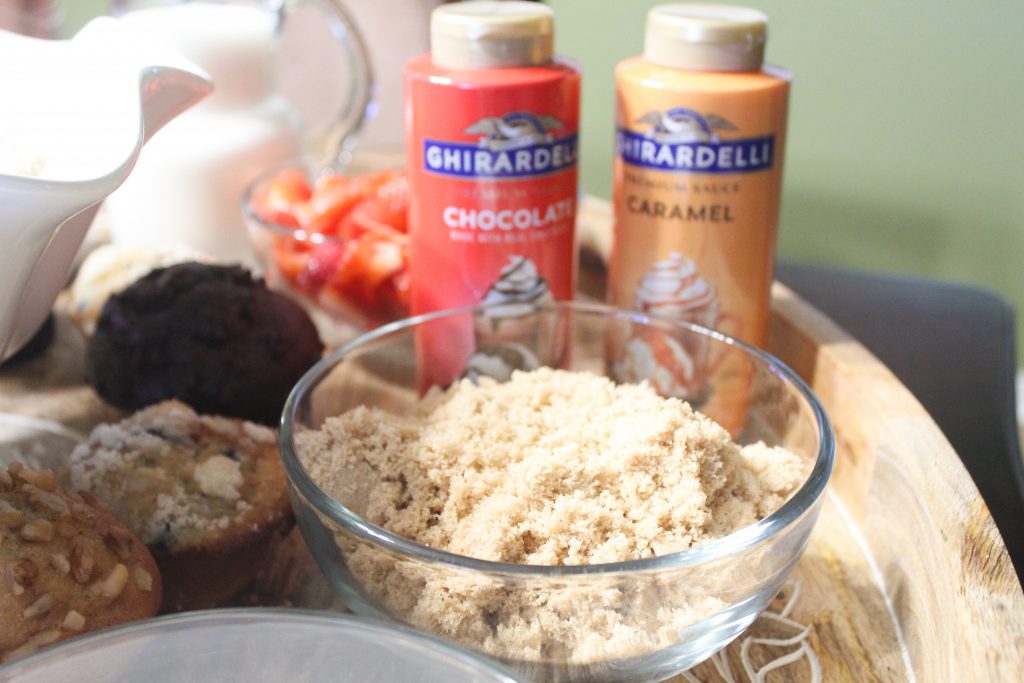
Well, except for the chocolate and caramel sauce.

Doesn’t Everybody Eat Chocolate or Caramel Sauce on Their Oatmeal?

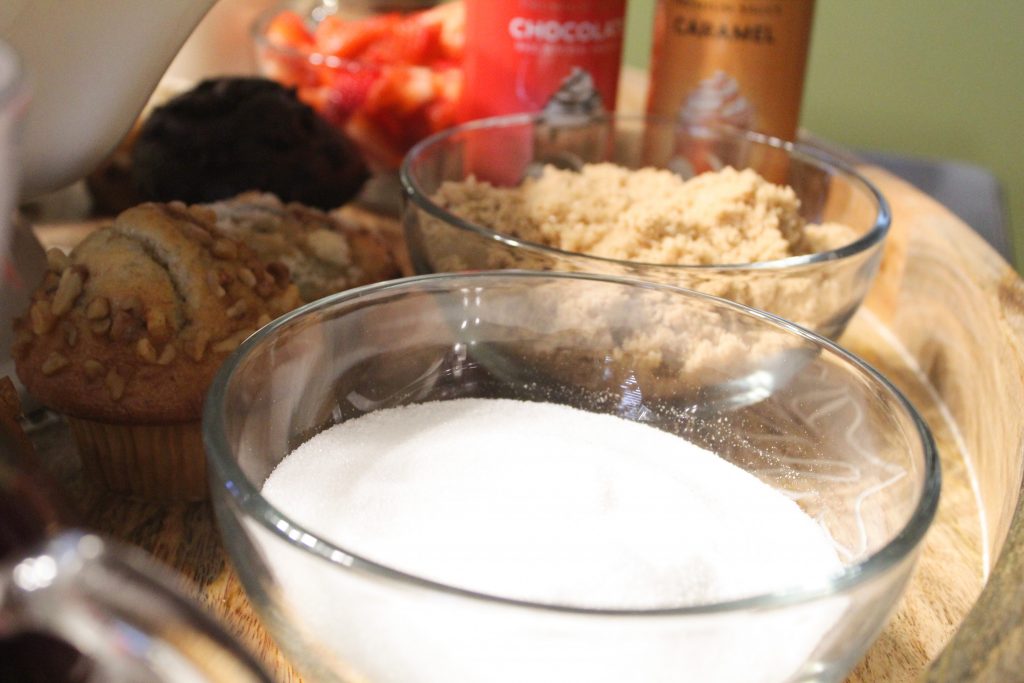
Oh…and the sugars.

All the Sugars…Brown and Granulated

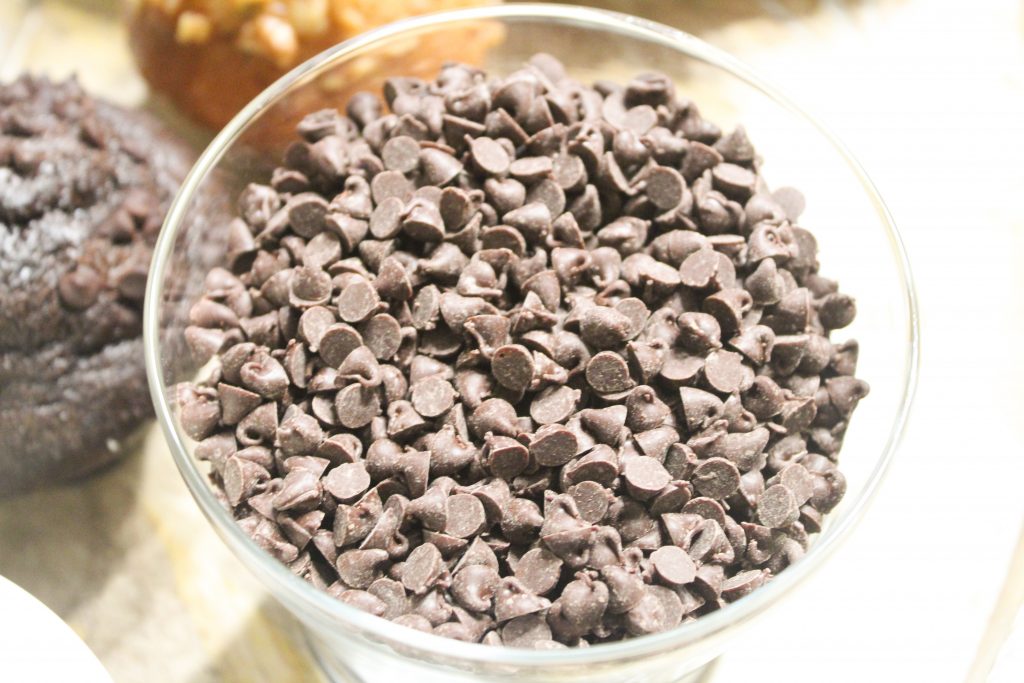
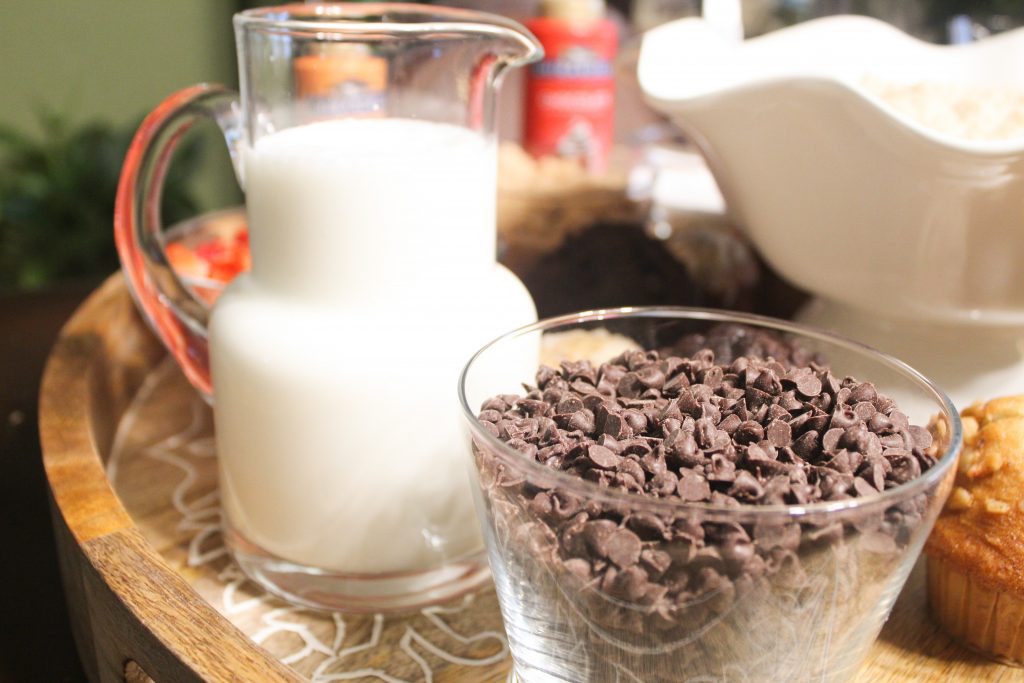
And maybe the mini chocolate chips.

Mini Chocolate Chips, Anyone?

Or the whipping cream.

Whipping Cream for the Win

And syrup.

Can’t Leave Out the Syrup

So, except for ALL of that, it was healthy, cause oatmeal is heart healthy, right?

Wait.

We DID have fruit.

So, for my health nuts out there…you can check that box because we were eating “almost” clean.

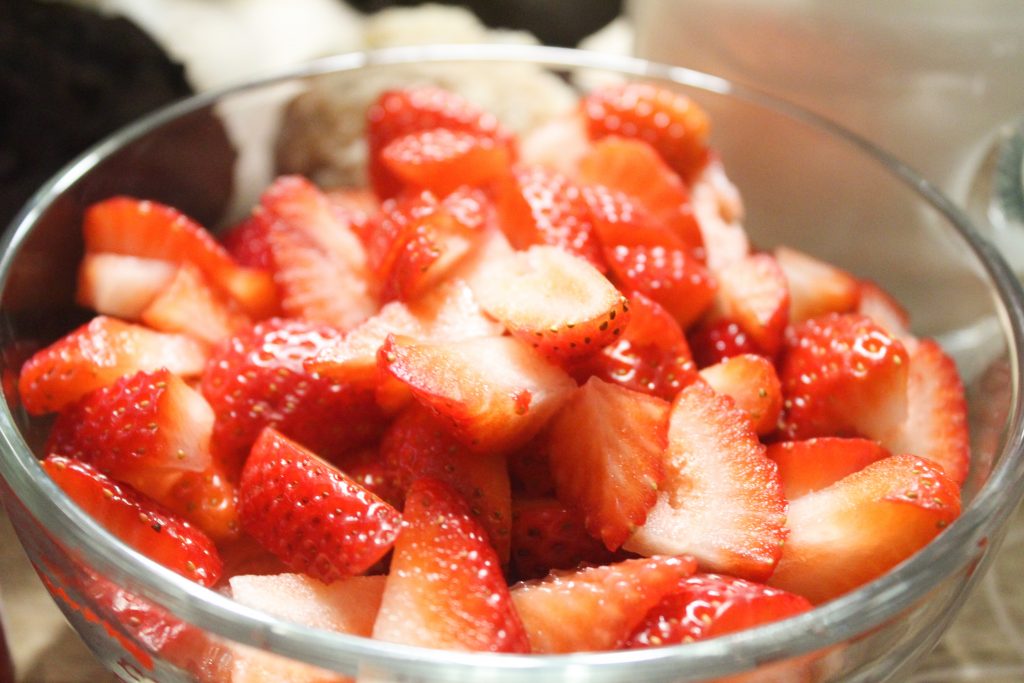
With strawberries.

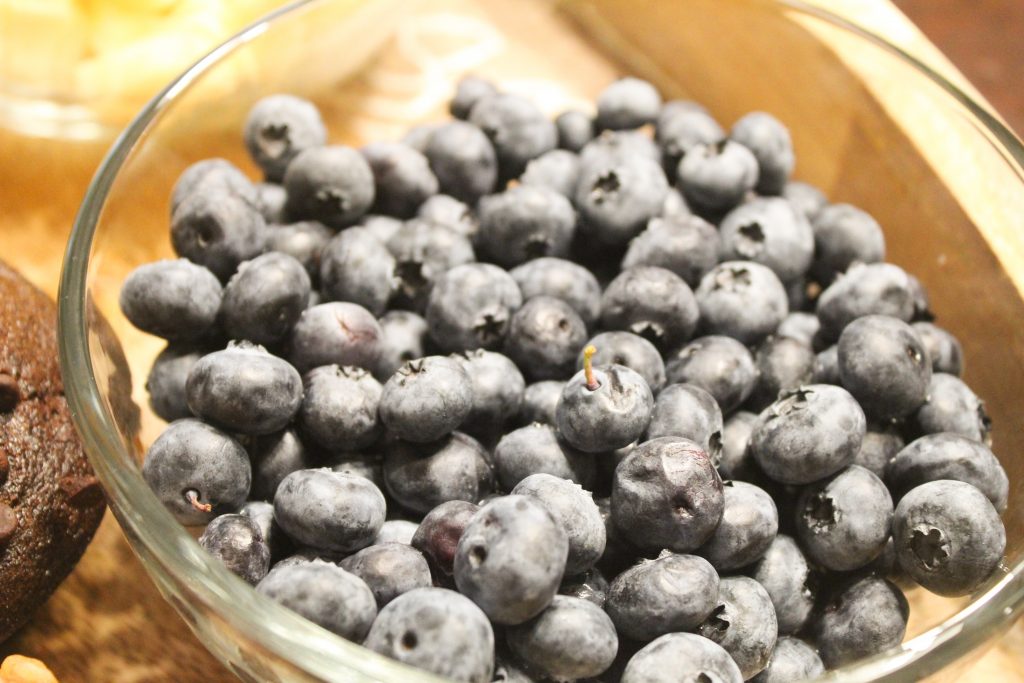
Blueberries.

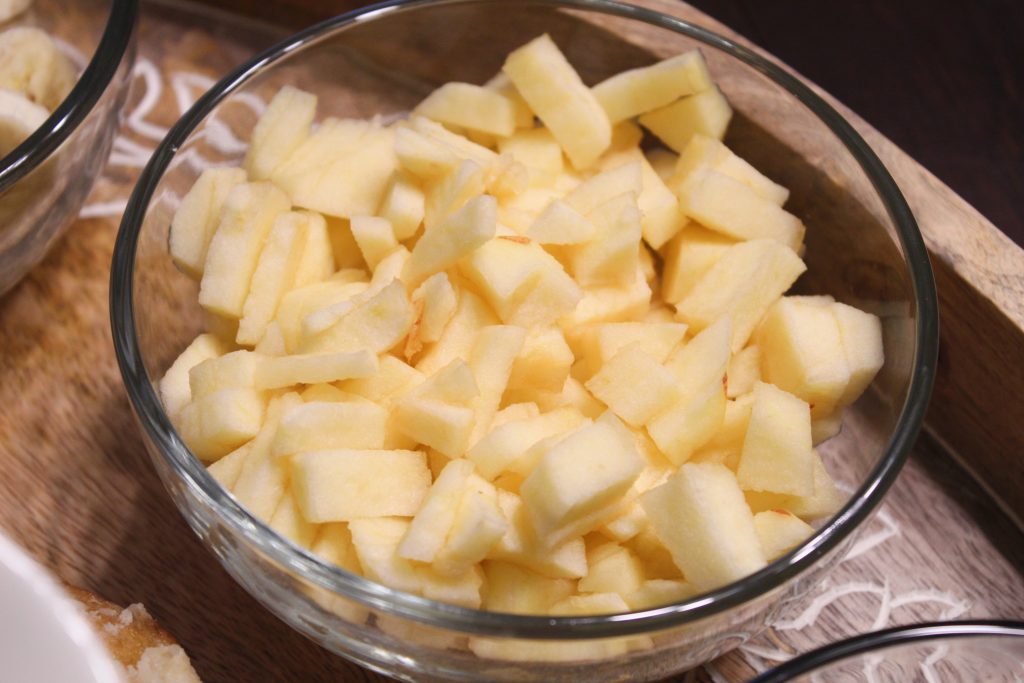
Apples.

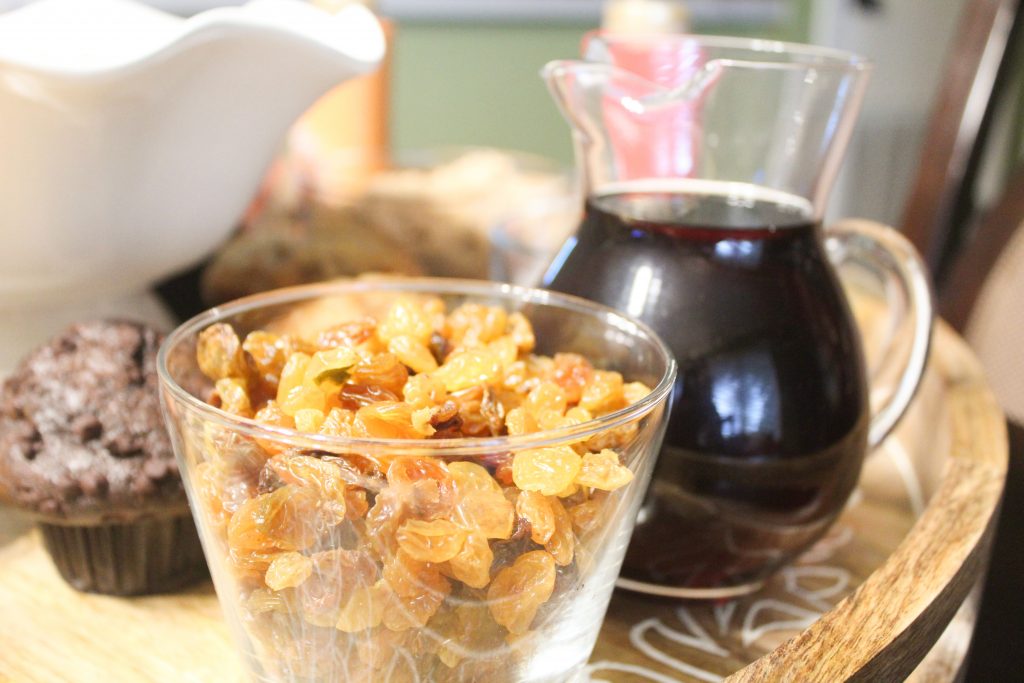
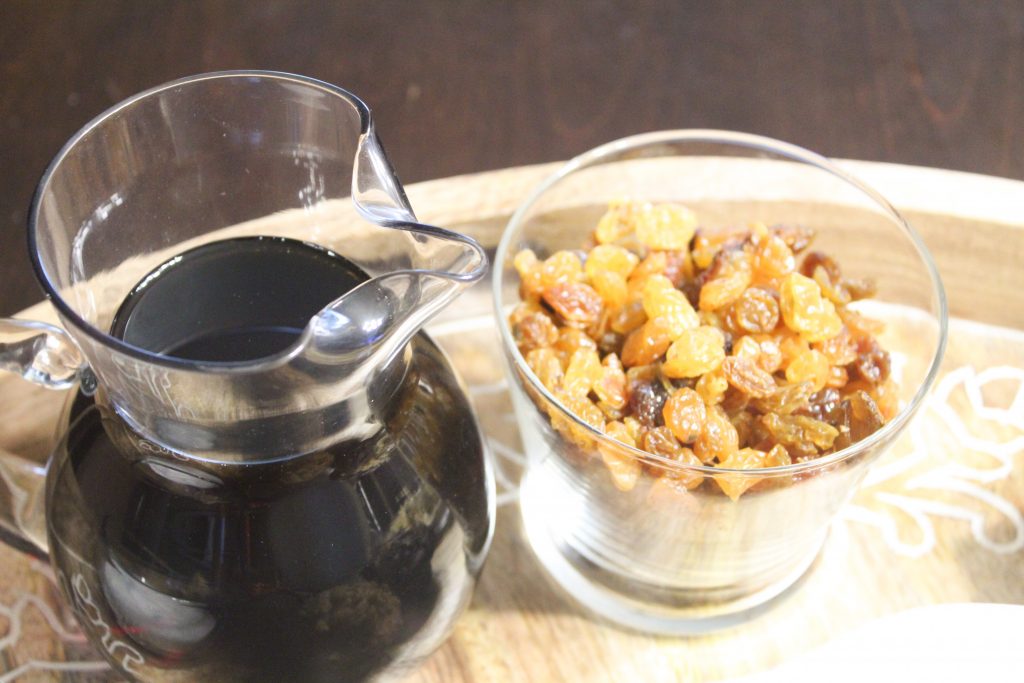
Raisins.

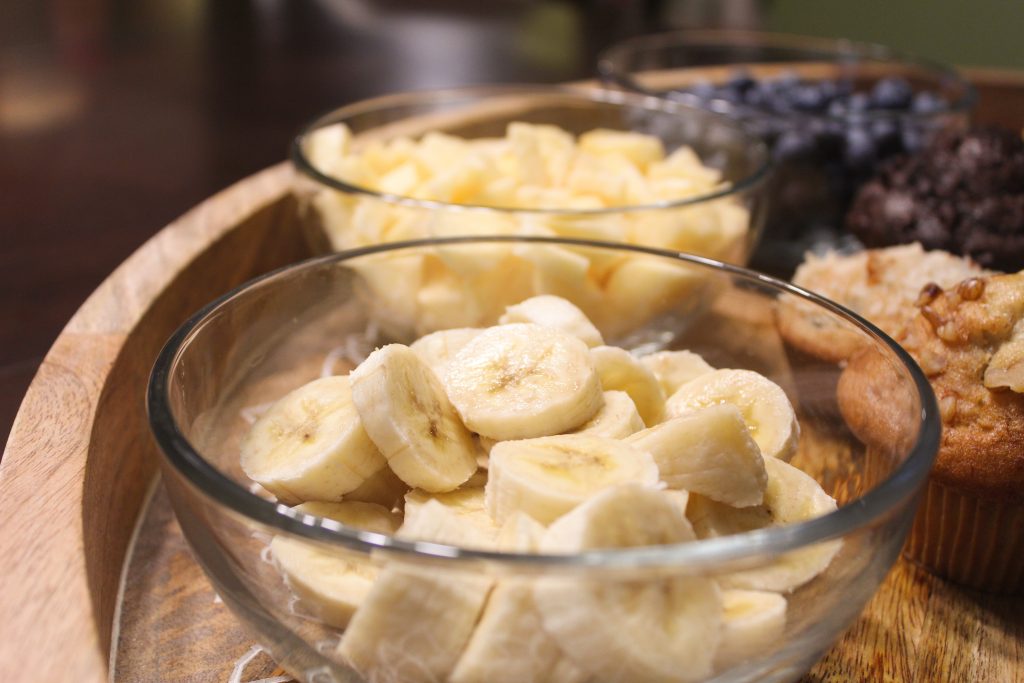
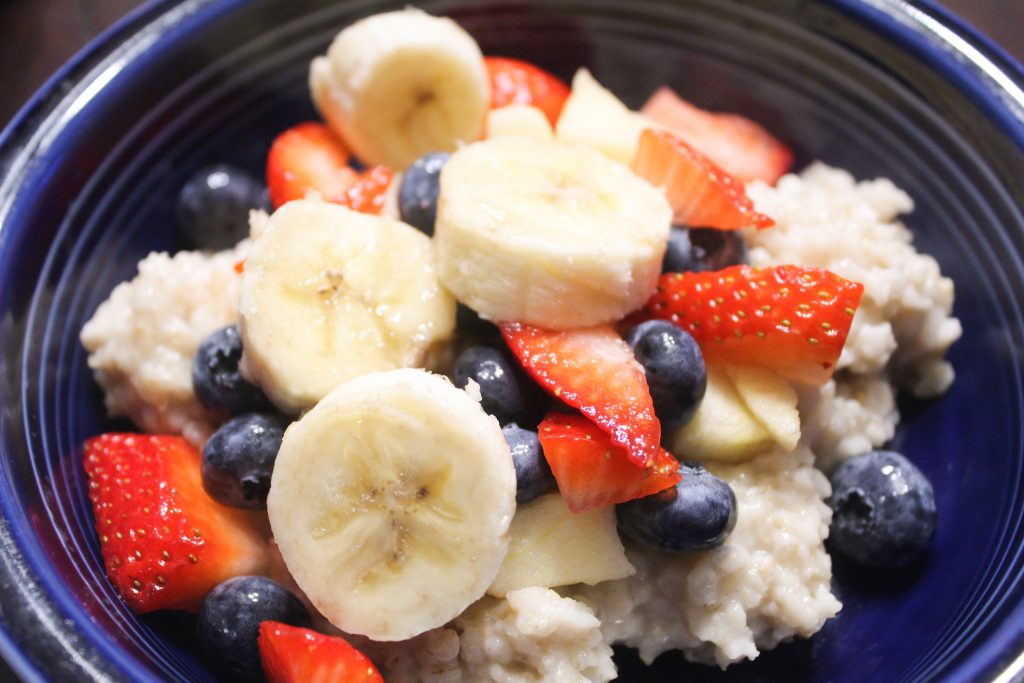
And bananas.

We were doing all kinds of clean eating.

Until I broke out the variations using the ingredients on the oatmeal bar.

And then we weren’t.

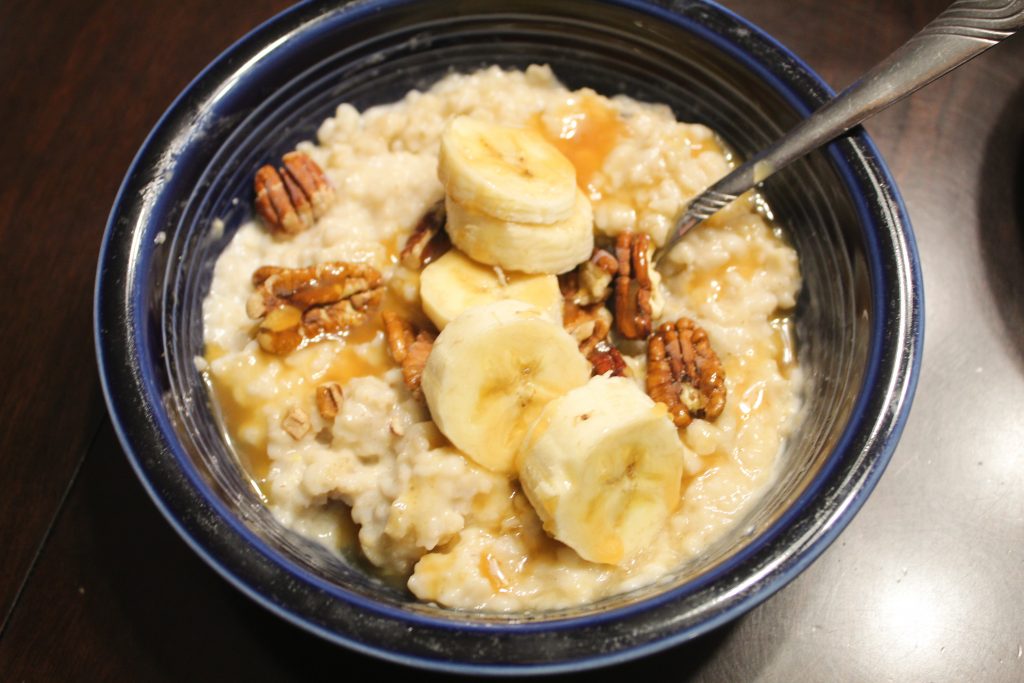
For instance, the Oatmeal charcuterie board model wanted the “Paula Deen.”

The “Paula Deen” is oatmeal, brown sugar, cream, bananas, and pecans with a drizzle of caramel.

Readers…Meet the Paula Deen

I think he liked it.

It’s a Winner!

And then we had the gluten free vegan bowl that was JUST oatmeal and fruit.

Gluten Free Bowl

Wait.

Nothing else?

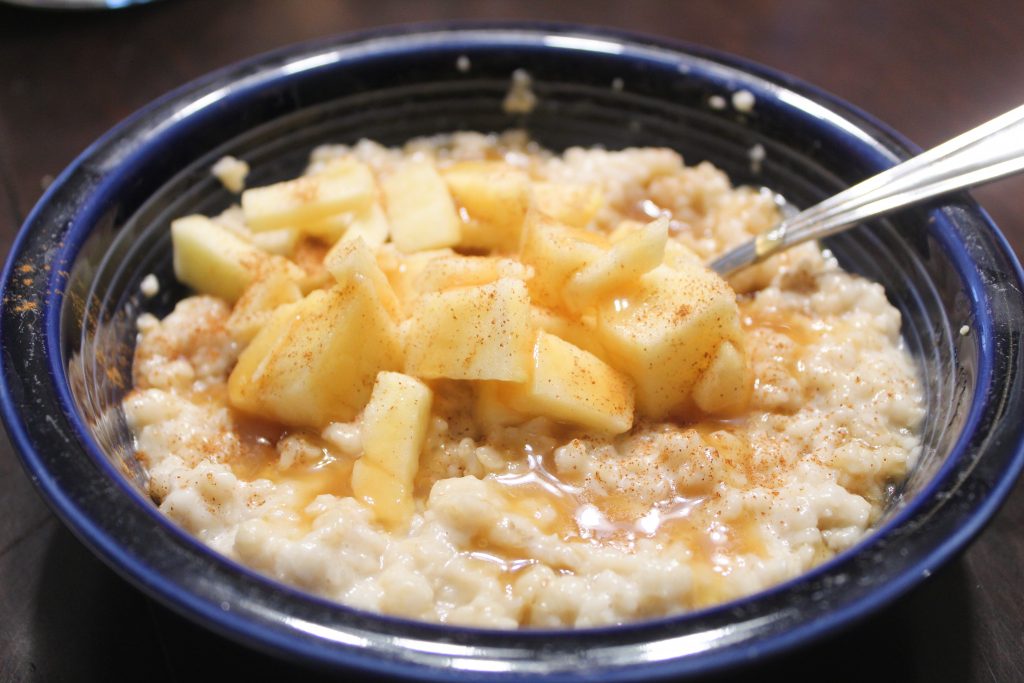
Right…then someone had the caramel apple surprise.

Caramel Apple Surprise

Wait.

I promise there’s oatmeal in this one…oatmeal, cream, brown sugar, apples, cinnamon, pecans and a drizzle of caramel.

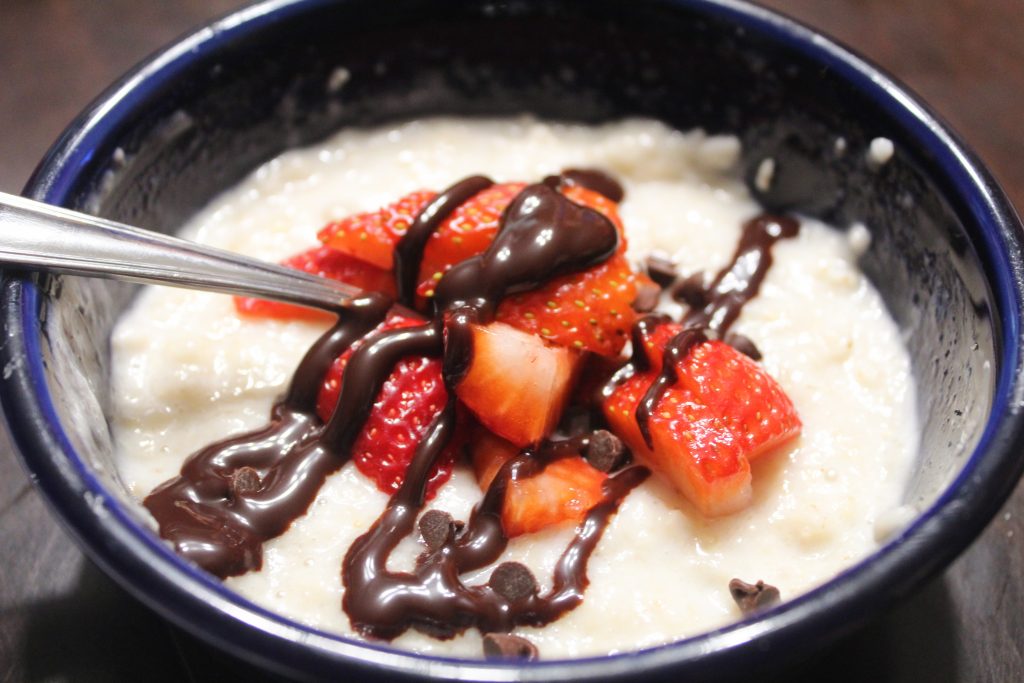
Then there was the chocolate covered strawberry bowl…with cream, brown sugar, strawberries and chocolate syrup.

Chocolate Covered Strawberry Bowl

Oh. And oatmeal.

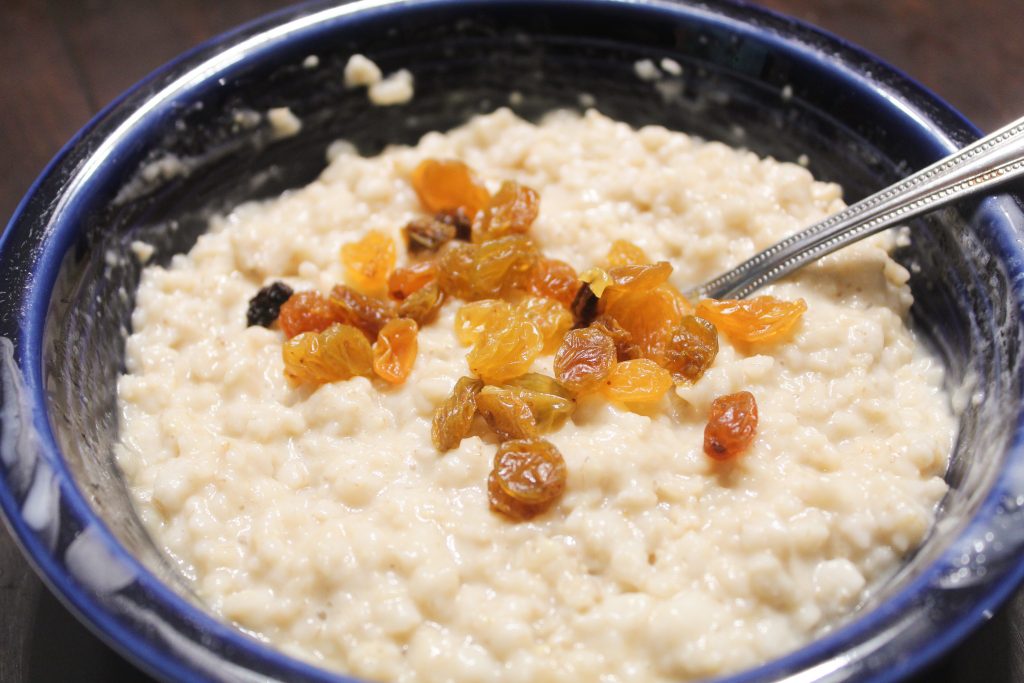
Then there was the plain ole’ Jeffrey Todd who had a bowl of oatmeal (with brown sugar and cream) with raisins on top.

Ole’ Jeffrey Todd

(Insert yawn here…a little boring UNLESS you are Jeffrey Todd.)

Then there were a few bowls I didn’t get pictures of because I was busy being a chemist and mixing and experimenting.

One of which was the banana split that had oatmeal, cream, brown sugar, strawberries, chocolate chips, bananas and a drizzle of chocolate syrup.

Then someone had the banana nut muffin with oatmeal, cream, brown sugar, bananas, pecans, cinnamon and a drizzle of caramel sauce.

Lastly, someone had the blueberry-banana nut muffin with oatmeal, cream, brown sugar, bananas, blueberries, pecans and a drizzle of maple syrup.

I honestly think the list could go on and on…but here’s what I know.

With a little bit of effort, my family had the most fun doing this.

Oatmeal Bar Deluxe

Even the kids who ordinarily wouldn’t put a lip on a bite of oatmeal, were making their bowls like they were oatmeal chemists.

And preparation was so easy, I literally walked down the grocery aisles (well, ran actually, because of COVID, you know) looking for different ingredients to add to the bowls.

And to quote my little Maryland nephew, “Cha-Cha, this is the best day of my LIFE.”

Well now, who can compete with that?

And if you just aren’t an oatmeal person (and if you aren’t, I’m not sure we can be friends), then perhaps you will just stay around for the tater tots like this little one.

Tater Tots for the Back-Up Plan!

But if you do go for it, you will likely be back for your second bowl…just like our Oatmeal charcuterie model.

Oatmeal Model Back for Seconds!

I’m guaranteeing you will, too.

N is for Nutty Chicken Salad

and Nanny Goat Nettie, I Don’t Like Spaghetti

Even though I personally, really really love spaghetti.

It’s my favorite.

Like eating and cooking Italian food is life to me.

In fact, I want to go to Italy and take a cooking class with a little Italian lady in Tuscany.

‘Cept we can’t even go the movies right now, so it might be a while for that dream to come true.

Well, that, and the COVID was all over Italy, too.

What in the world is going on? I just can’t talk about it anymore.

Seriously, like I’m going to talk about the fact that we are over the hump for cooking through the alphabet, instead.

And I’m feeling pretty accomplished about it.

Yes, we are finally past the halfway mark and it only took me 10 months get us through.

I mean, we’ve been in the pandemic for 10 years it seems, so 10 months isn’t long, right?

Right.

But here we all are and today’s recipe is one of the MANY chicken salad recipes in my war chest.

I love chicken salad, not as much as I love spaghetti, but I love it pretty good.

And I love experimenting with different chicken salad recipes.

Because my son loves it “dill”…Scott likes it “normal” and I love it “fruity.”

Angel Grace doesn’t love it all.

Too bad for her, because chicken salad HAS to be a food group.

Who’s kid is she?

Many people think chicken nuggets are a food group…at least they were to my children…

…and my sister’s children.

And to Nanny Goat Nettie.

Meet Nettie

That’s right, Nettie was a picky eater.

Anybody out there got one or more of those?

We’ve all known “one” of those types, right, that won’t even try something new.

Nope…not even willing to put it to their lips…or to their nose.

That’s Nettie…until her dad hatched a plan to get her to try something new.

And guess what?

She loved it…even the “broccoli trees.”

So for anyone out there with picky eaters…you MIGHT want to think about this book.

Thank You Callie for this Quote!

And shortly after that, you might want to make this recipe.

It’s a very old school kind of chicken salad, and I want to start by saying you can absolutely use canned chicken.

I do that sometimes, if I’m in time crunch, it’s just easier.

But when I have the time, I like to roast my chicken in the oven and shred it up.

Delish…trust me…there is a difference.

So let’s get to it and actually roast our chicken in the oven.

This recipe calls for 4 cups of chopped or shredded chicken. If you make it from scratch, that’s about 5 chicken breasts.

Also, that would be 3 cans of cooked chicken if you use the canned kind.

And just a note about canned chicken, drain it before you shred it in a colander and wash it under warm water.

It just makes it fresher and to me, gets any oily texture and taste out of the chicken.

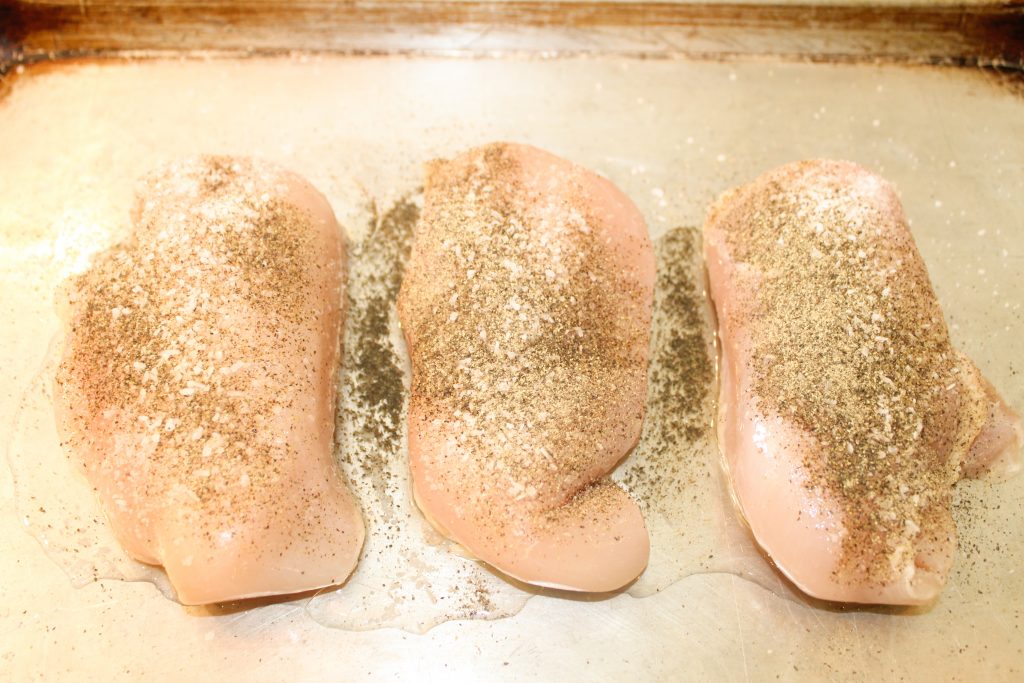
I put my chicken breasts on a cookie sheet and rub with them olive oil and sprinkle one-half teaspoon kosher salt and one-fourth teaspoon black pepper on each breast.

Roasting the Birds

As always, you can salt and pepper to your taste. We will also salt and pepper the chicken salad when we start putting it all together.

In a preheated to 450-degree oven, roast your breasts (I could go all kinds of ways with this but I will refrain) for 40-45 minutes.

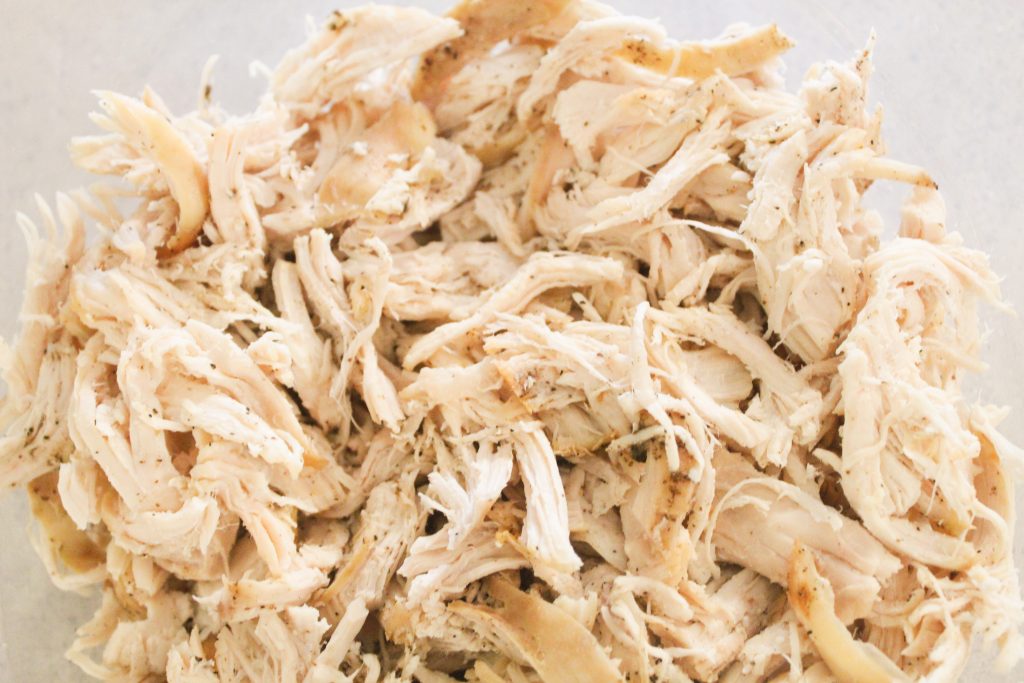
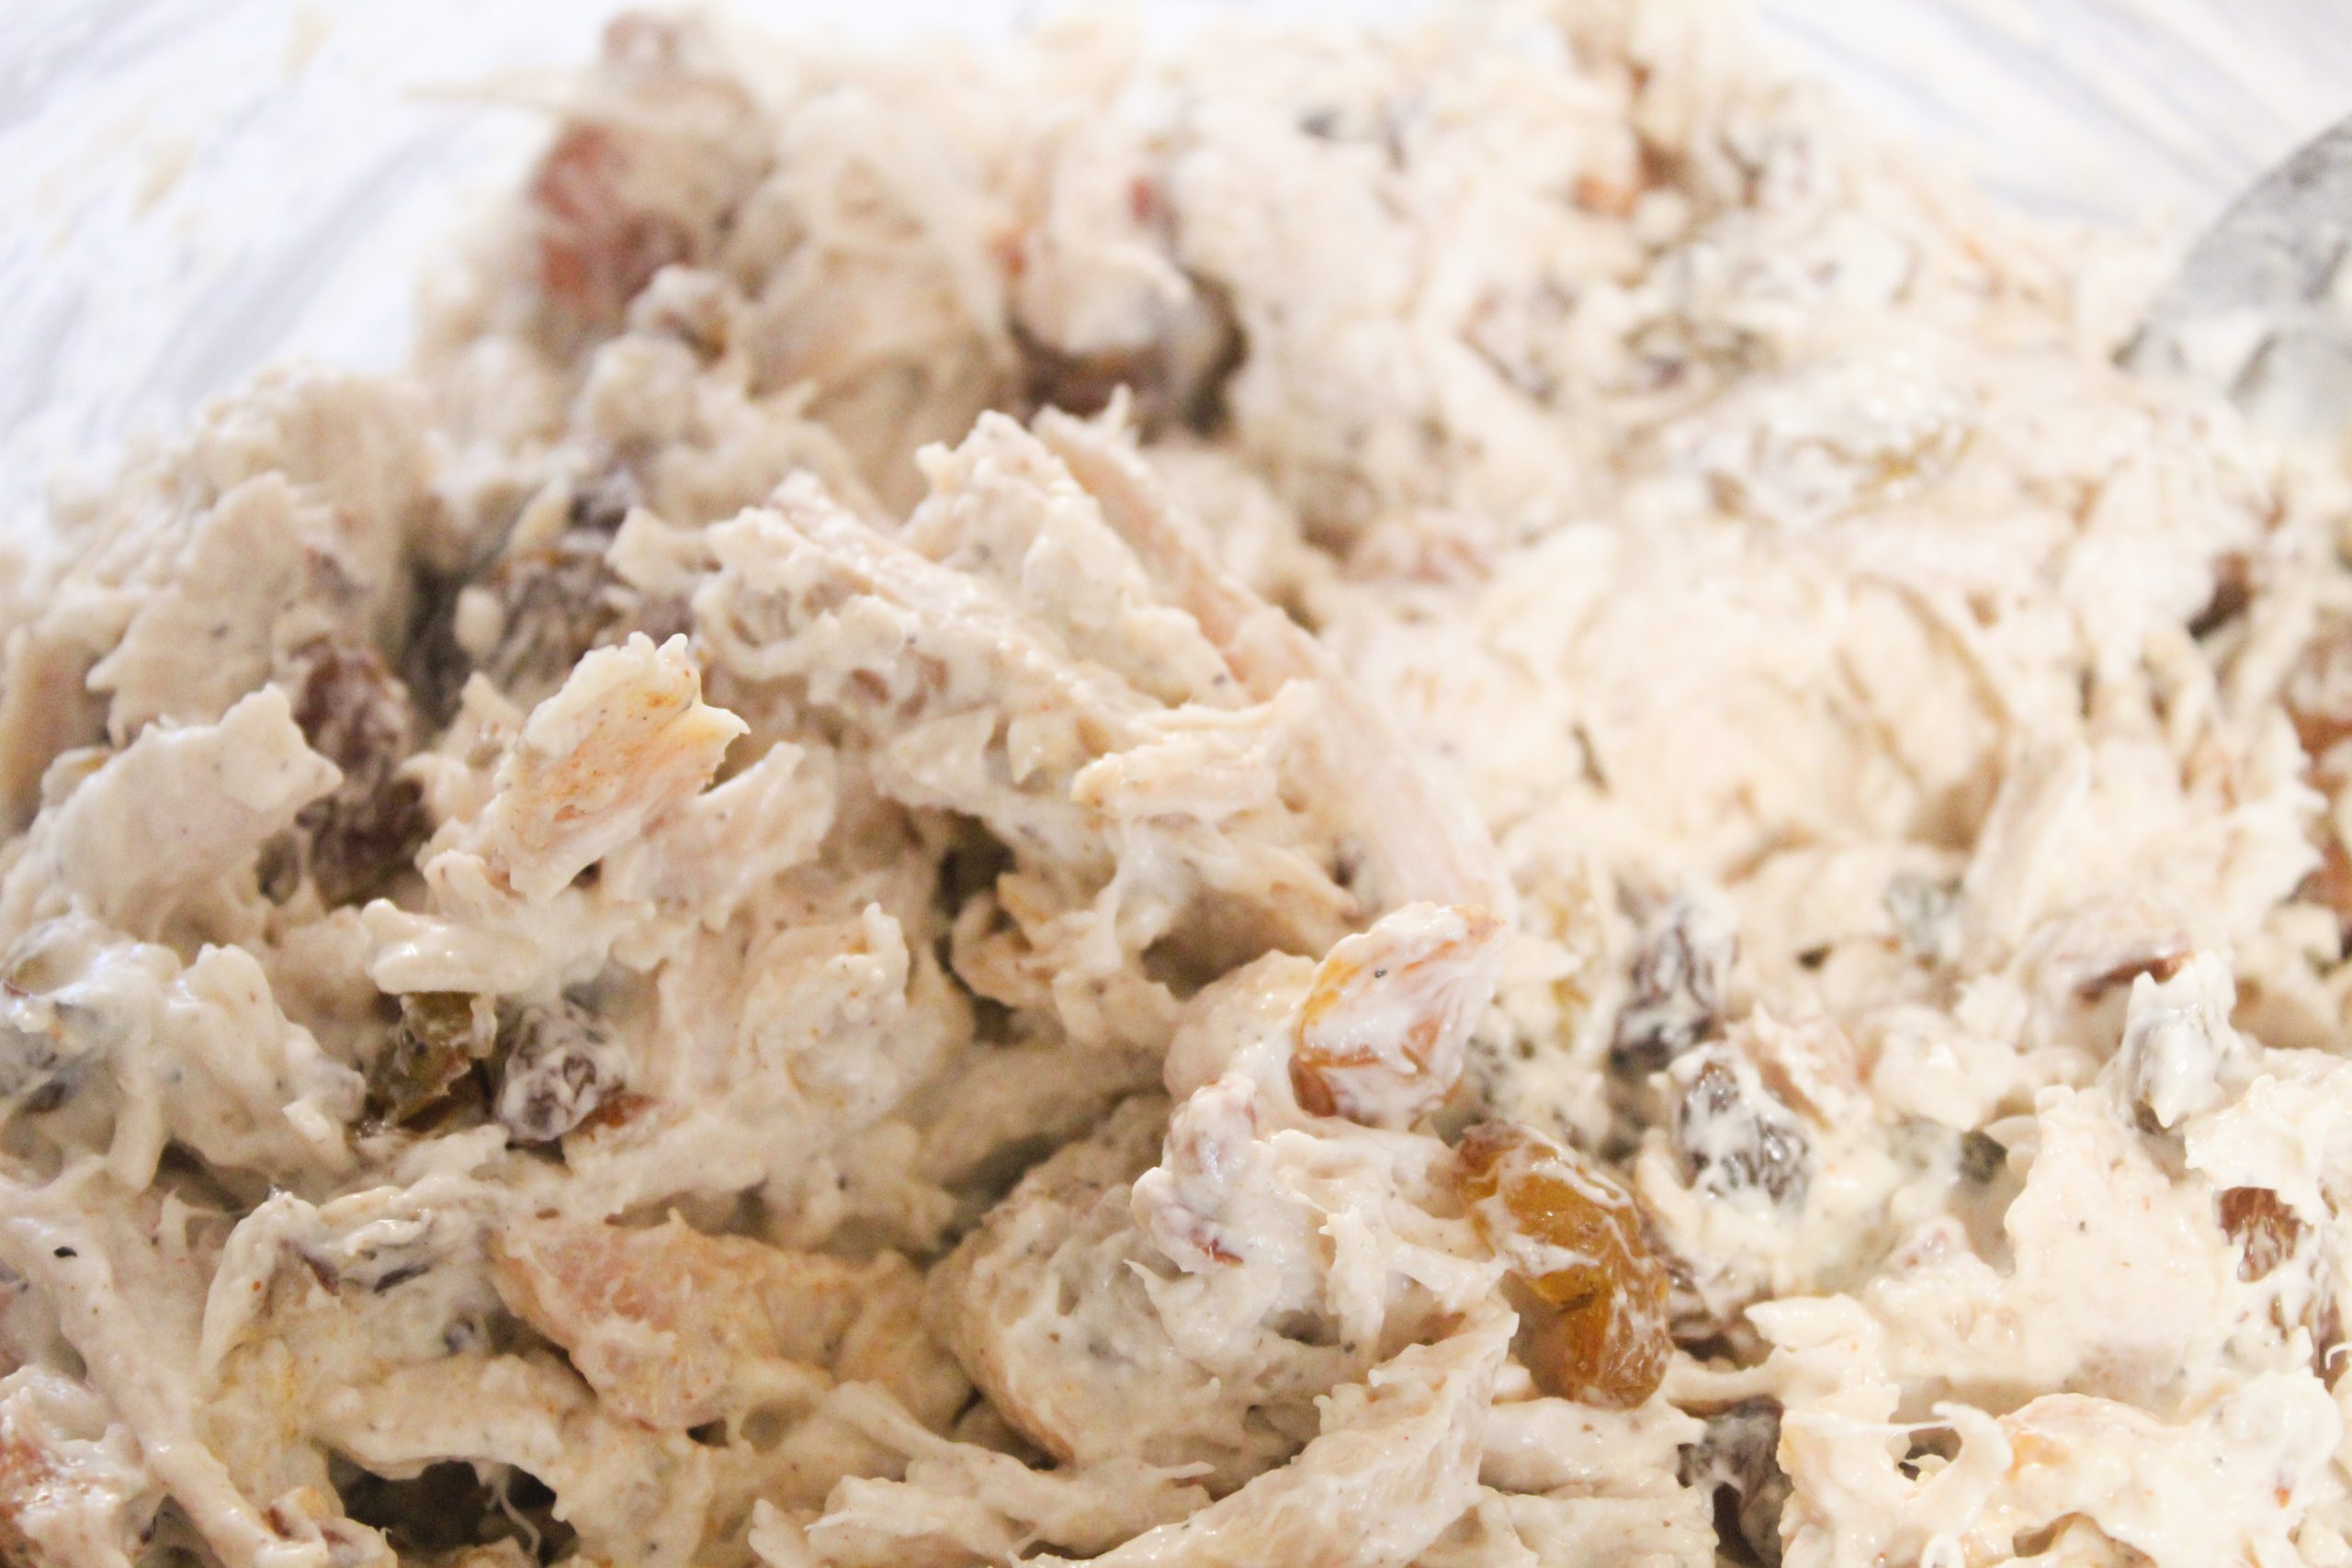
Once the chicken is roasted, let it cool and shred, or chop and put in a mixing bowl.

Roasted and Shredded

While your chicken is cooling, let’s toast your nuts.

Wait.

This is a G-rated blog…but we all thinking it, though, I can tell.

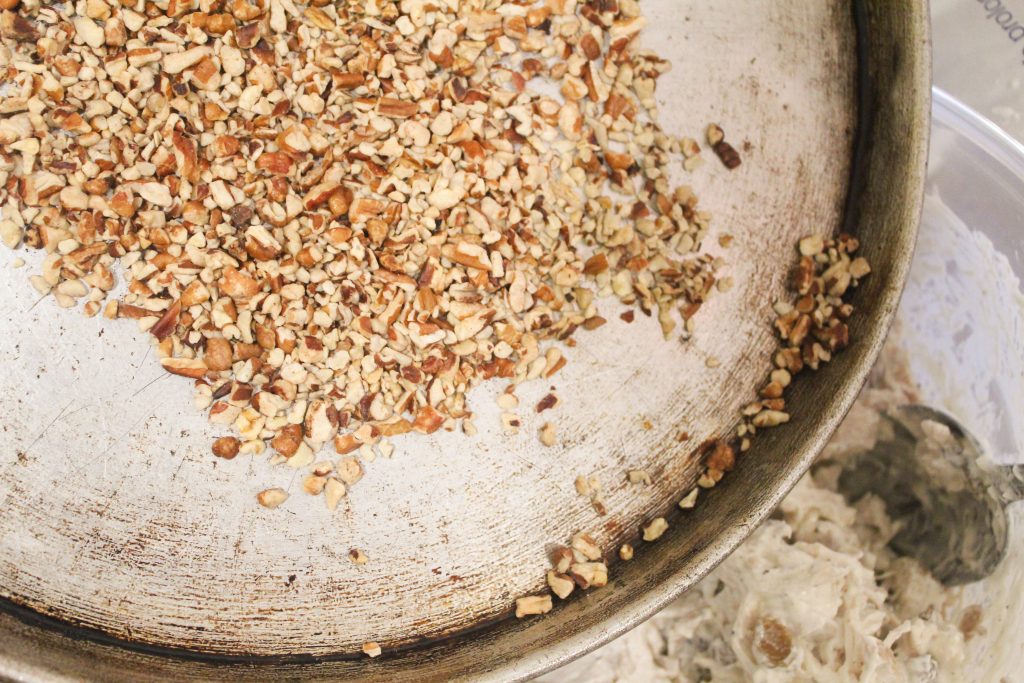
Let’s chop 1 cup of pecans or almonds (I used pecans today) and place them in an ovenproof dish.

Chopped and Roasted

In a 350-degree oven, toast the pecans 7-8 minutes until brown and fragrant.

They will burn quickly on you, so watch closely.

We are ready to assemble now, so to your bowl of shredded chicken, and in this order add:

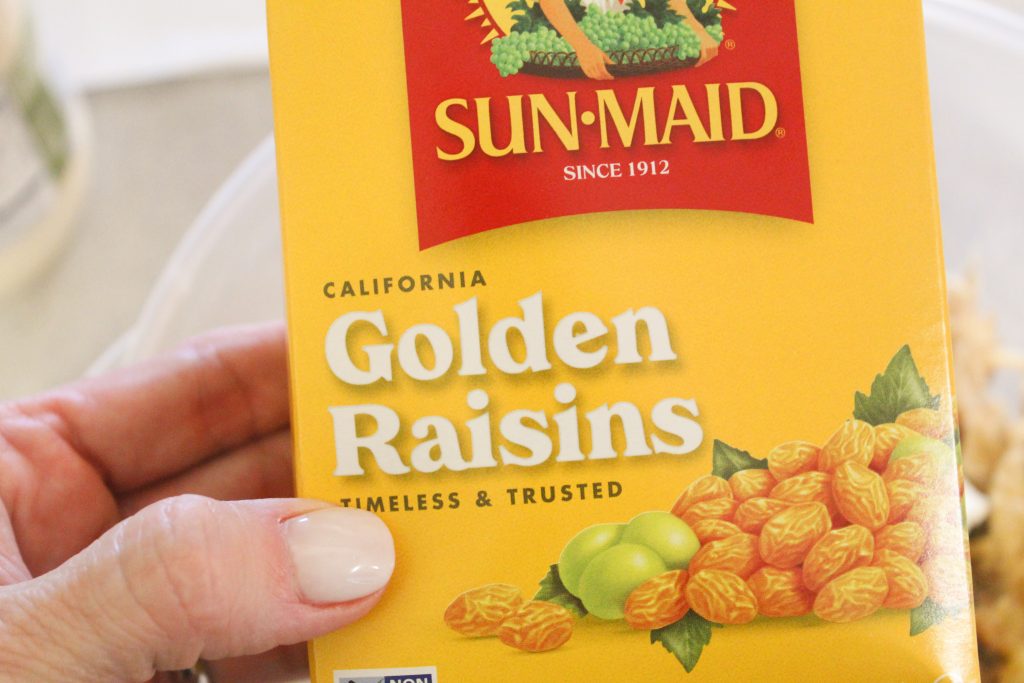
1 cup finely chopped celery-1/2 tsp salt-1/2 tsp seasoned salt-1/2 tsp pepper, 1 ½ cups white raisins.

Wait.

What’s a white raisin, you might be asking?

Okay…So They are “Golden” Not “White”

It’s a raisin that’s not brown.

There was a time in my life when the only two things I wouldn’t eat was a raisin and an oyster.

Now, it’s just an oyster.

No way, call me Nettie I don’t care.

I ain’t no oyster kind of girl.

Where were we?

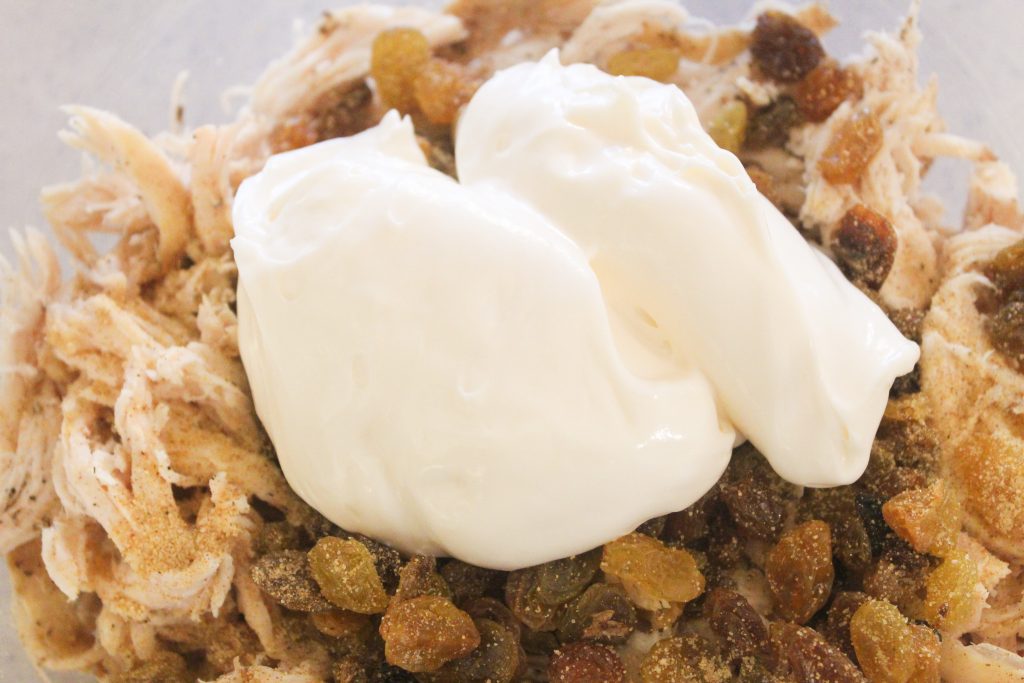
Oh…at the white raisin juncture…then add the toasted nuts, 1 ½ cup Hellmann’s mayonnaise and 1 cup sour cream.

This IS Going to Be Good!

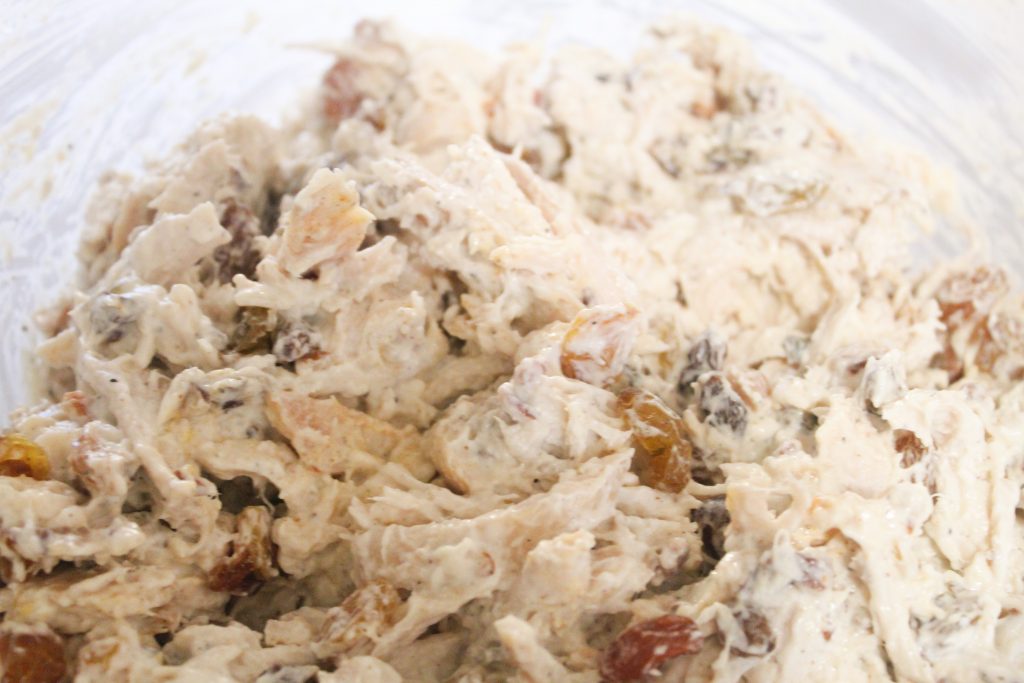
Don’t forget to mix in the order I listed and stir well.

It’s best refrigerated before serving.

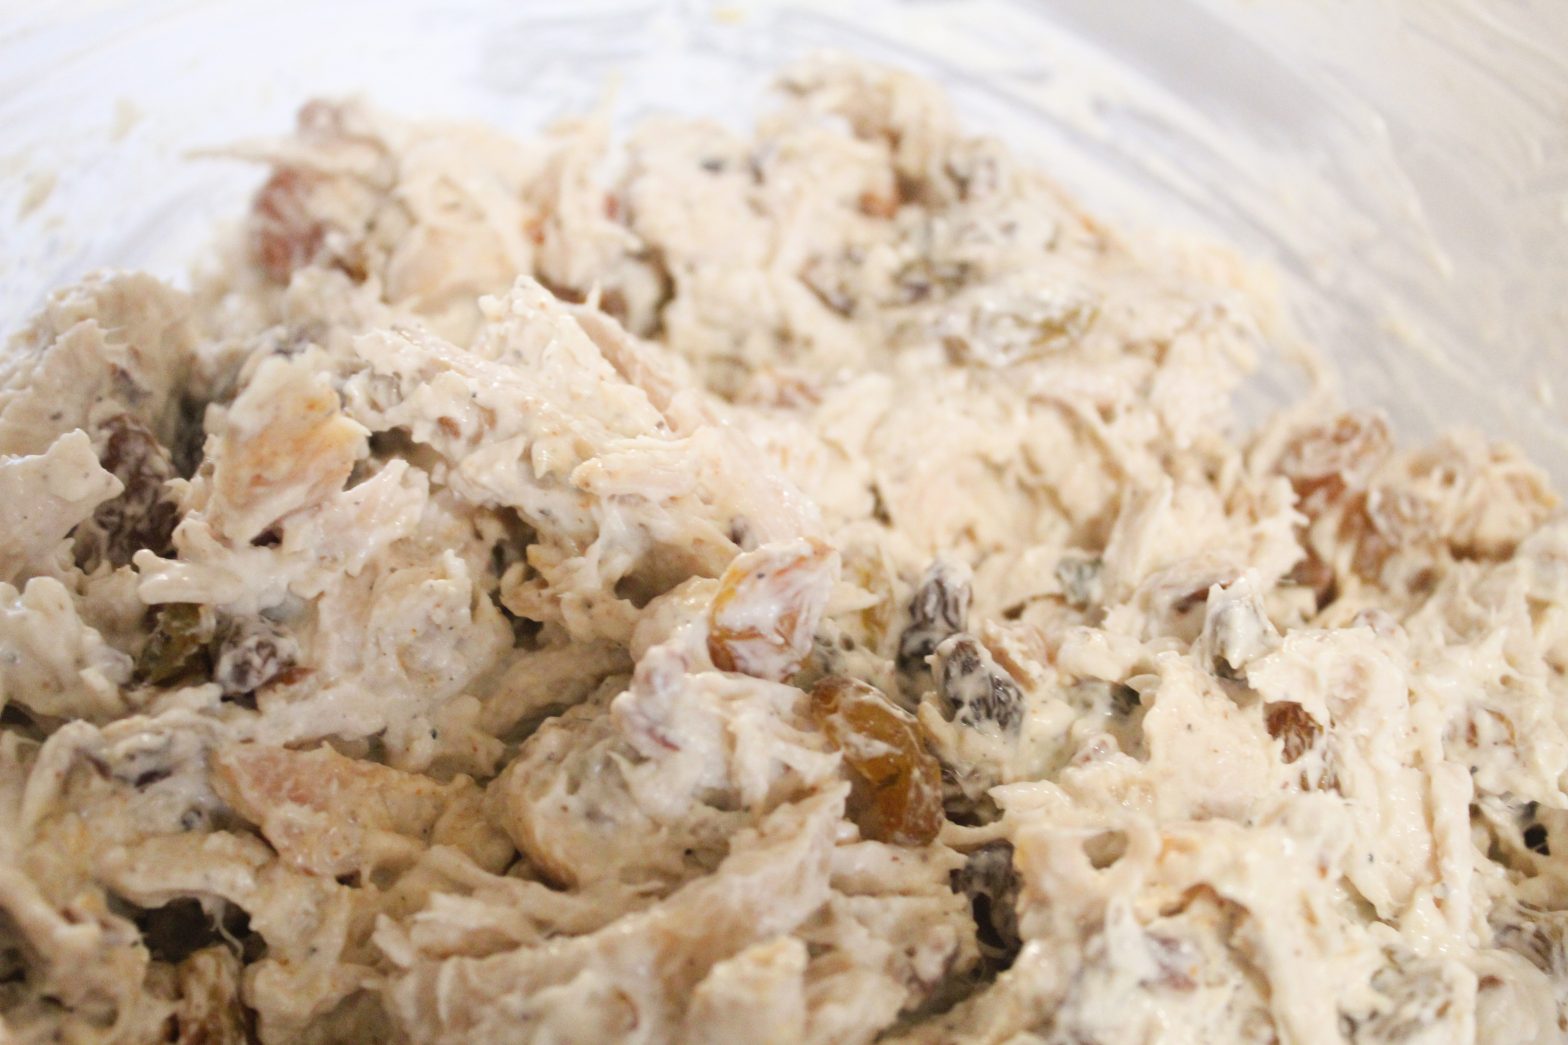
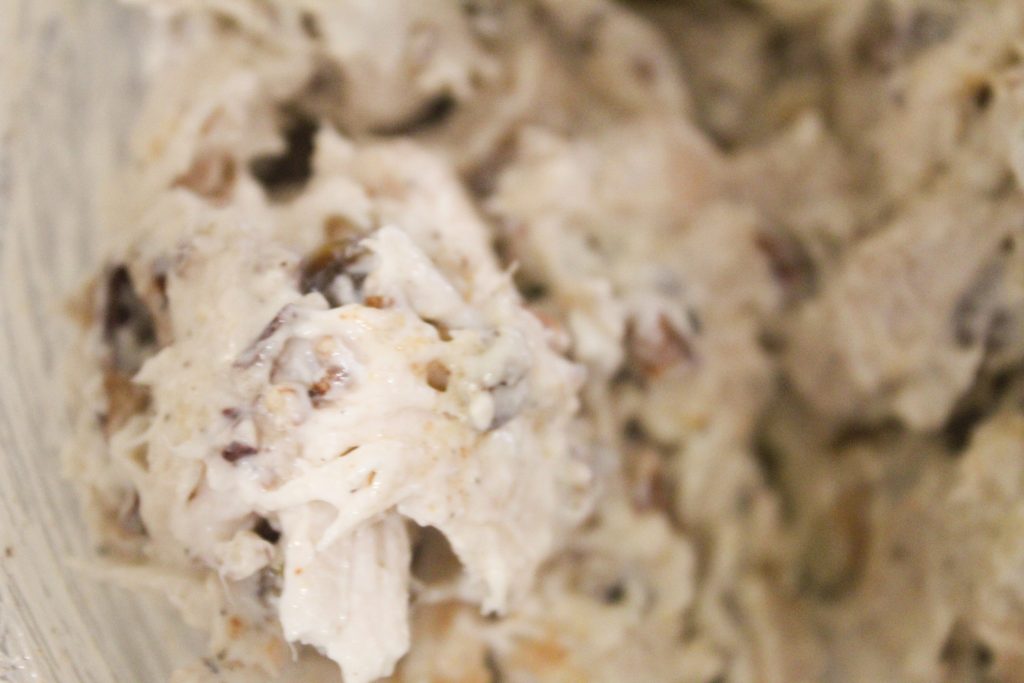
Chicken Salad Utopia

I like it on bread, obviously, or a big dollop on a fresh tomato.

Or just out of the bowl with a spoon.

I Think Even Nettie Would Try This

Even a chicken would like this.

Nutty Chicken Salad

This chicken salad has all the old school feels…white raisins and pecans make it a little sweet and a little salty. Eat it on your sandwich, on a fresh tomato or straight out of the bowl!
Course: Appetizer, Main Course
Cuisine: American
Keyword: appetizer, Chicken, chicken salad, fruity chicken salad, lunch, sandwich
Author: The Alphabet Mom

Ingredients

  • 4 cups cooked, shredded chicken, 5 breasts or 3 cans cooked chicken
  • 1 cup finely chopped celery optional
  • 1/2 tsp salt
  • 1/2 tsp seasoned salt
  • 1/2 tsp pepper
  • 1 1/2 cup white or golden raisins
  • 1 cup toasted pecans or almonds
  • 1 1/2 cup Hellmann's mayo
  • 1 cup sour cream

Instructions

  • To roast 5 chicken breasts, sprinkle 1/2 tsp Kosher salt and 1/4 tsp pepper on each breast.
  • Roast in 450 degree oven for 40-45 minutes, until done. Let cool and then shred or chop.
  • While chicken is cooling, chop 1 cup pecans and toast in 350 degree oven for 7-8 minutes.
  • In order listed, add to chicken the celery, salt, seasoned salt, pepper, raisins, pecans, mayo and sour cream.
  • Mix well and refrigerate before serving.

M is for My Favorite Stuffed Cheese Bread

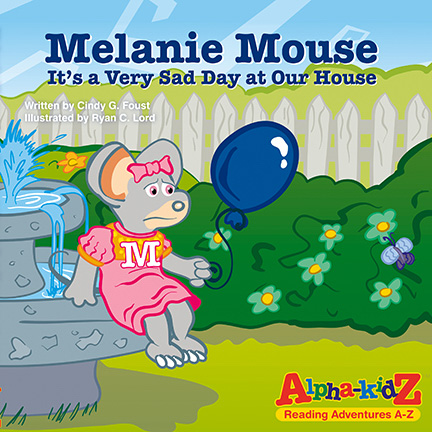
and Melanie Mouse, It’s a Very Sad Day at Our House

As promised, today’s blogging through the alphabet segment is appropriately named…because it IS my favorite stuffed cheese bread.

A Teaser Pic for What’s to Come!

I mean, doesn’t everyone have a favorite stuffed cheese bread?

I really try to keep things simple around here, simple AND good.

Good meaning delicious.

And in keeping with that mindset, today’s recipe has been in my cooking war chest for years.

And I’ve made it all kinds of ways.

It’s true, I’ve stuffed this bread with everything but the proverbial kitchen sink.

Like crawfish tails.

And pepperoni and mozzarella.

And shrimp with peppers and onions.

And hamburger meat and cheddar cheese.

And chocolate chips and pecans.

That’s not true.

I’ve never stuffed it to sweeten it, but I bet it would be good, though.

Don’t worry…I’ll be back with some of those other variations soon, especially during the holidays.

Today, however, we are going to stuff it with good ole’ Jimmy Dean and Mexican Velveeta.

My husband doesn’t like processed cheese, by the way.

Neither does my cardiologist.

And I know cubed sharp cheddar cheese would also be really GOOD.

But probably not GREAT like this Velveeta…

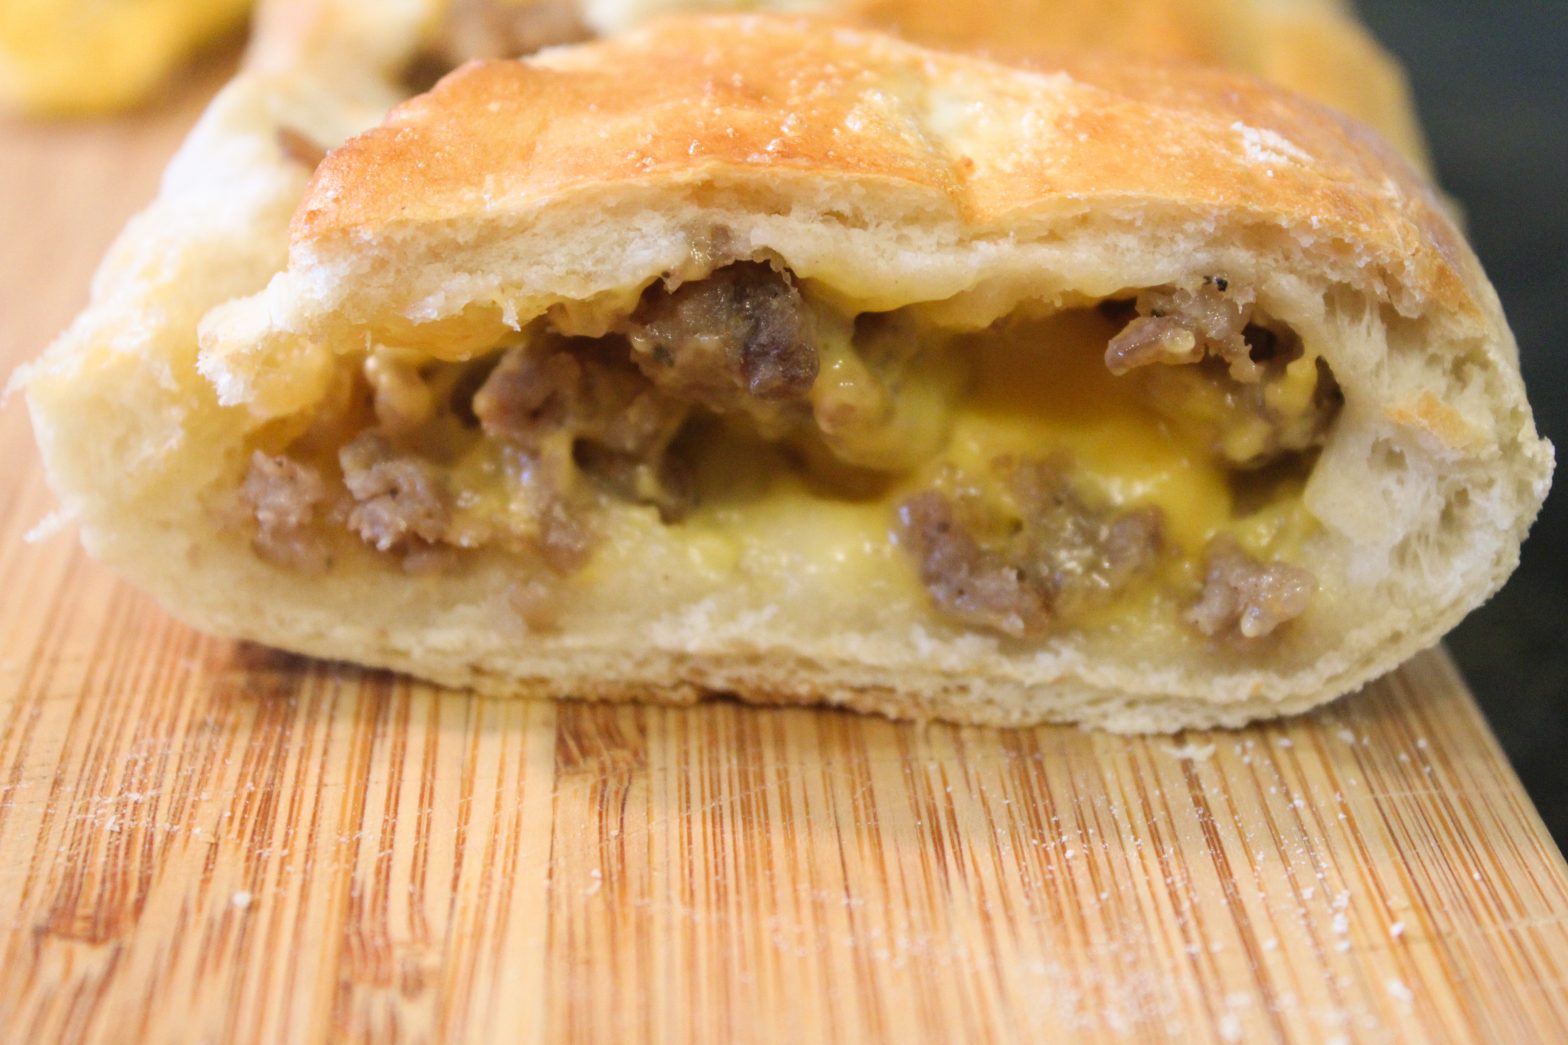
…that melts with this sausage into this homemade-like bread.

What is homemade-like mean?

It means I don’t think I could home make bread that tastes any better than these frozen loaves.

So, to answer your question, Mrs. Pat, “No, you don’t have to make your bread from scratch.”

This ain’t Little House on the Prairie!

But when you stuff these loaves with pan-fried sausage and Mexican Velveeta, your family will give you a virtual high five.

Because everything is virtual these days, you know, because of COVID.

I know what I also do know.

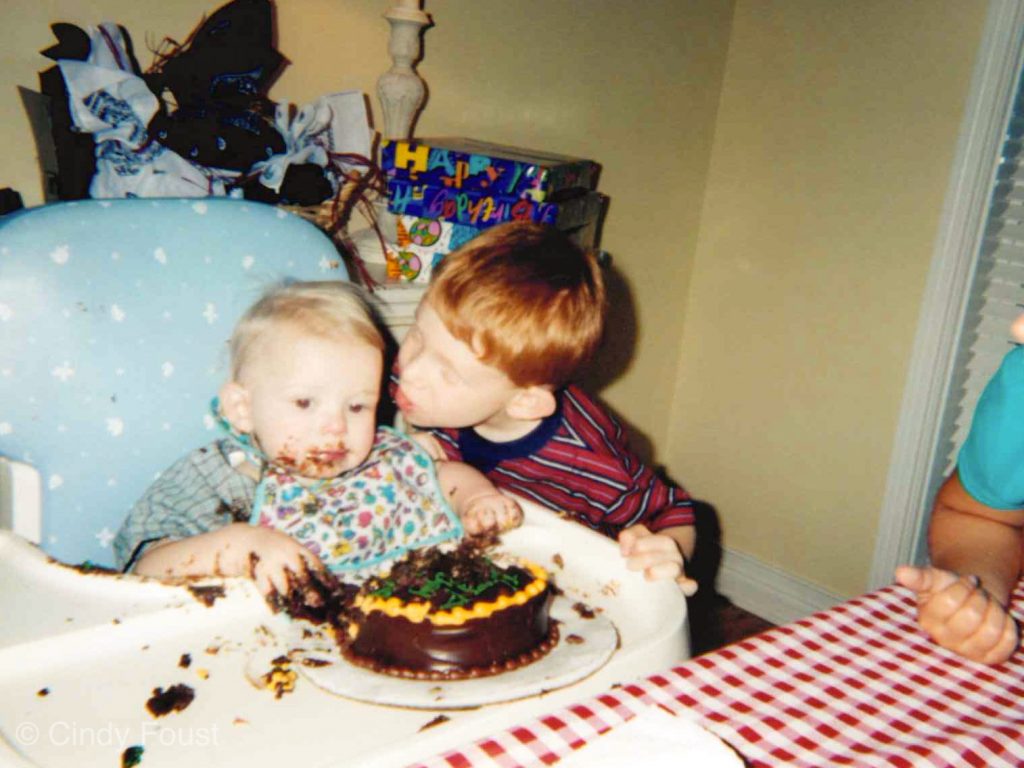
My son loves this bread.

My son…what a joy he is to me, with his 22-year old Bobby Flay self.

My son…who went through a lot in his childhood.

My son…who lost his brother when he was five years old…and inspired me to write a book about his loss.

This IS My Favorite Book in MY Series

Wowzer…we went from some really great stuffed cheese bread to some really heavy conversation.

But that’s how I roll, readers.
Light to heavy and back to light.

But this particular heaviness in our lives was really, really heavy.

Still is.

And it was hard to share this heaviness with my readers.
But then one day it occurred to me, that as much as children need to hear stories about being truthful, or being kind or making good food choices, they also need to see and hear about grief.

After all, we are all going to grieve.

And from my experience, children grieve very differently than adults though.

I know that’s probably common sense, readers, but watching it first-hand makes that “common sense” very real.

It’s true, though, children have this innate ability to compartmentalize their grief.

By that I mean, my son would be playing baseball in the front yard for hours, and then suddenly he would be in my arms weeping for his brother.

For like five minutes.
And then he would move on.
As an adult, though, I was stuck.

By stuck I mean, like quicksand stuck.

But Robert Scott was able to move in and out of his grief with relative ease and much less frequently than me or Scott.

But when it hit him, it was powerful.

And real.

His anger and confusion and sadness were just as real as mine.

His questions were also mature and deep and quite frankly, unanswerable.

At least for me anyways, because I didn’t have the answer for why his brother left us, either.

I still don’t.

What I DO have is a glimpse into our lives during that time through the pages of this beautiful book.

And as difficult as it was, I felt compelled to share it.

And now that Robert Scott is older, he’s happy I shared it, too.

“Hebrews 13:1-Let Brotherly Love Continue.”

Because the short amount of time we had our baby was the most sacred, special time of any of our lives.

He Was PURE Joy!

Or ever will be.

And for that time, we are grateful.

Thankful.

Privileged.

And once again I find myself at the juncture of the blog post were I need to connect the dots…you know…stuffed cheese bread and a book about grief.

And I got nothing.

But, what I got is a really great book.

And a really great recipe.

OH…I know…this blog post is about MY favorite stuffed cheese bread AND MY favorite children’s book in my series.

Or the world.

So with TWO of MY favorite things you get a really good blog post.

Right?

And if you need a personal reference outside my family, just call my BFF Mrs. Pat, who got her own loaf of this wonderful bread just for being my neighbor.

She is in fact, part of the Test Kitchen Crew.

You have to apply for that prestigious position, by the way.

And thankfully, Pat’s been passing the recipe around before it even made the blog!

I love having fans.

And I love this recipe.

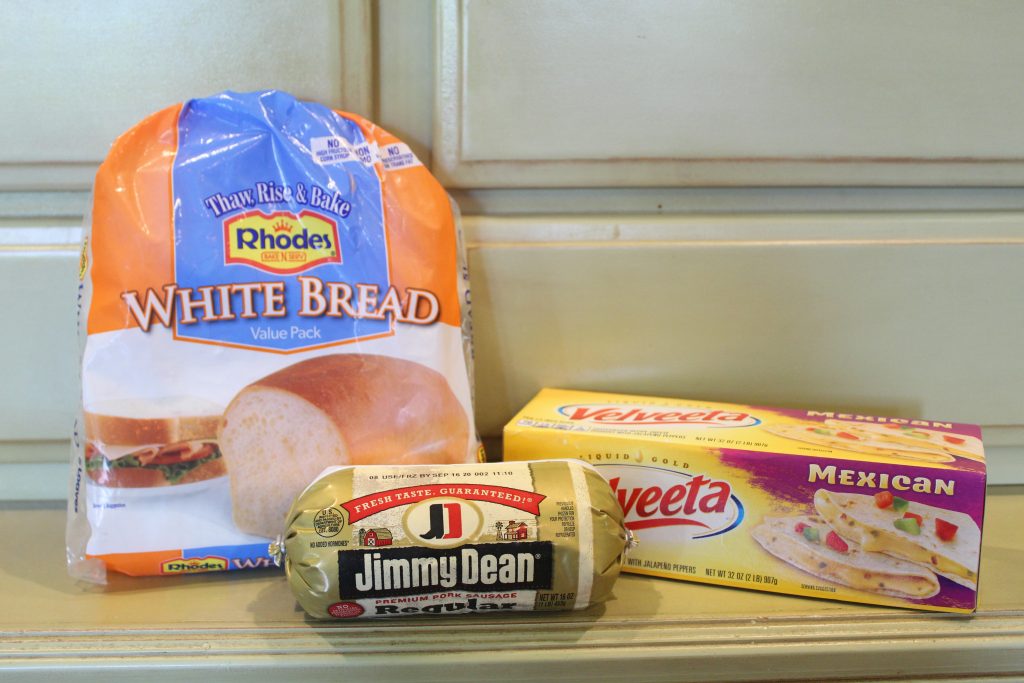
So, let’s start with the ingredients…just three!

For this recipe we will start with Rhodes frozen loaves (sometimes I use Bridgeford, just whatever is available at the grocery), Mexican Velveeta and good ole’ Jimmy Dean.

Three is All You Need!

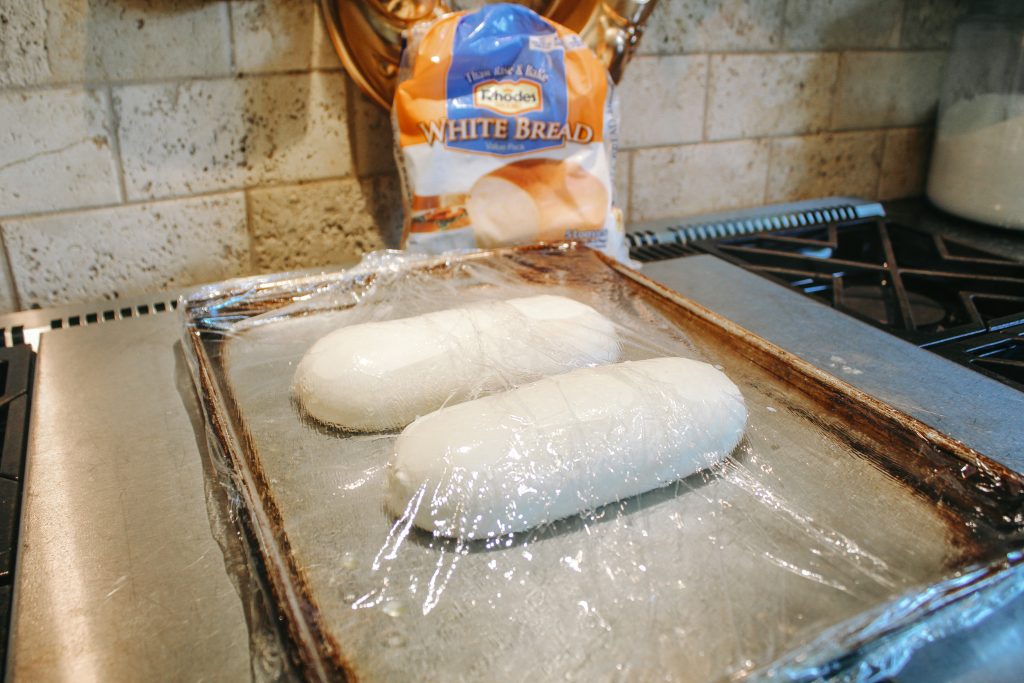
There is a time element to this recipe because you have to allow your bread to thaw and rise, so put them out the morning you want to make them, about 4-6 hours ahead.

I put mine on a baking sheet, sprayed with Pam, and covered with Saran Wrap that I also sprayed with Pam, so they won’t stick.

Hello Friends

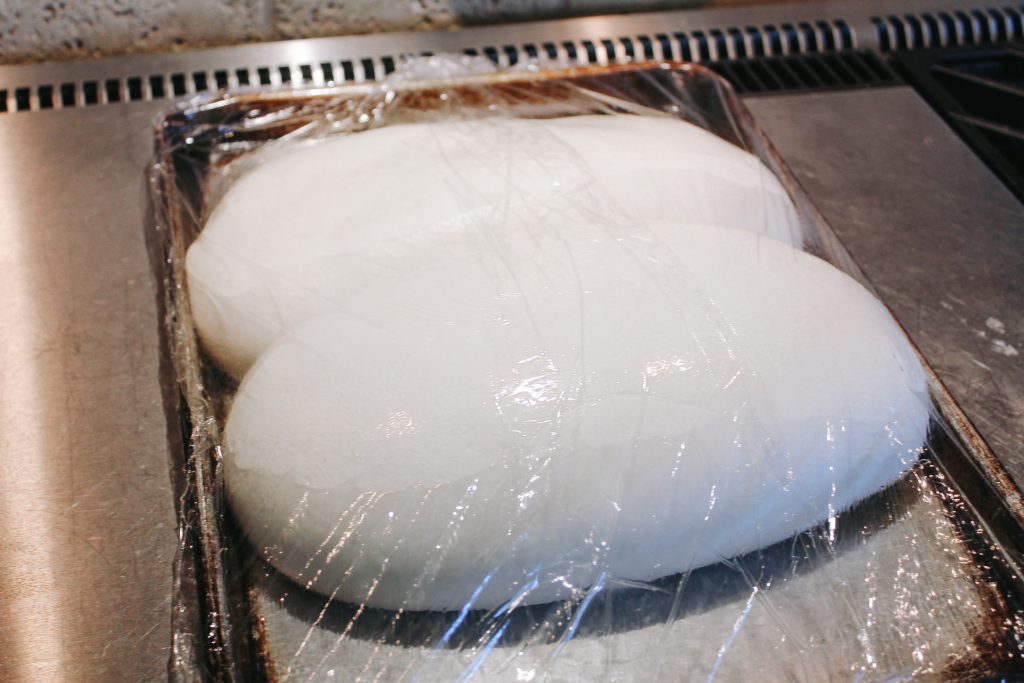
Let them rise and they will look like this!

No Worries…We Will Punch Them Down!

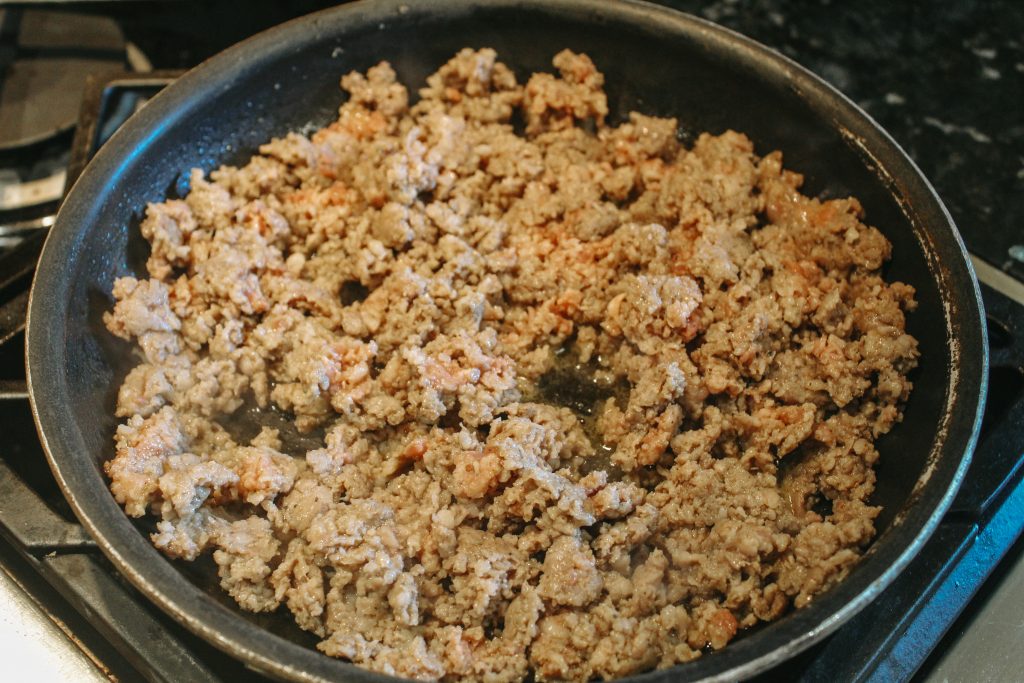
Next, pan fry your sausage and drain.

I Love the Way My House Smells Right Now!

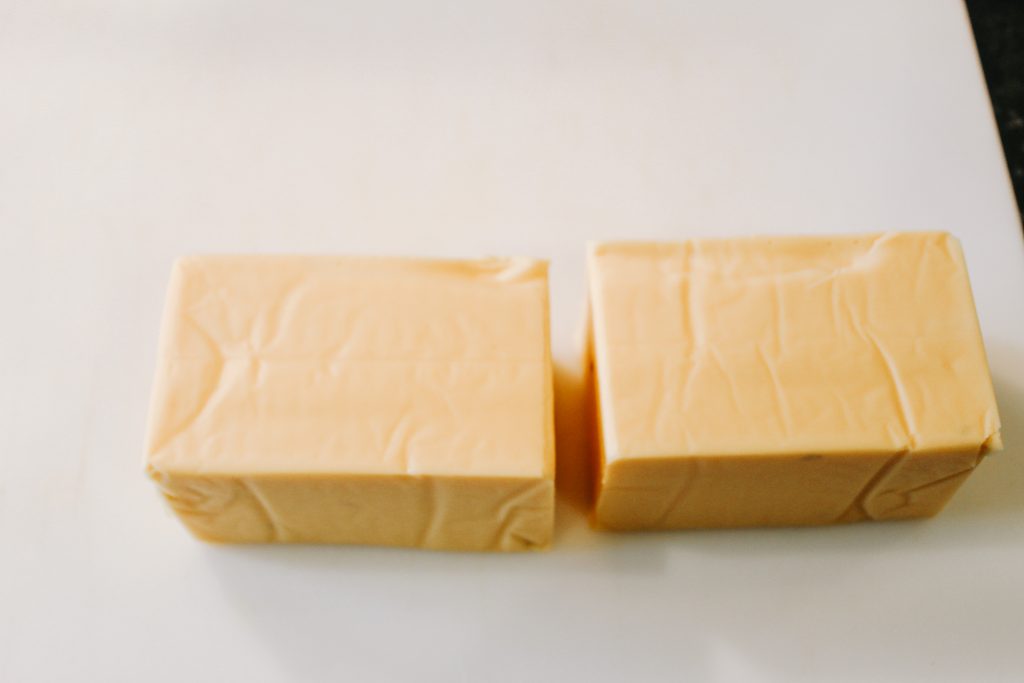
Last step for preparation is cubing your Velveeta. I love the Mexican flavor and they didn’t have the small one at the store (along with toilet paper) so I cut the 32-ounce one in half and cubed it up.

Mexican Velveeta

After your bread is ready…so are you!

So, preheat your oven to 375.

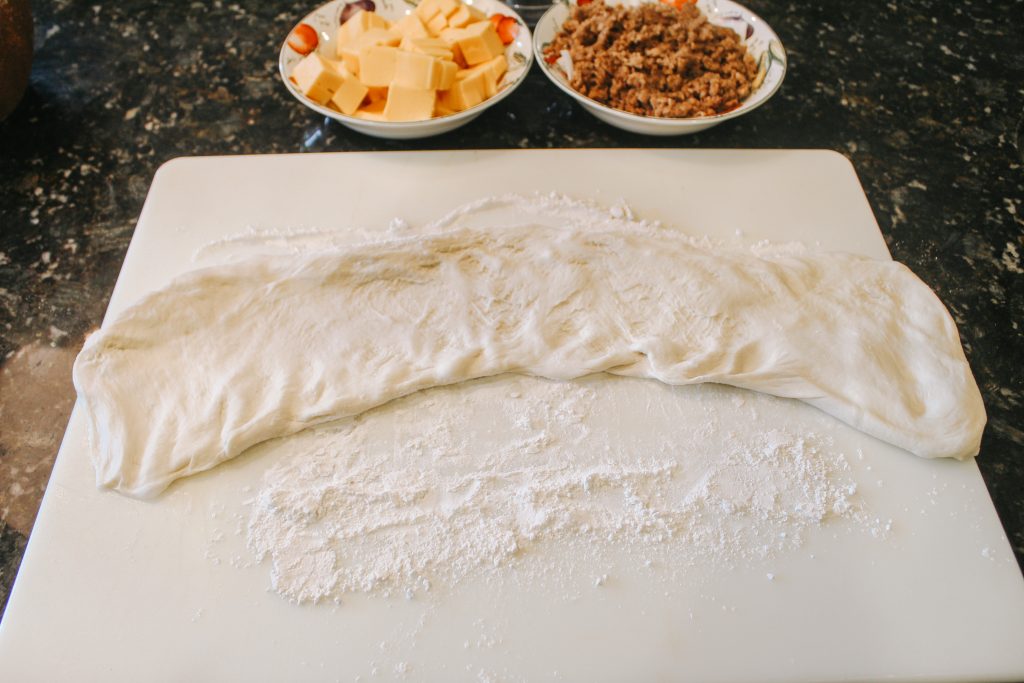
Simply flour your board so your loaf don’t stick, and roll it out. You don’t need a rolling pin, I just use my hands, but feel free to go all Laura Ingalls Wilder on us and use yours if you have one.

Roll Dough Out on a Floured Surface

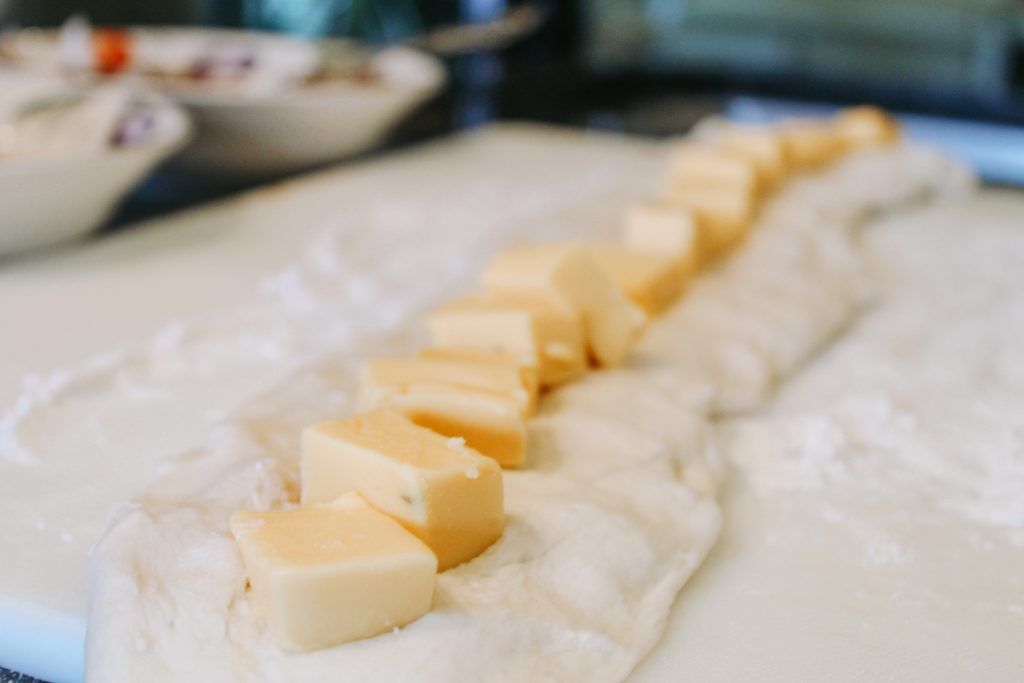
Line your cheese along the loaf…use as much or little as you like. Sometimes there are no exact measurements, just go with what you like.

Cheese First!

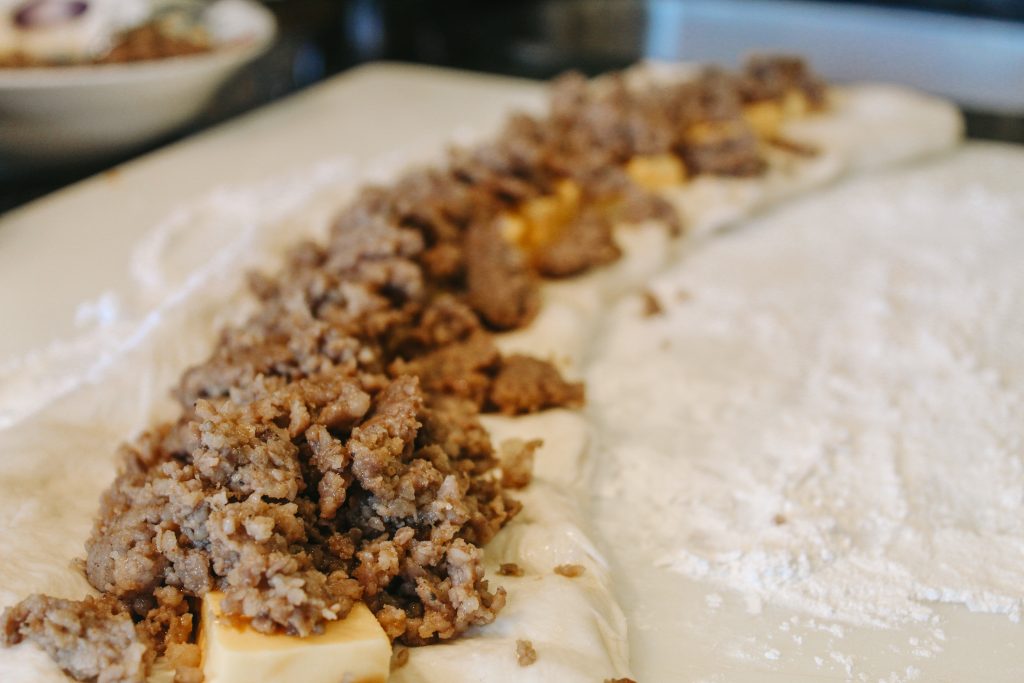
Then layer your good ole’ Jimmy Dean on top of the cheese.

Sausage Second!

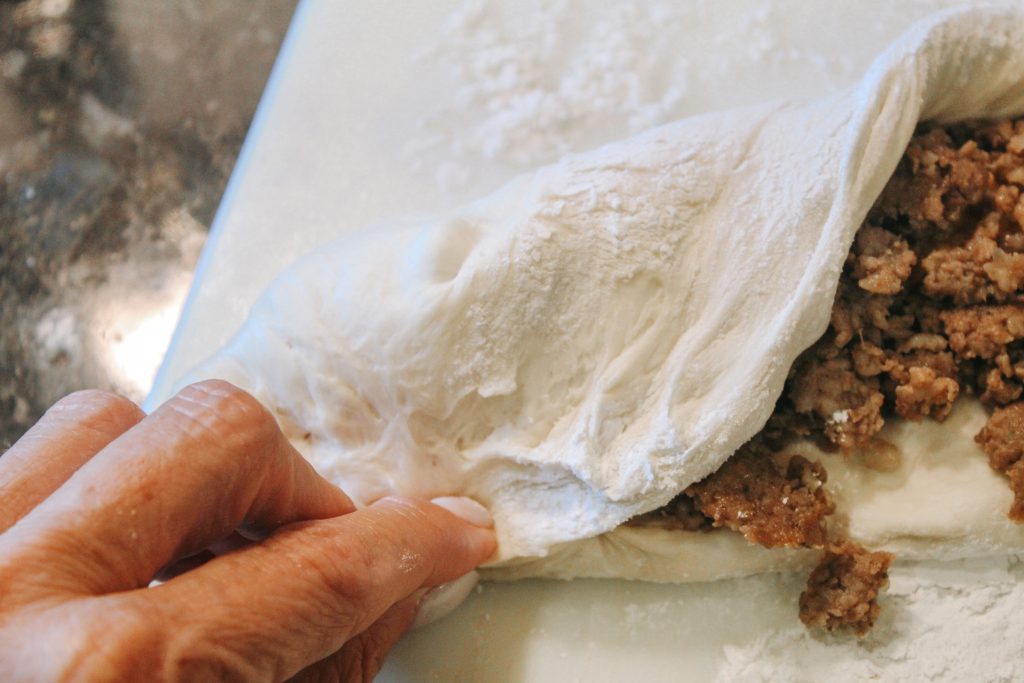
Now, pull one side of the bread over the top of the cheese and sausage and pinch it together with the other side.

Pull and Pinch

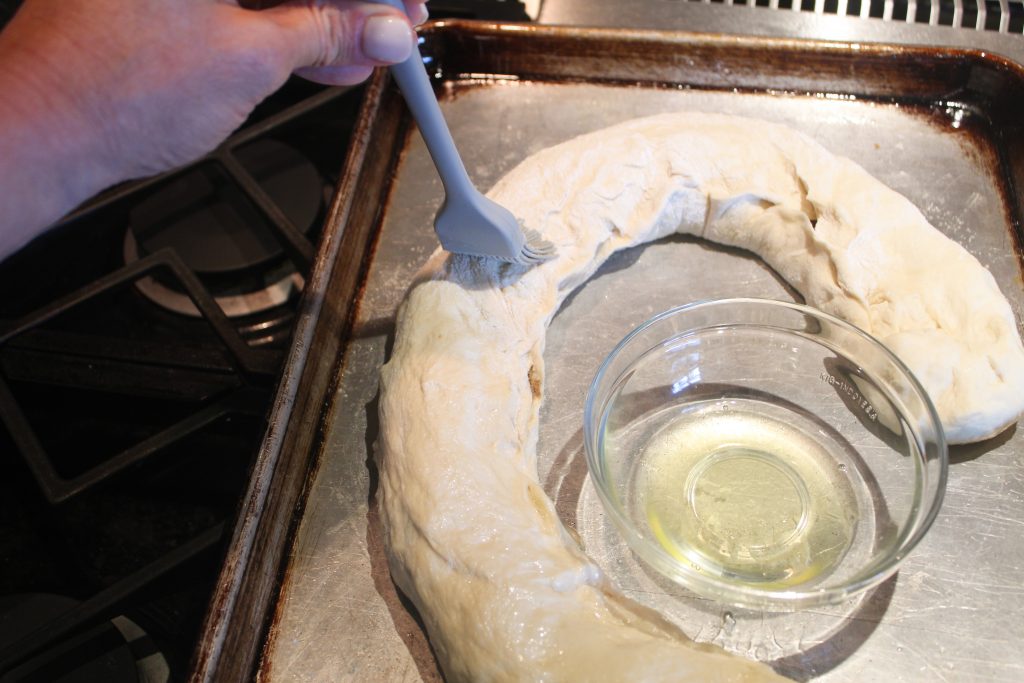
Next, move your loaf back to a cookie sheet and get it ready for its bath!

Here’s a great hint for cooking bread or pies or anything with a crust…brush an egg white over the top of your dish to make it really brown and glossy.

Glossy is Good

Glossy is important in cooking, right?

Or hair…I like it on days when my hair is glossy.

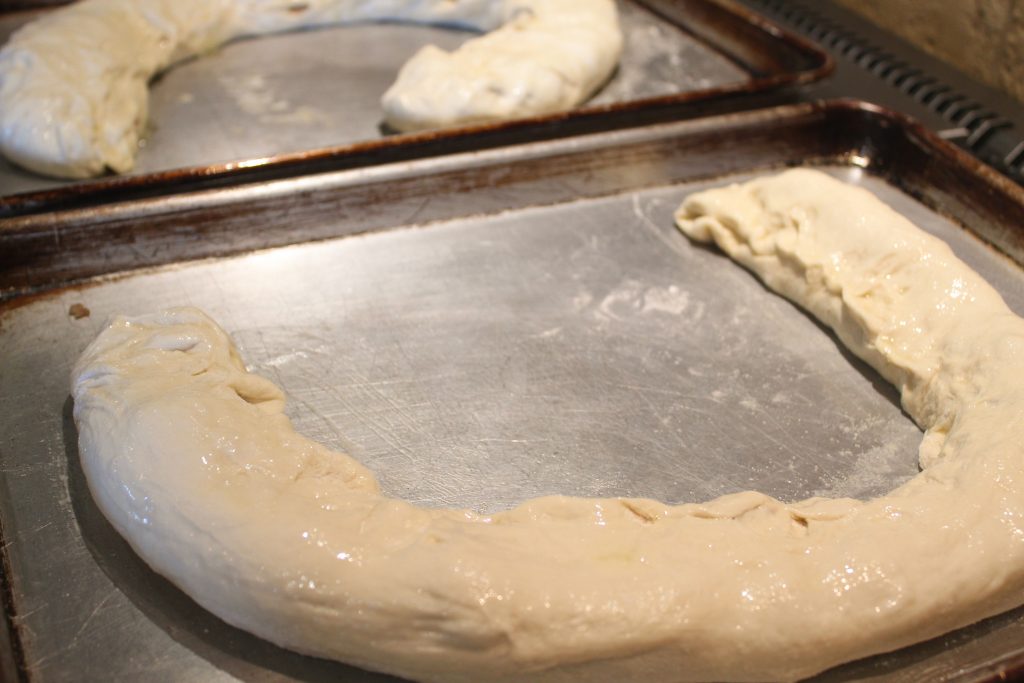
Repeat these steps for your second loaf and get ready to bake!

Ready for the Oven

Place in your preheated 375 oven and bake 20-25 minutes.

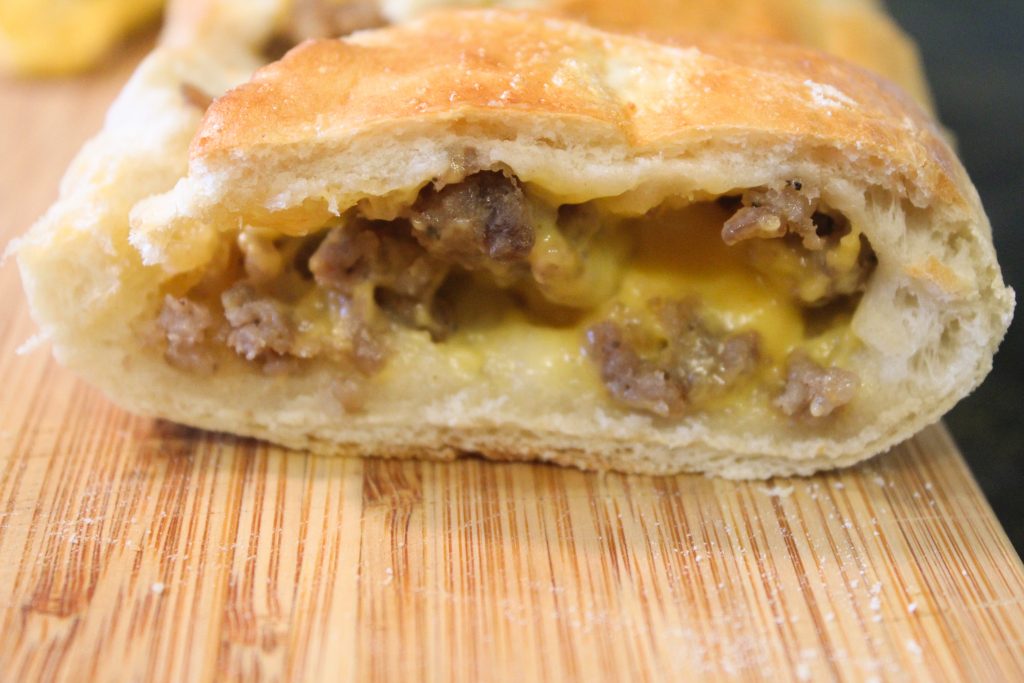
And this my delightful readers, is what you will end up with.

It’s Okay if They Pop Open!

A bread that will become YOUR favorite just like it is MY favorite.

Now Do You See Why It’s MY Favorite?

And speaking of favorites…here’s my oldest favorite…I have a middle and youngest favorite, too.

My Oldest Baby

And I’ll be YOUR favorite blogger after your family gets a bite of this bread!

Alphabet Mom’s Favorite Stuffed Cheese Bread

This stuffed bread will become a new favorite for your family, filled with your favorite meats and cheeses. You can even have it for breakfast with a little jelly!
Course: Appetizer, Breakfast
Cuisine: American
Keyword: appetizer, bread, breakfast, cheese, sausage, stuffed bread
Author: The Alphabet Mom

Ingredients

  • 2 loaves frozen bread Rhodes or Bridgeford
  • 16 oz Mexican Velveeta, cubed
  • 1 pkg sausage
  • 1 egg, divided

Instructions

  • Start by thawing 2 frozen bread loaves 4-6 hours before you are ready to bake. Simply spray some Saran Wrap with non-stick cooking spray and cover.
  • Right before you are ready to bake, fry your sausage and drain fat.
  • Cube Velveeta and set aside.
  • When bread loaf is ready, transfer to a floured surface and roll out.
  • Layer one half of sausage and cheese on first loaf.
  • Pull one side of bread over the top of cheese and sausage and pinch shut on other side.
  • Transfer to a cookie sheet and brush top with egg white.
  • Bake in preheated to 375 degree over for 20-25 minutes.
  • Slice and enjoy. Makes 2 loaves.